Tying flies is common for fly fishing – but knowing how to make fishing lures for other styles of angling is probably more unusual.
Because there are so many different types of lures you could make, I eventually intend to make this article cover several different types. I’ll add these one at a time though, so keep watching this space. First up, a little flat-sided balsa minnow...
Where to Start Learning How to Make Fishing Lures
Unless you have someone to show you in person, the best place to start out is to follow an existing, proven design that you know will swim correctly as long as you make it well. Luckily for modern lure-makers, there is now a world-beating resource to help you…
If you want to know how to make fishing lures – check out YouTube
The demonstrations and designs on YouTube are an amazing resource that we are lucky to have as lure anglers. For my own first attempt at lure-making, I followed a great design by Japanese YouTuber Haru834. Because one of the styles of fishing I really enjoy is Bait Finesse System (BFS) lure fishing, I shrunk down the dimensions for his 65-mm flat-sided minnow to make a 50-mm (2”) bait instead.
You can follow along in this article to find out how that worked out.
You'll also to find a complete check-list of the tools and materials I used, which can be hard to find without watching entire YouTube videos from start to finish...
This design appealed to me because it looked great – like a really professional job – while using mainly hand-tools. The fact it wouldn’t need an entire workshop facility, kitted out at the cost of a small (or large) fortune was a big plus.
What you'll need to make a balsa minnow
If you’re going to learn how to make fishing lures, it probably helps to start out by deciding to make several identical lures of one kind.
That way, the expense of setting up with some basic tools and materials can be kept at least a little bit sensible...
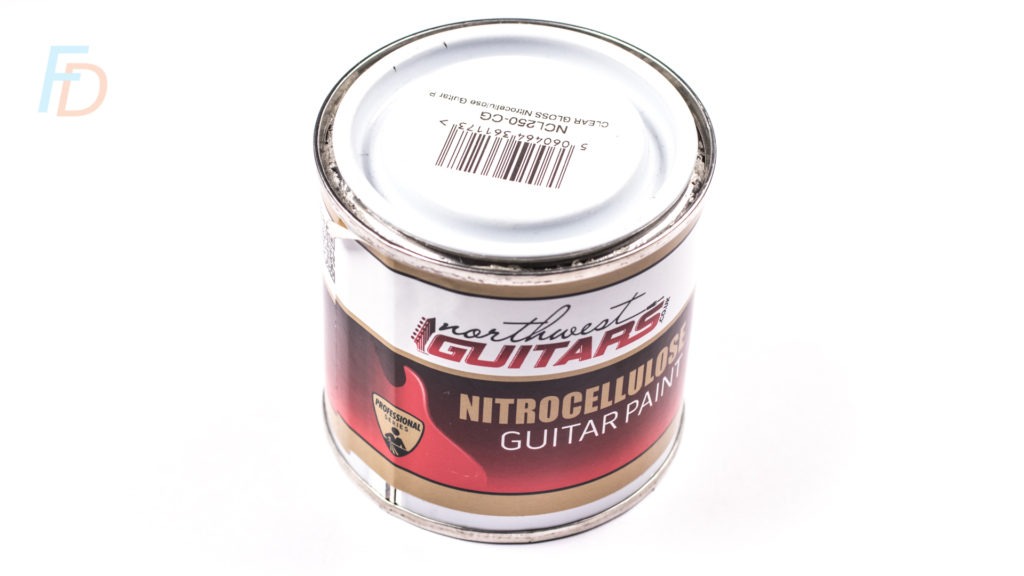
Materials for a 50-mm BFS Flat-sided Minnow
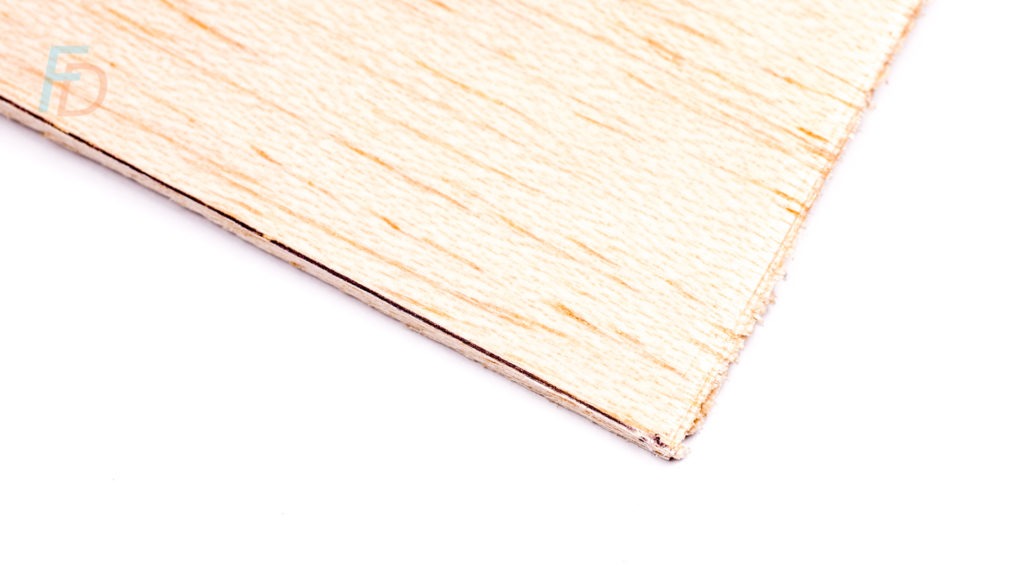
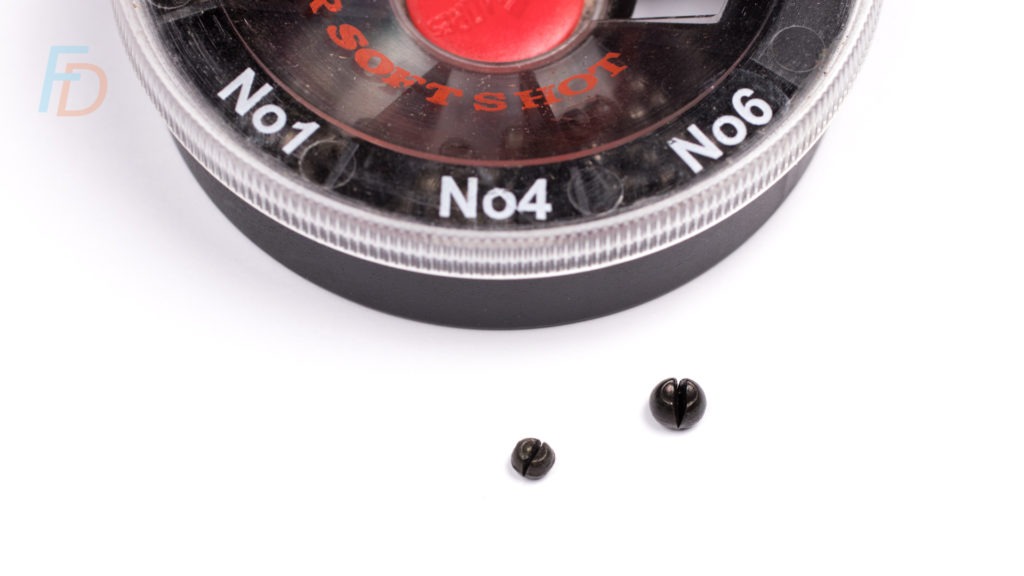
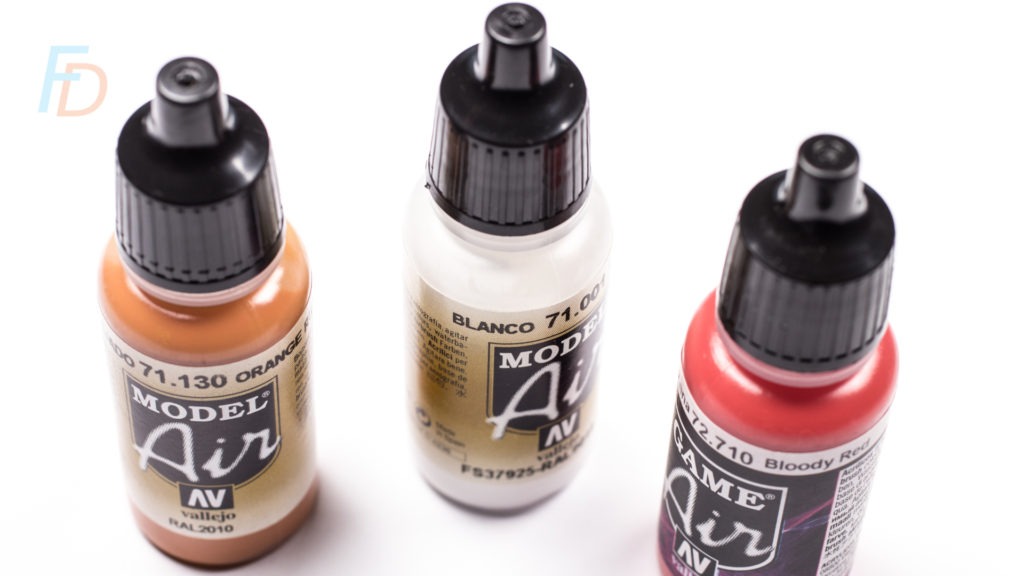
Tools for Lure Making
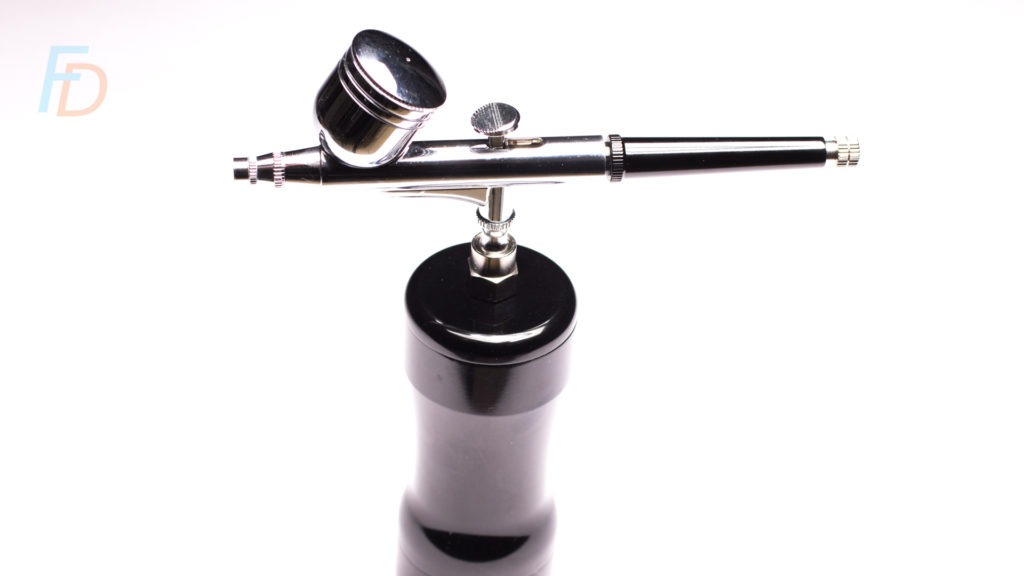
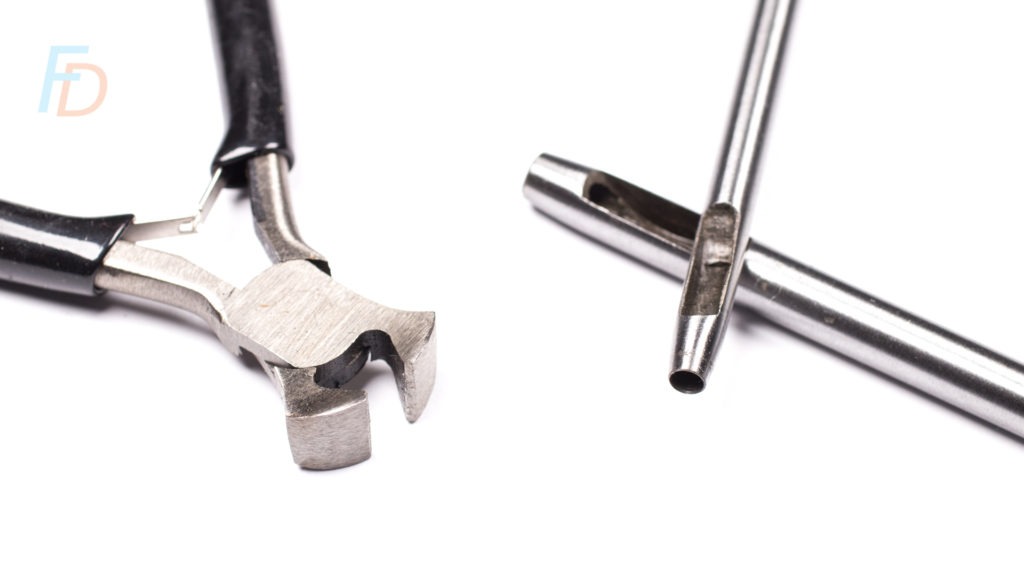
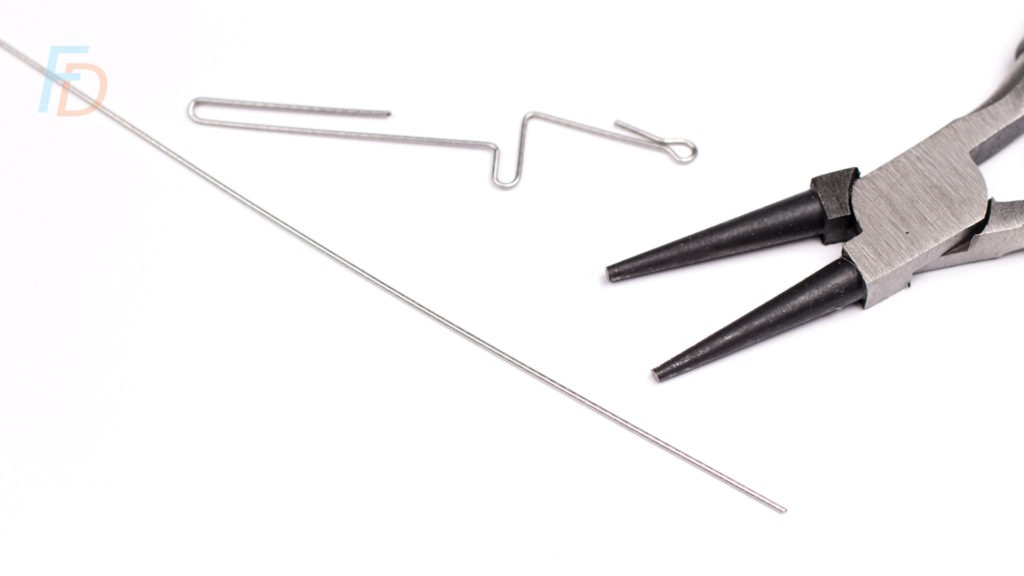
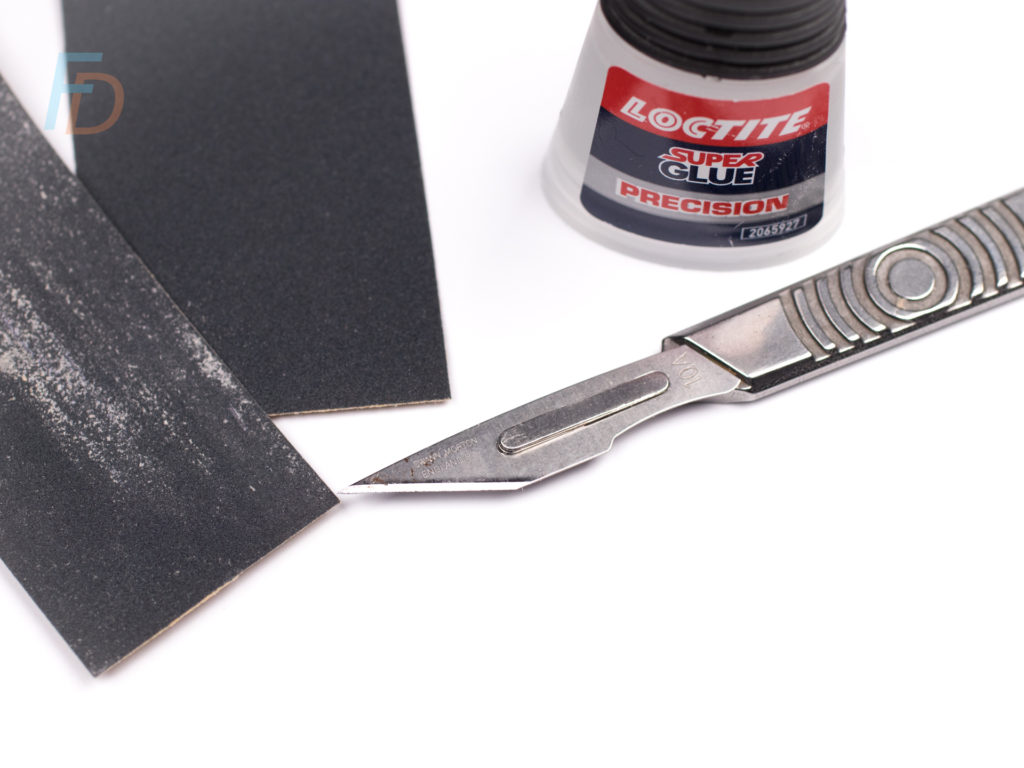
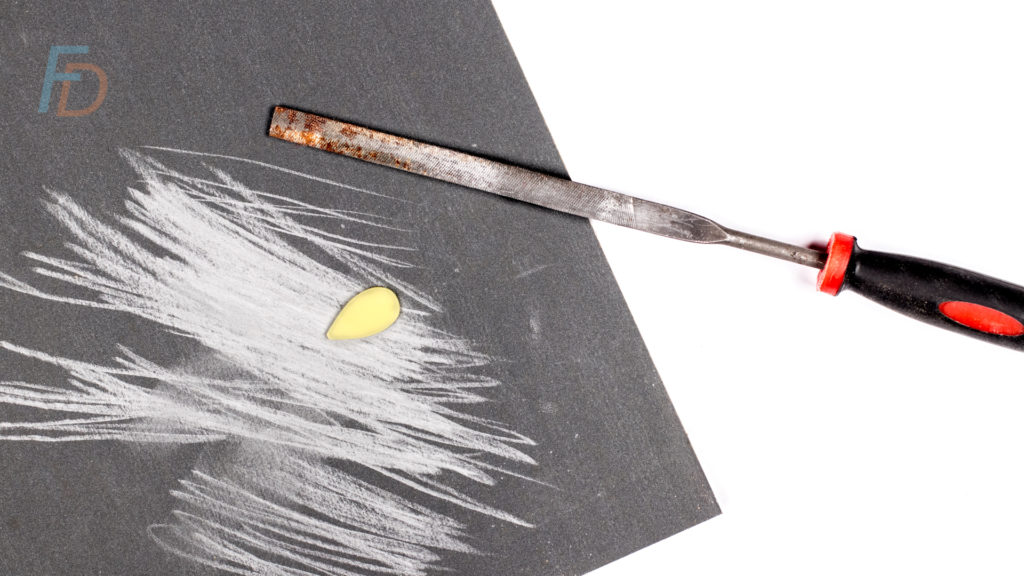
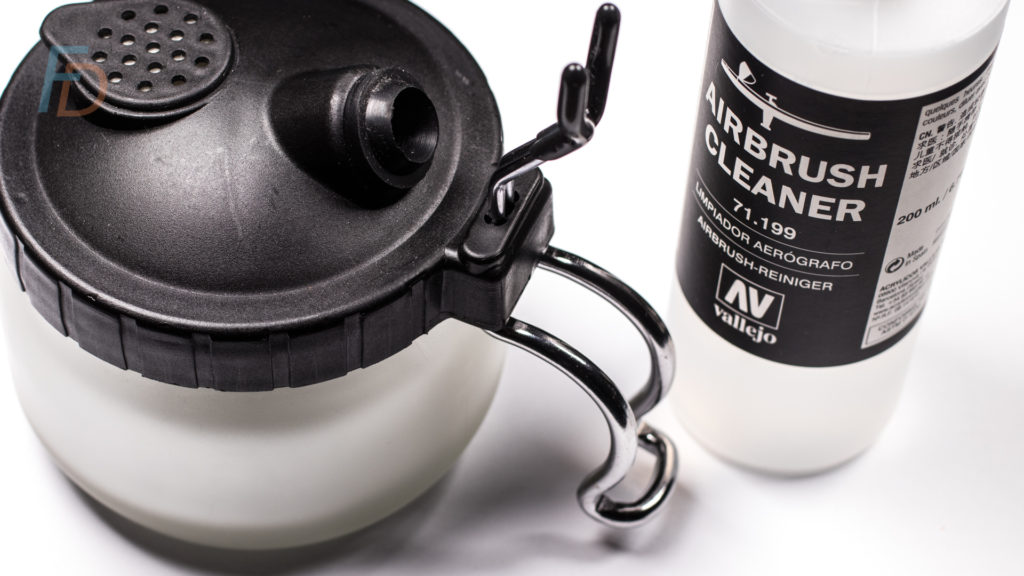
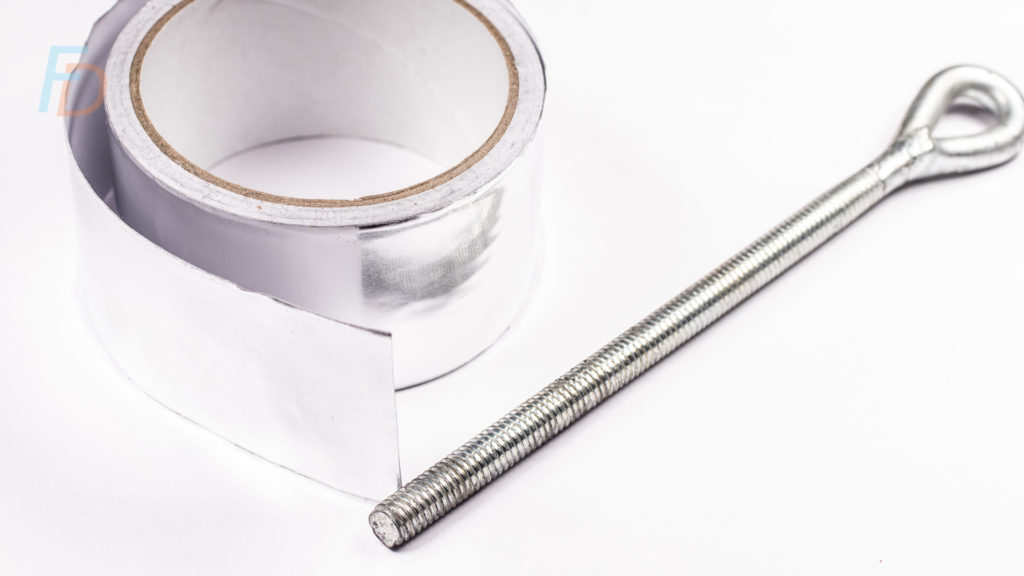
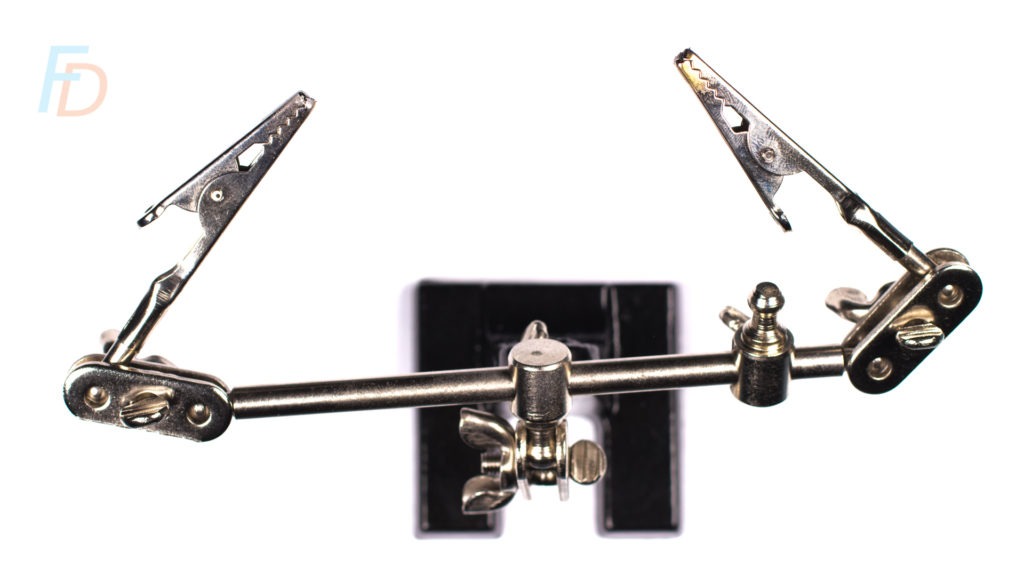
For my very first lure build, I wanted to keep the tools to a reasonable minimum to keep the extra expense as low as possible. If it turned out that learning how to make fishing lures wasn’t very enjoyable, I didn’t want to have spent an absolute fortune kitting out a workshop to find out!
This is what I got it down to:
How to make fishing lures: BFS Balsa Minnow (50-mm suspension jerk bait)
Here's how my first ever build went (warts and all). I hope you can follow along and make your own flat-sided balsa minnow for BFS or Ultralight spinning. The first thing I did was to shrink Haru834's existing design down so that it measured 50 mm long instead of 65 mm. As a side note, I'd say his channel is definitely worth subbing to if you're interested in learning how to make fishing lures of different kinds.
With that said, please know that you shouldn't be afraid to just get out some squared paper and carefully draw out your preferred design to the exact size you want it. By drawing it out, you can also include the exact shape your "through wire" will need to be to avoid the weight chamber(s) inside the bait where the split shot are housed for this particular design of lure.

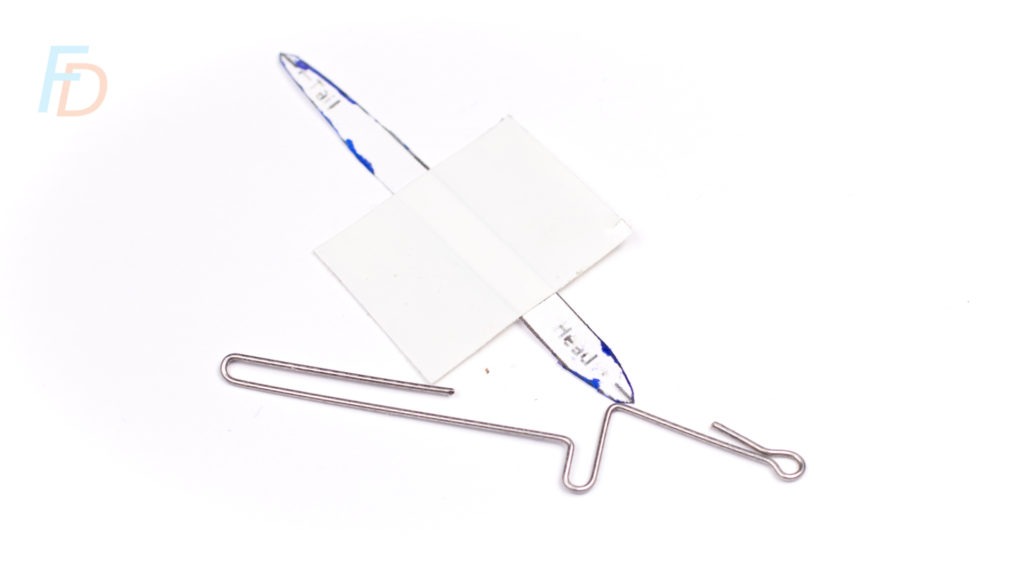
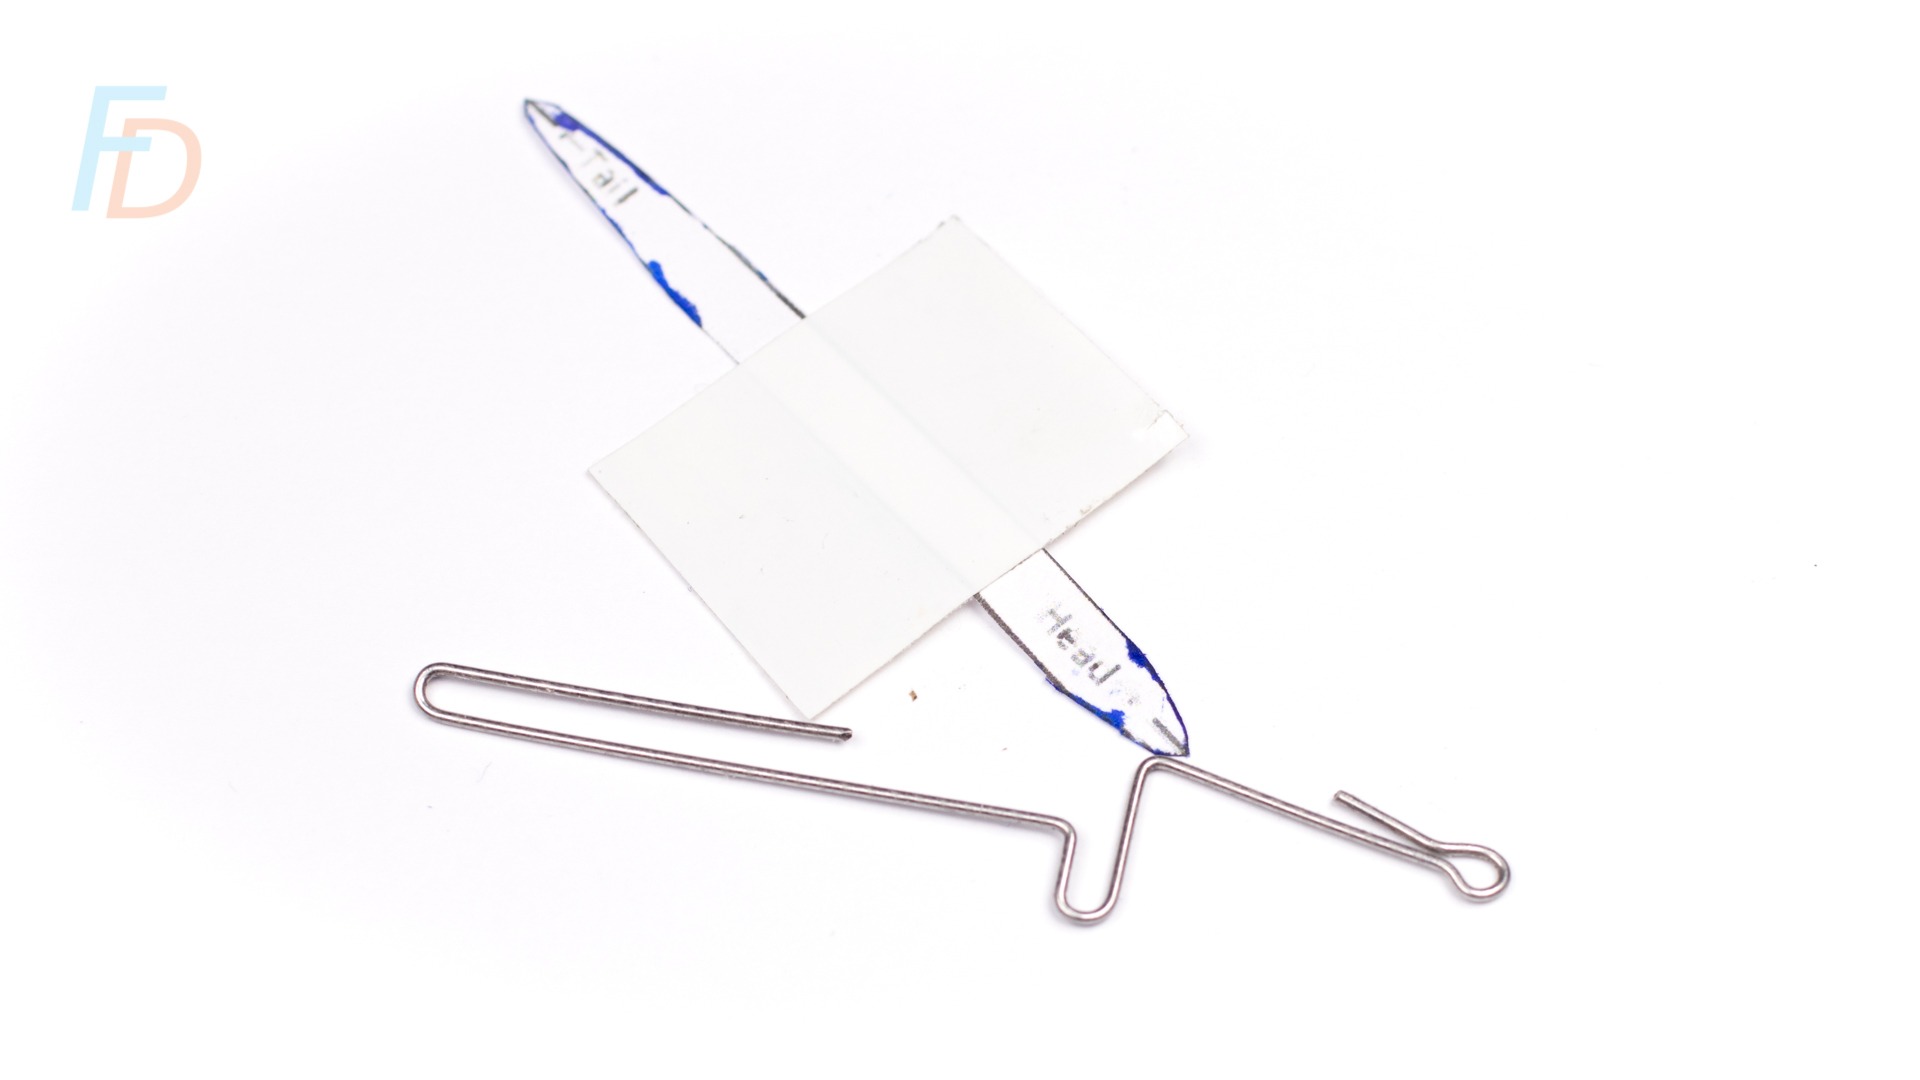
A straight piece of 0.7-mm diameter wire (as supplied) and the result of some careful bending with the tapered jaws of the wire-bending pliers

Paul Gaskell
Luremaking noob
For first-timers like myself, the "Through Wire" (pictured above) is simply when you use a continuous piece of wire to create the line-tie at the front of the lure PLUS the hangers for belly and tail hooks.
In some hard-wood lures, you can just screw (and glue) wire eyes into the body at the points where you need them.
By cutting out the printed template for the side-view of your lure, you can draw around it to get the exact shape you need. It's important to do this twice (because for this pattern you'll need to glue two identical halves together).
Special Tip: You can use the correct-sized leather punches to help you cut neat holes in the PAPER template. The holes are needed to make two cavities inside your lure to accommodate the split shot weights that make it swim upright in the water.
Important Note: It is important that you draw round the template on the balsa wood surfaces that will become the two INSIDE faces of the lure. Otherwise you will find it difficult to accurately cut the cavities so that they marry up...
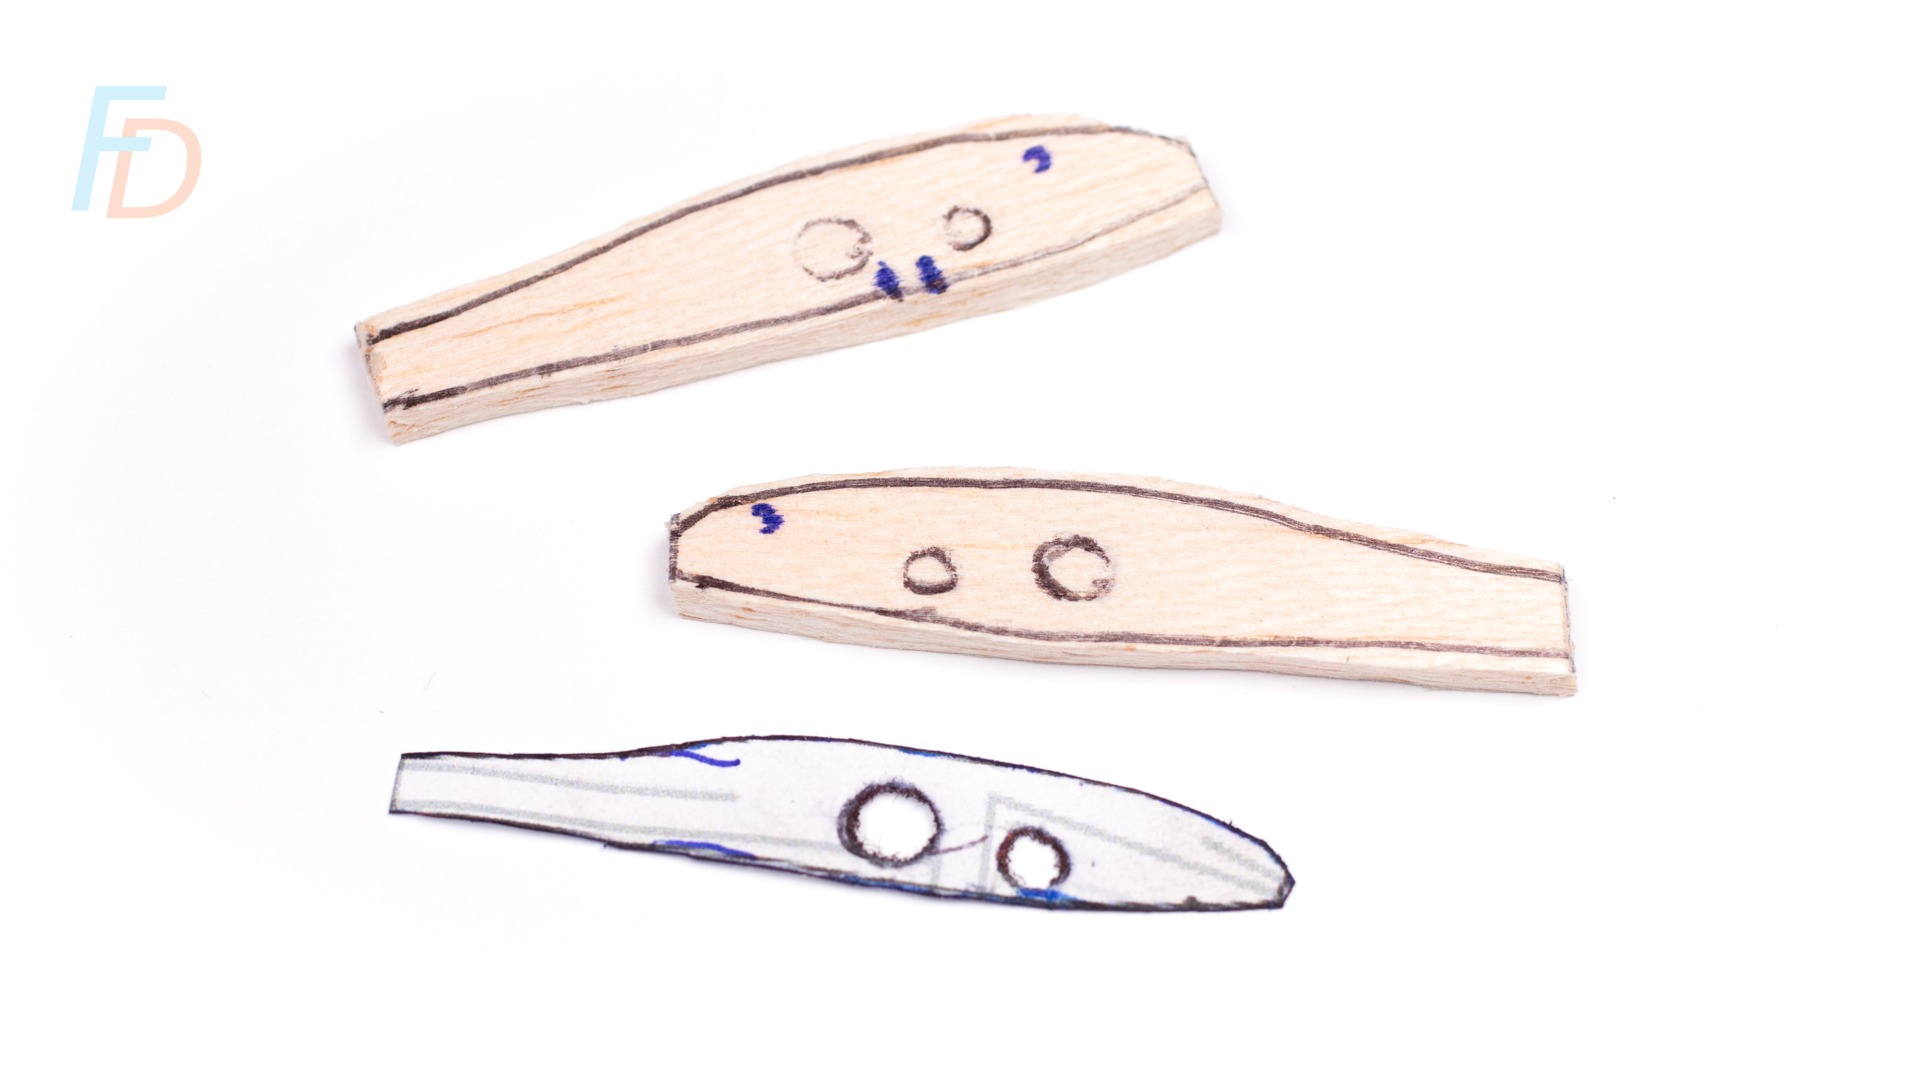
Here you can see the paper template (bottom) with the position of the through wire marked on. Above that are the two sides of the lure with the template markings drawn on. The rough shape has been cut out using a craft knife (easy in the soft, 3-mm thick balsa sheet)
The next skill to master when learning how to make fishing lures with a continuous through-wire is using wire-bending pliers to follow the shape on the template:
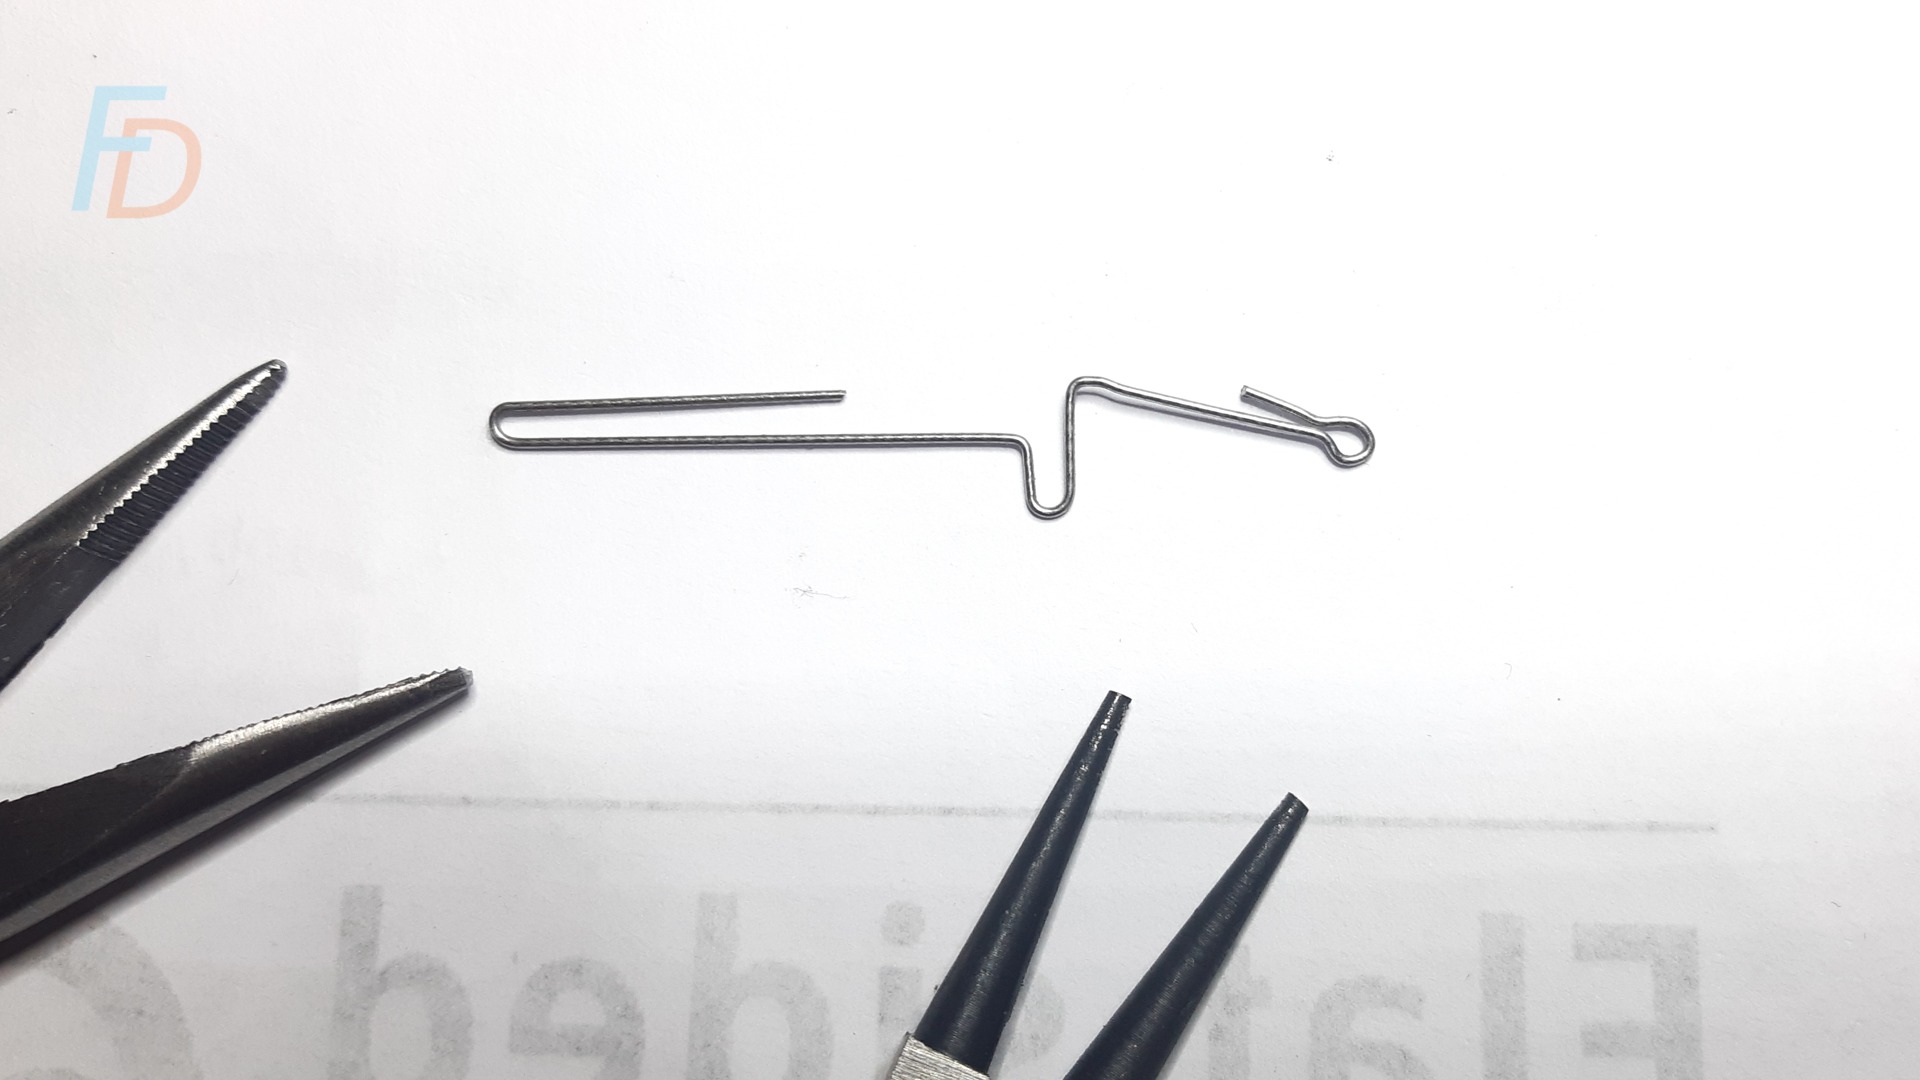
As you go along, make sure to keep checking the shape of your wire against the template. It is important for making sure that the hook-hangers and line-tie end up in the right places. Additionally, it is also essential for "steering" the wire around the internal cavities, while also avoiding the wire poking out of the body at random spots.
Then it is time to carefully punch out the cavities ready for the split shot. Using the same sizes of leather punch used to make the holes in the paper template keeps everything identical to the template.

Use the same two leather punch sizes that made the holes in the paper template
You'll need to make sure that the cavities are exactly the same depth as each other so that the weight sits exactly in the centre of the lure (when looking down from the top view). Take great care not to punch all the way through the balsa sheets!!
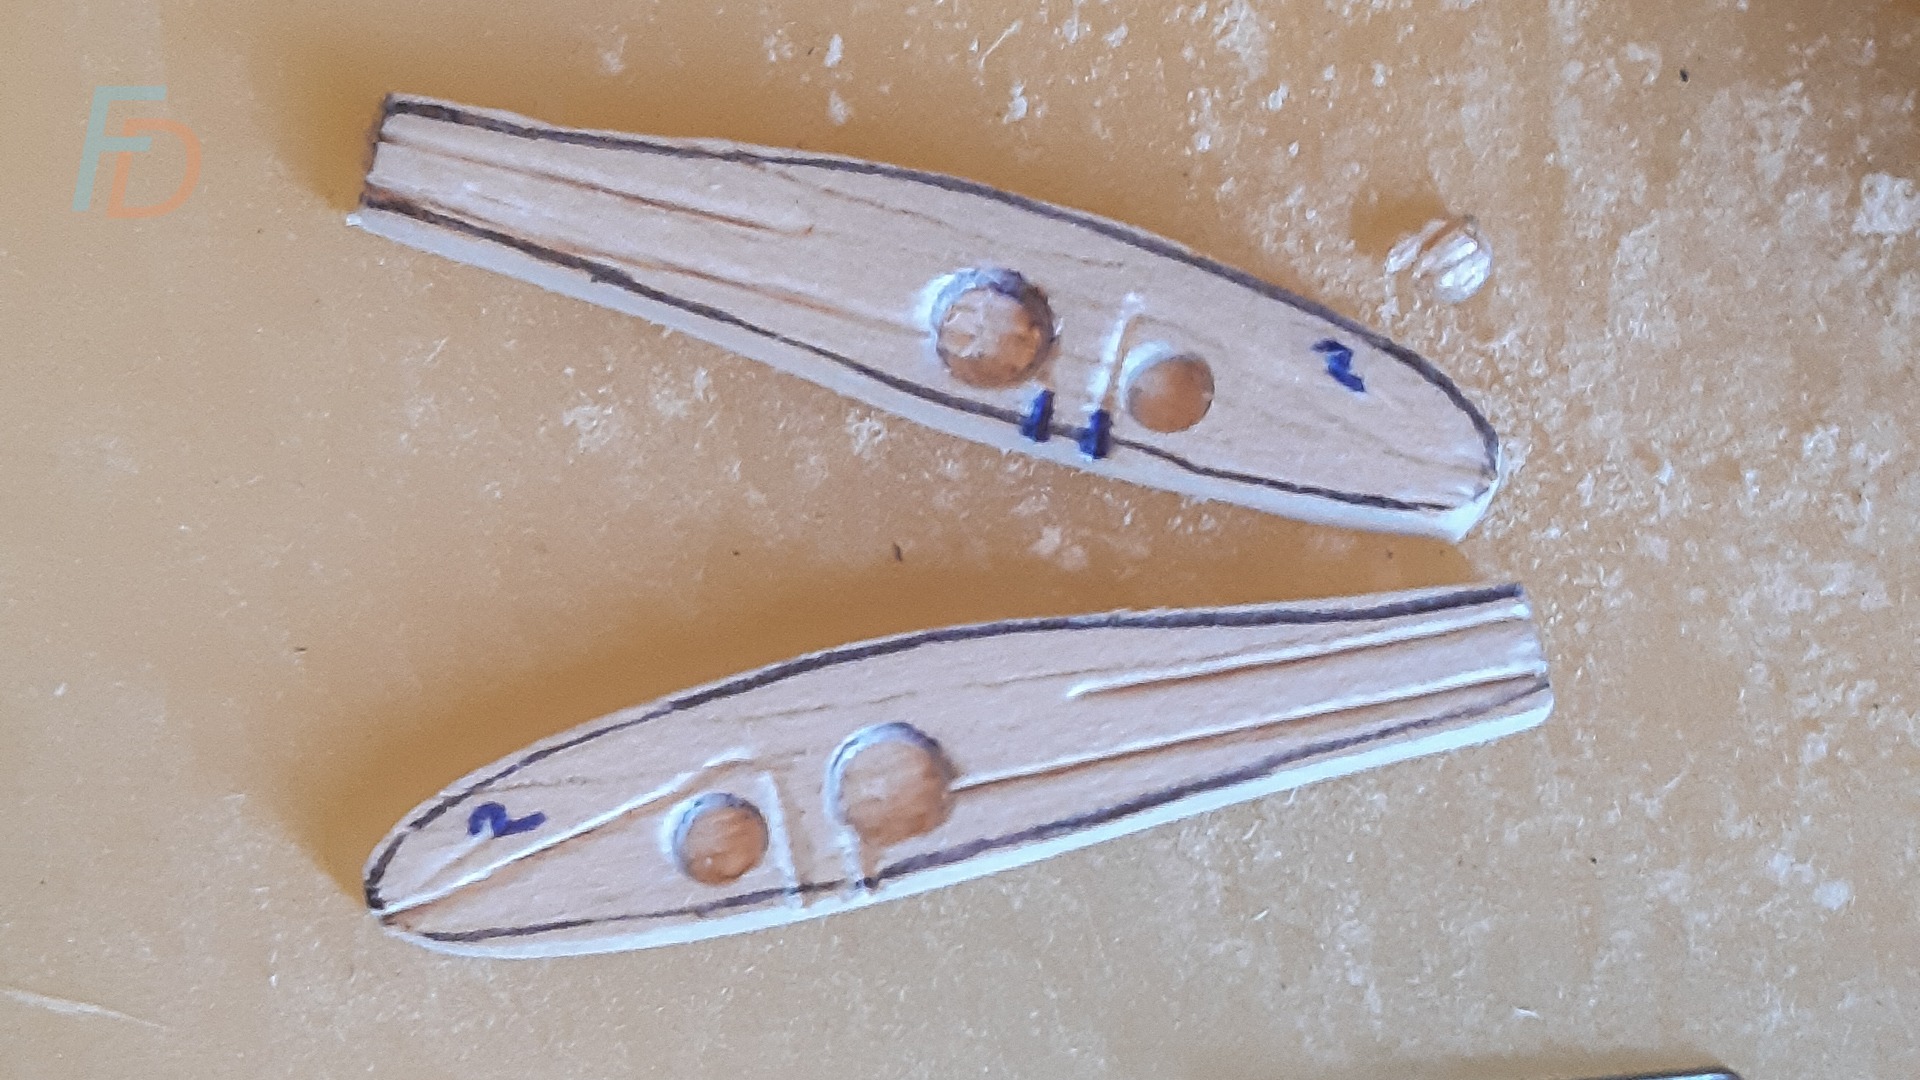
As well as punching out the weight cavities, I also pressed the two halves together around the through wire to make an imprint. I then made the channel where the wire will sit deeper by scoring it with the rounded tail-end of the through wire. Haru834's guidance on this is spot-on!
You can then crimp the larger split shot onto the through wire (gently pinch it on first and then drop it into the cavity to check everything fits nicely). When you are happy with the position, bear down with strong force using a some flat-jawed pliers. After that, squash the smaller split shot and drop that into its own cavity (this one doesn't need to attach to the through wire).
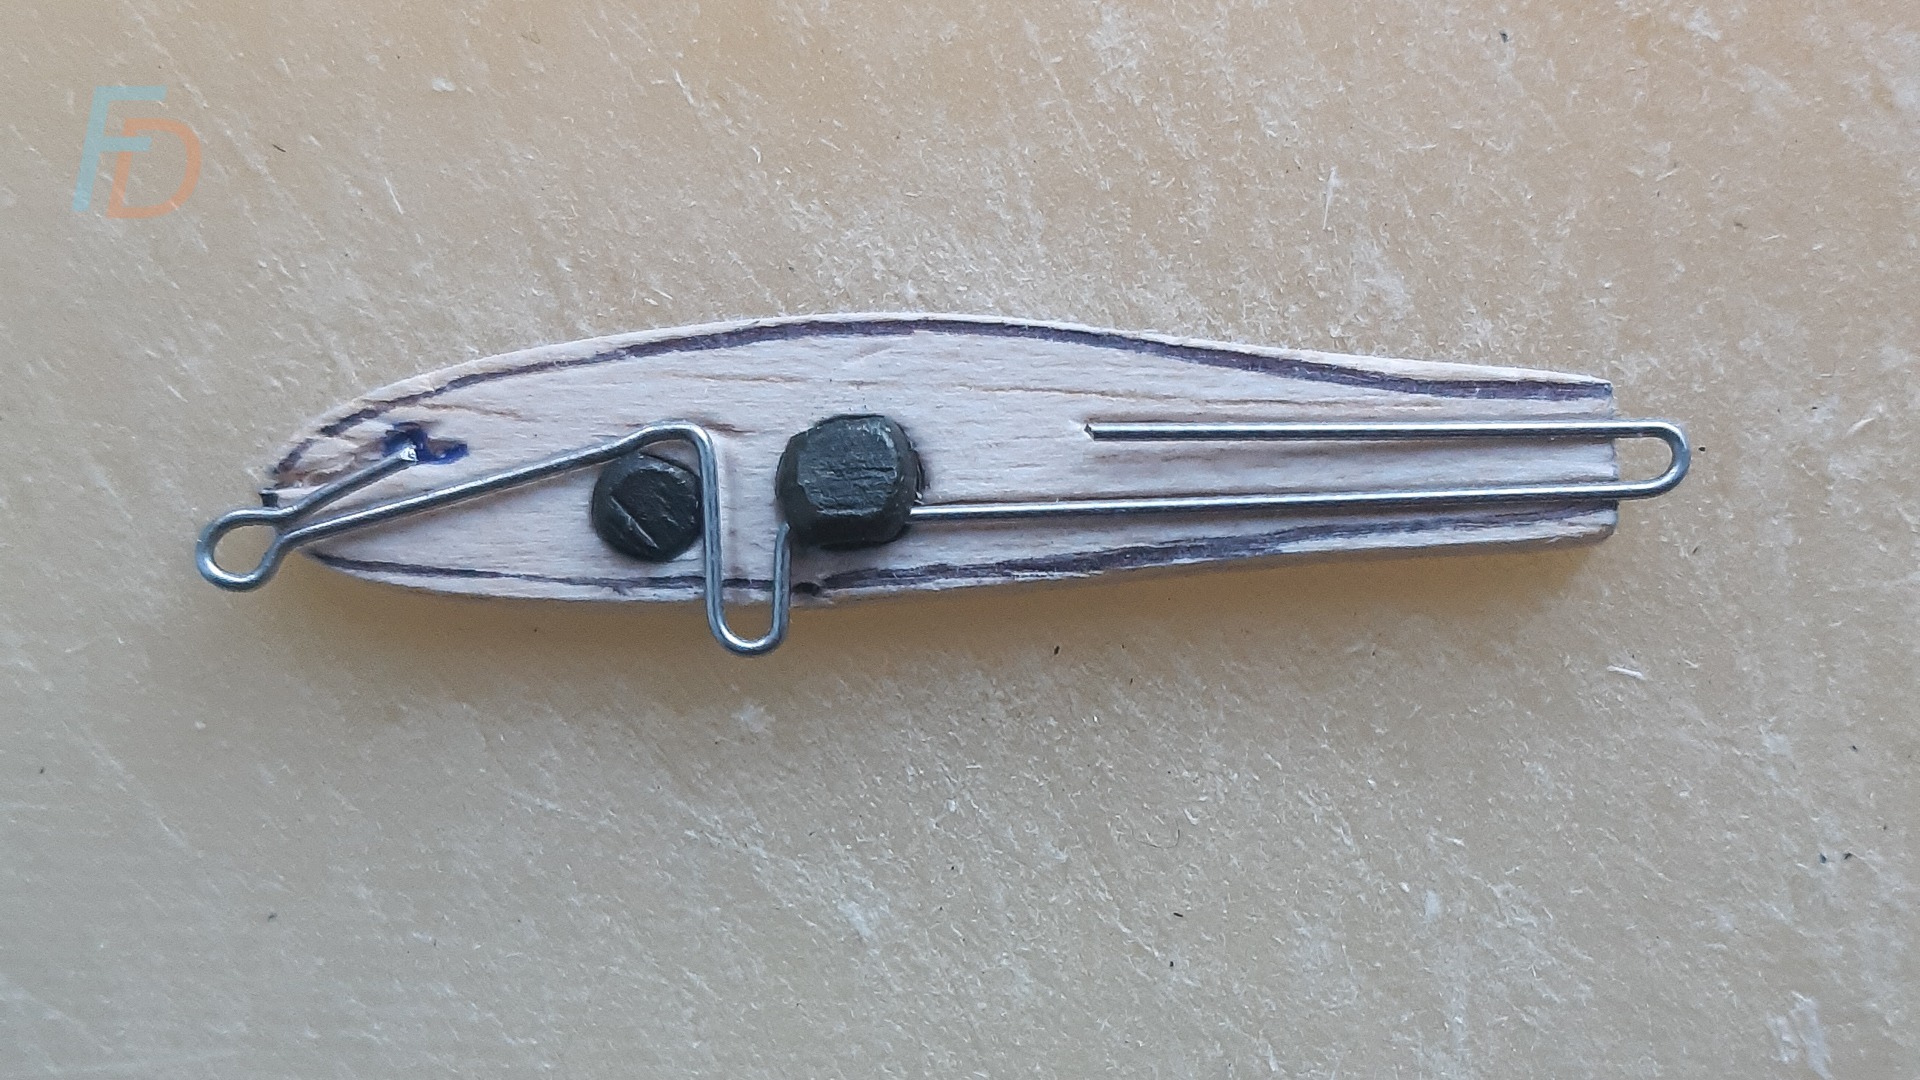
Note: modern lead-free split shot are quite a lot harder than the old-school soft-lead versions (and take a bit more squeezing to flatten).
Next it is time to carefully fit the two separate halves together after adding a thin coat of water-resistant superglue to the interior face of one side. You'll need to have some way of applying relatively firm pressure to the sides of the lure while the glue goes off fully. Don't press so hard that you squash the balsa though - it is such soft wood that it is easy to compress. Though, if you wanted a faster-sinking bait, that would be one way of doing it!!
As I learn more about how to make fishing lures, there is a big difference from tying flies. The number of stages where you need to patiently leave glue, paint or lacquer to cure completely is much greater in lure making.
This is another reason that making multiple lures of the same type is a good idea
For most flies, you can go through the process from start to finish in one sitting - and maybe add a dab of head cement (or instant UV-cure resin) right at the end.
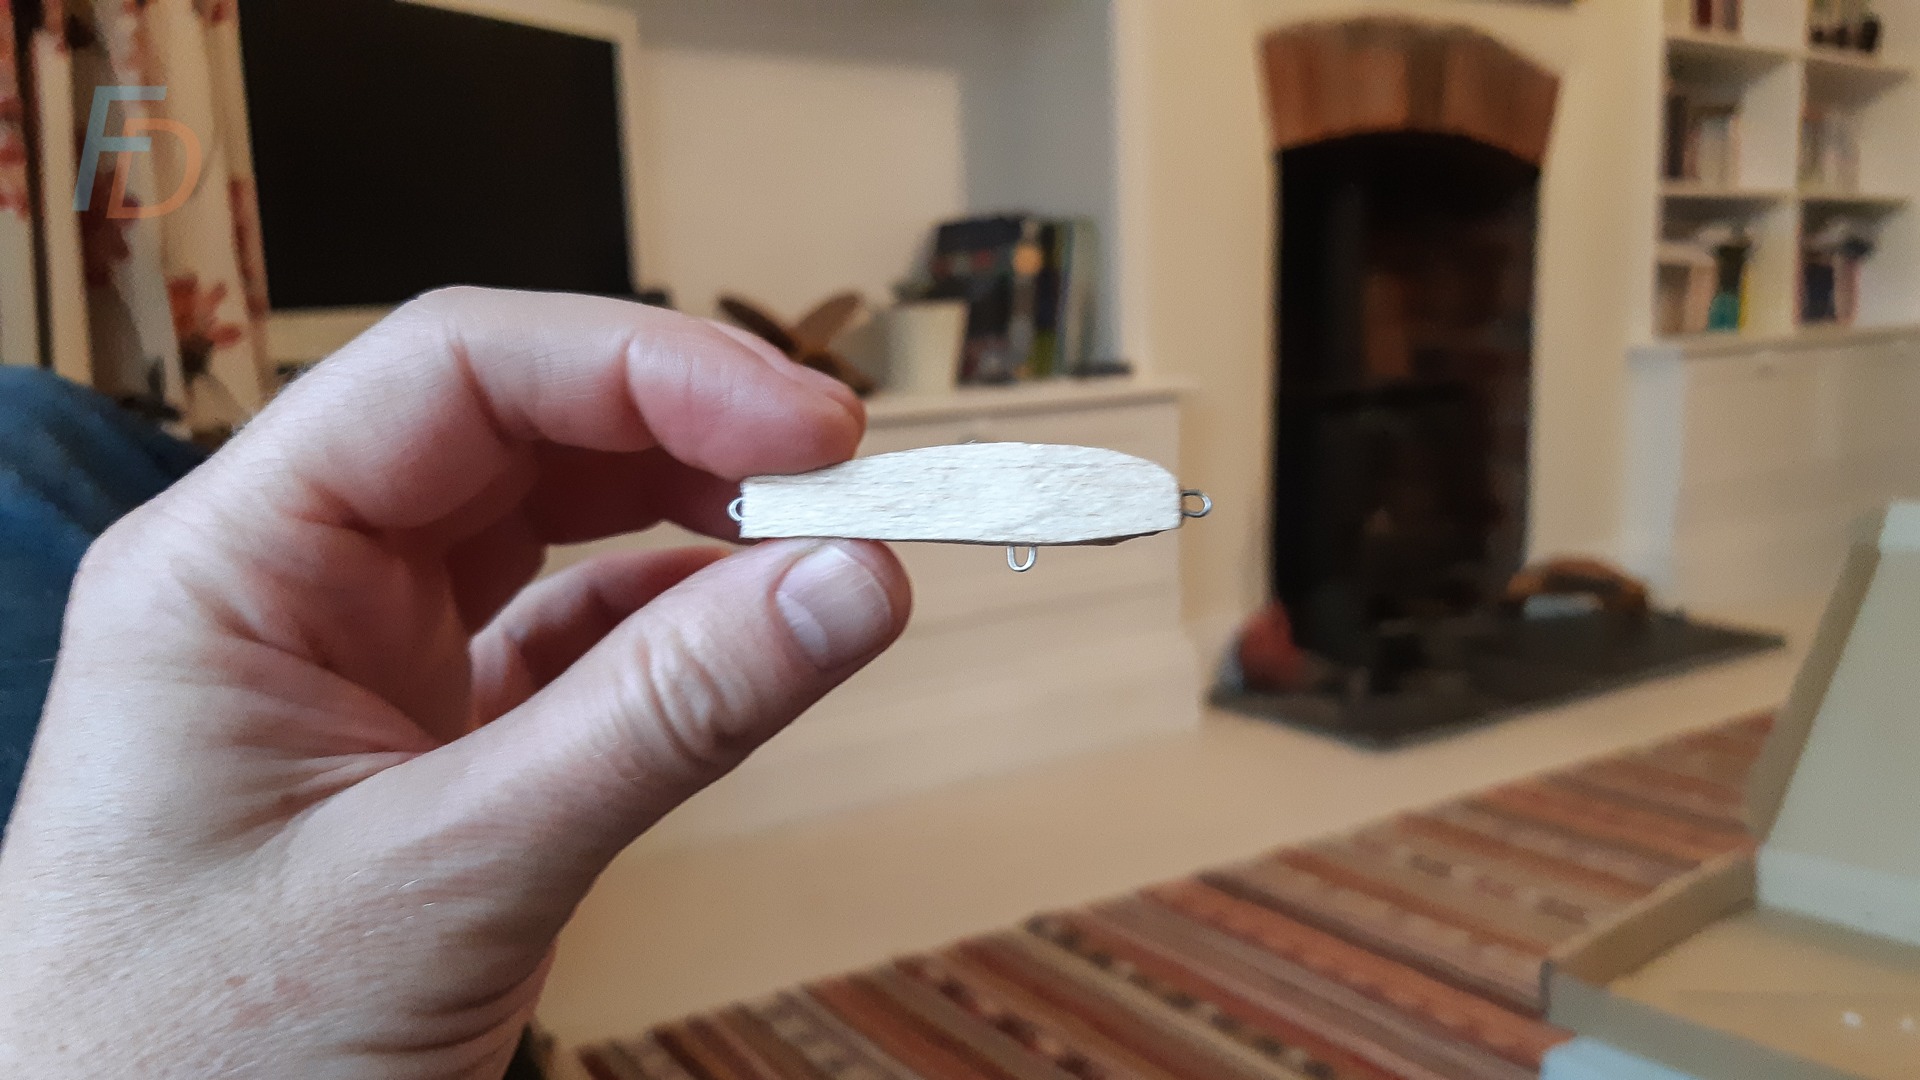
At the "rough block" stage with both halves glued together and the through wire sitting nicely in the channels
As well as taking off the square corners with a craft knife, it is also necessary to cut the top profile (tapered at the head and tail) which you can either do by eye or using a "top profile" template
After carefully shaving the basic shape with the knife, then the contours can be smoothed out using 300-grit sandpaper.
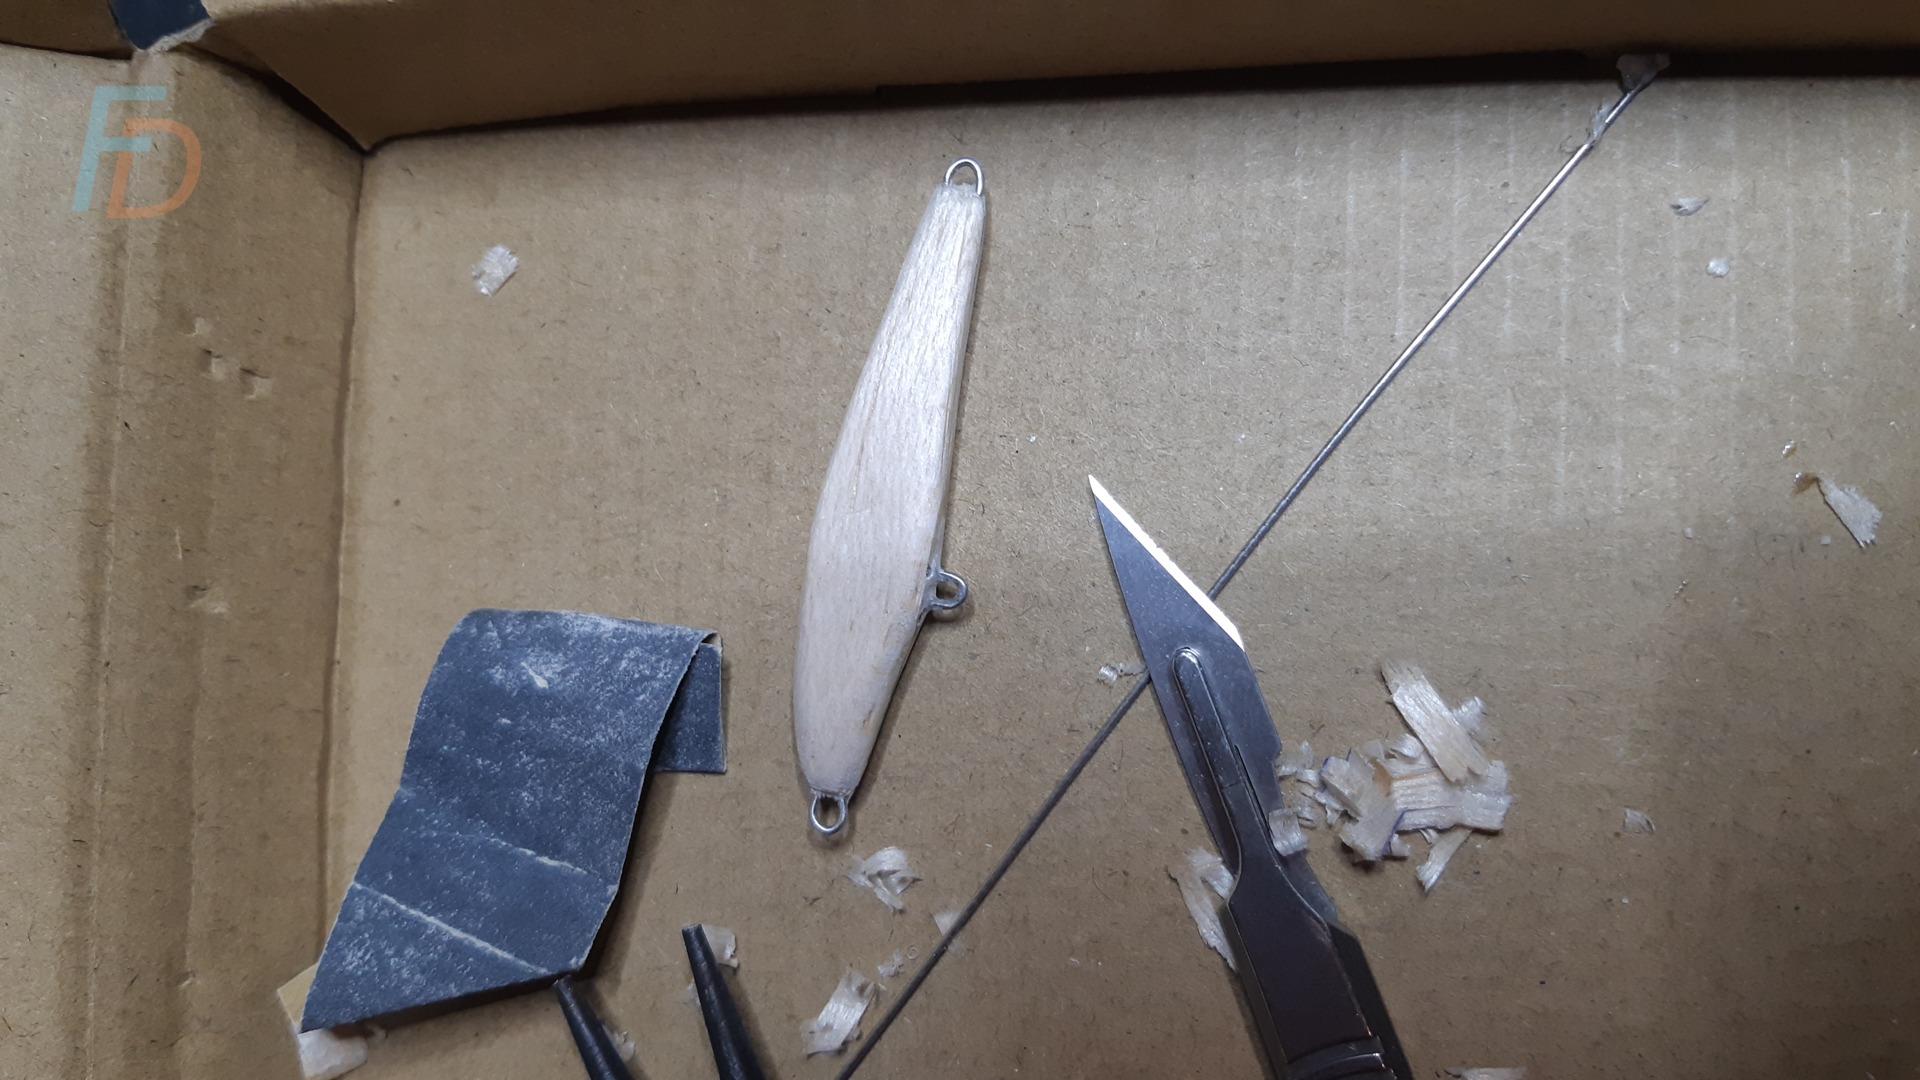
Then it's time to get to work with the fine grit (600 or finer) paper to create a smooth surface that can be sealed with lacquer - ready to receive the adhesive foil...
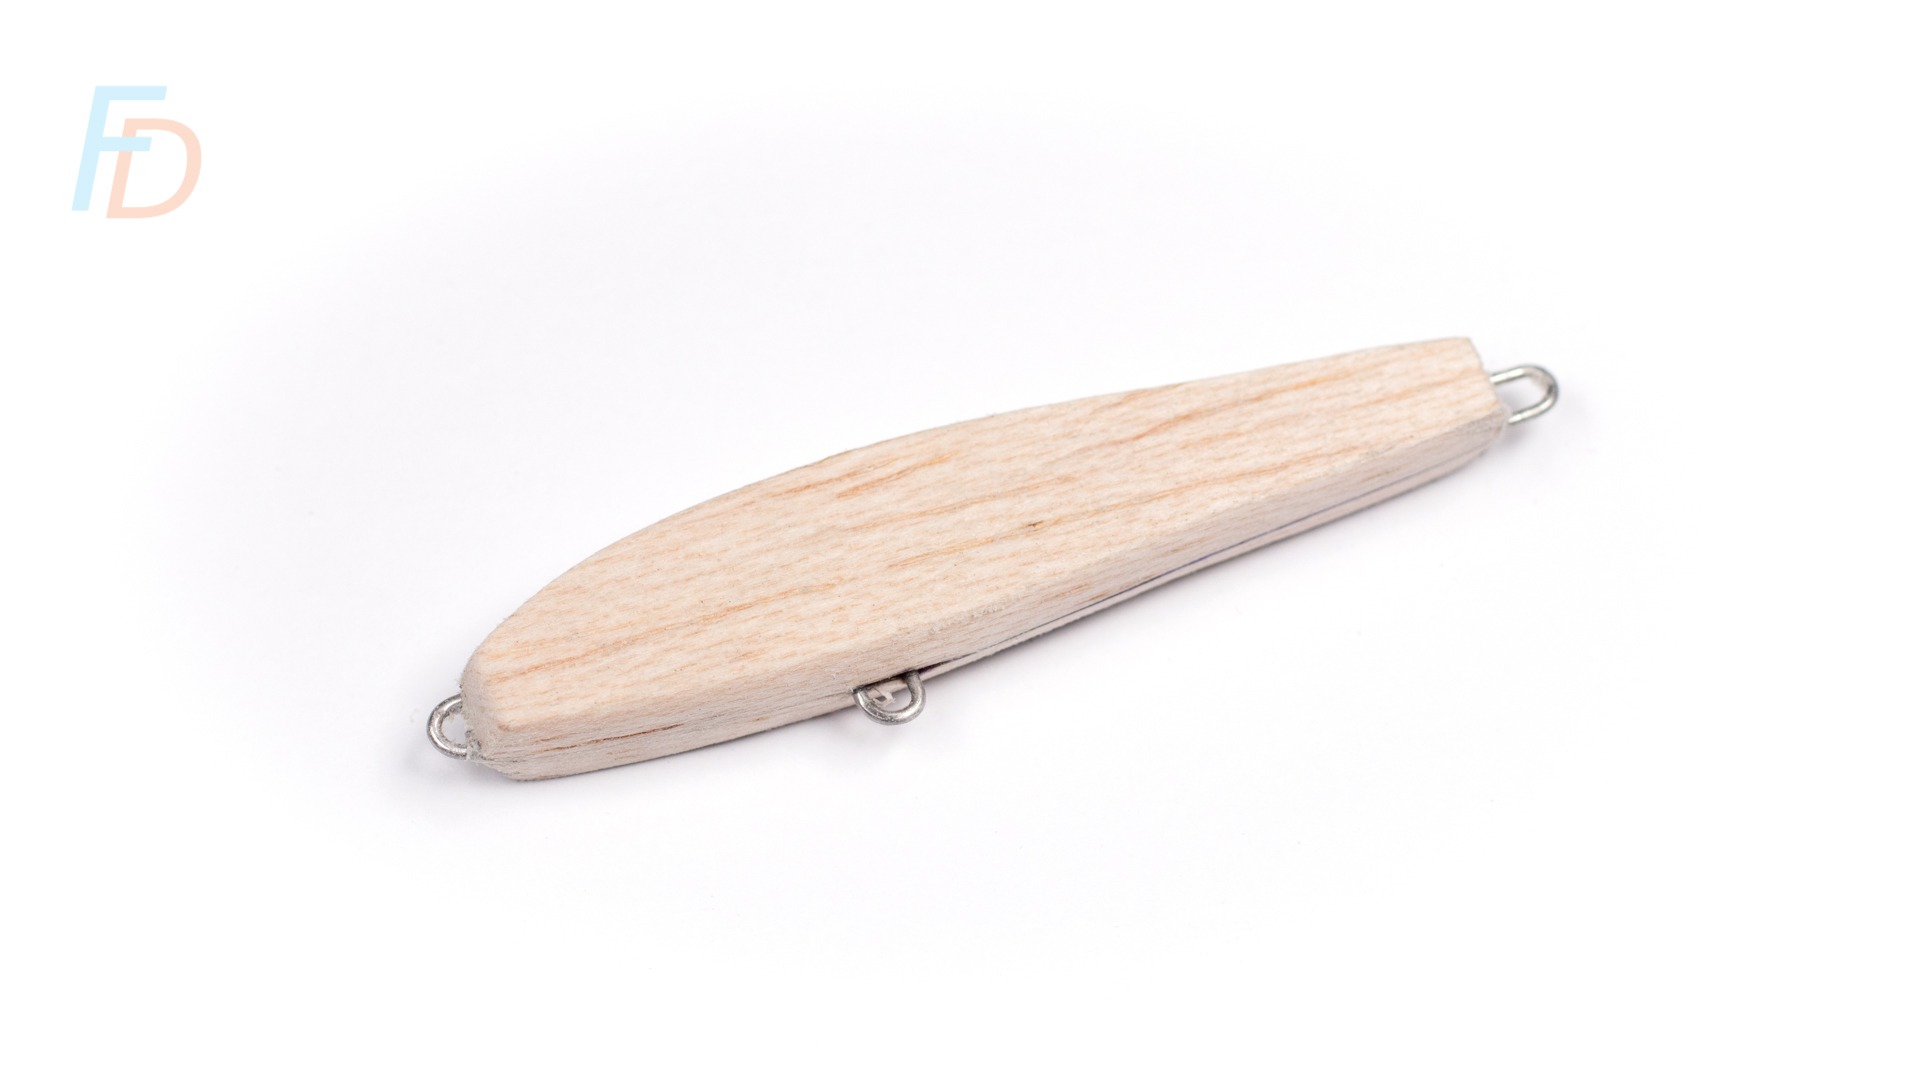
Wiping the sanding dust off with a clean cloth will help to keep your nitrocellulose lacquer clean - since the lure will need to be dipped completely into the pot (do this slowly to avoid trapping air bubbles on the way down). It's easy to make a simple wire hook from a spare piece of the 0.7-mm wire (both to do the dipping and also to hang it to cure afterwards).
This is where the cardboard box comes in handy as a rack to hang your wire hook onto while the lacquer cures.
Pro Tip: adding a "v" shaped section of wire to the tail end will allow any drips to run off the end of the lure and avoid clogging the lowest-hanging eye with lacquer.
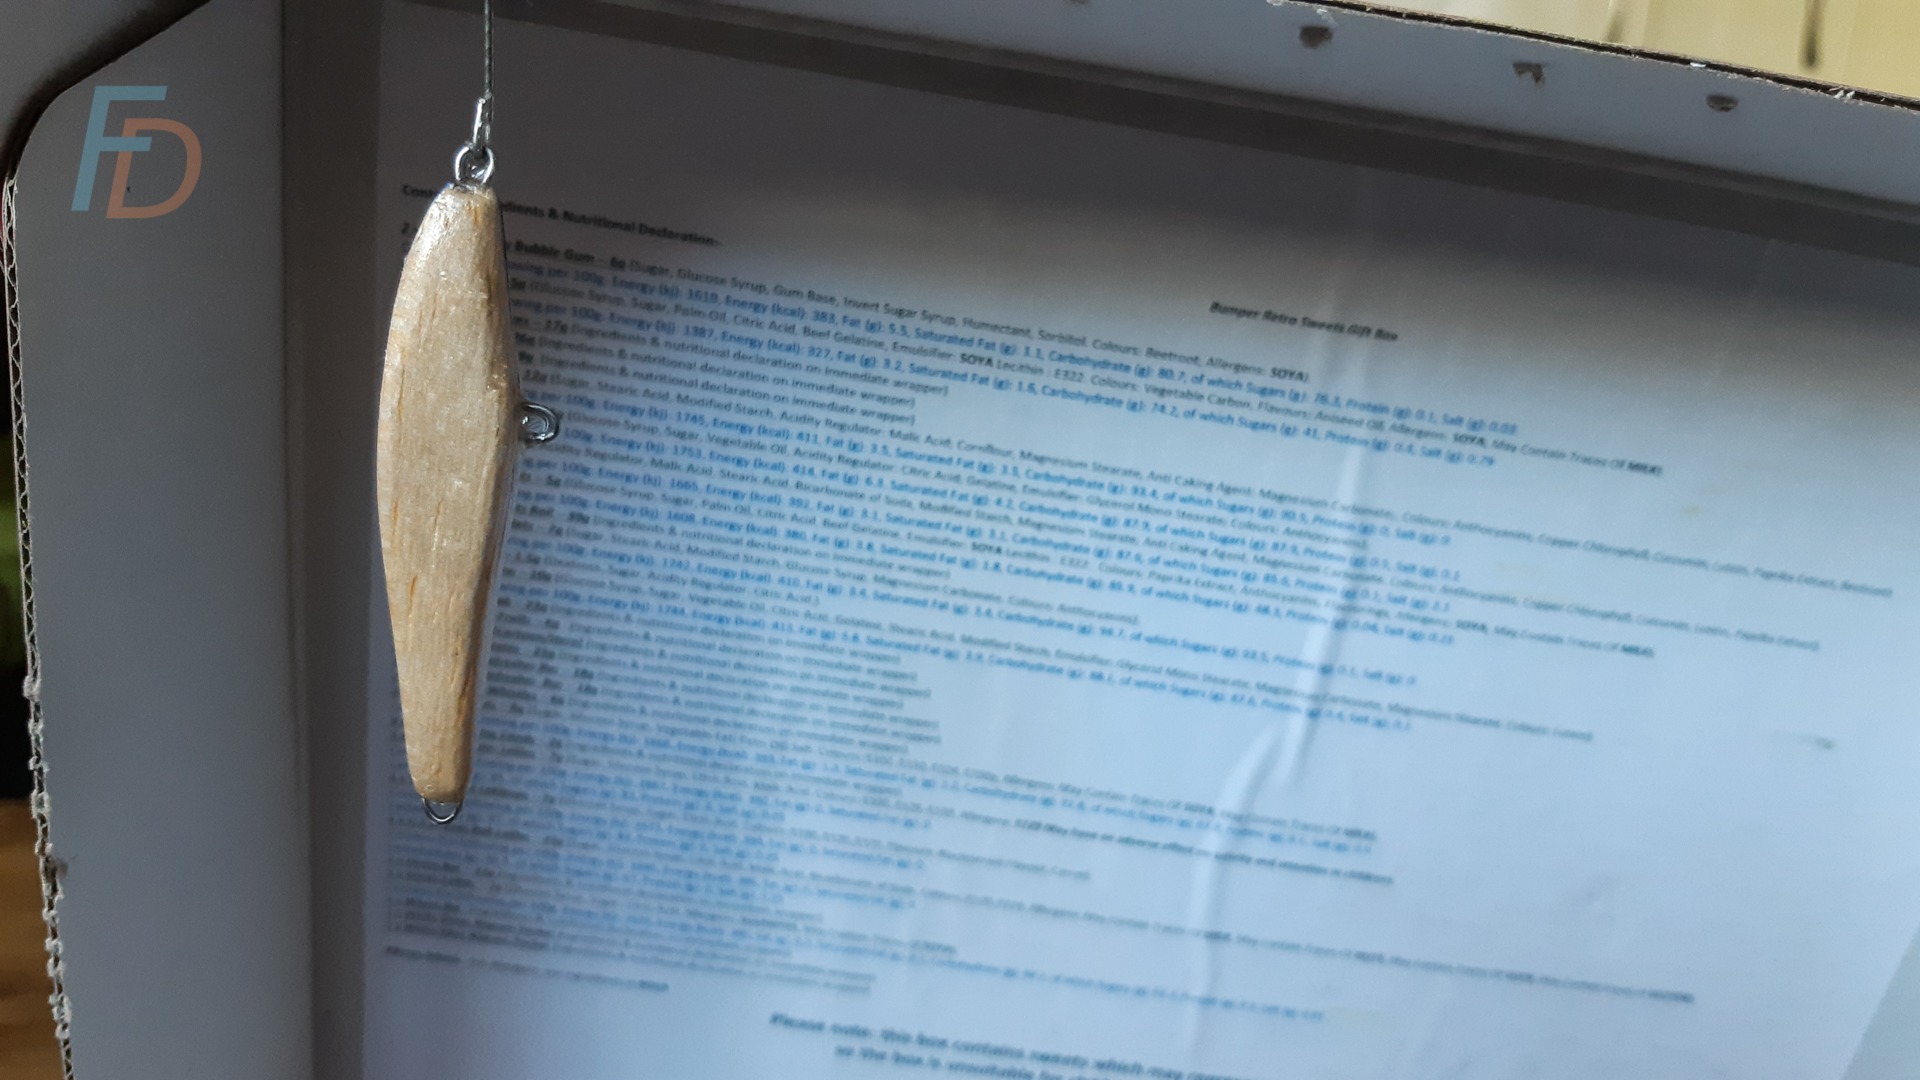
Around five to six coats (with plenty of time allowed for complete curing in between each) seems to be about right. At each new coat, the lure should be reversed - so that if the first coat was hanging tail-down; then the next coat would be head-down.
Depending on how thick the lacquer is will determine how many coats are needed. I found one of the important functions of the number of coats will be to determine the density of the lure - so that it has the correct buoyancy. If the lure is too light, the lure will float on its side (because the split shot won't be able to pull the belly of the lure beneath the surface).
How to make fishing lures: Adding foil sides to a jerk bait
I was amazed at how an effective scale pattern can be created by rolling a threaded rod over the surface of the aluminium insulation foil. Pressing firmly and rolling diagonally one way - and then turning and repeating the action at a shallow angle instantly creates a diamond-patterned surface.
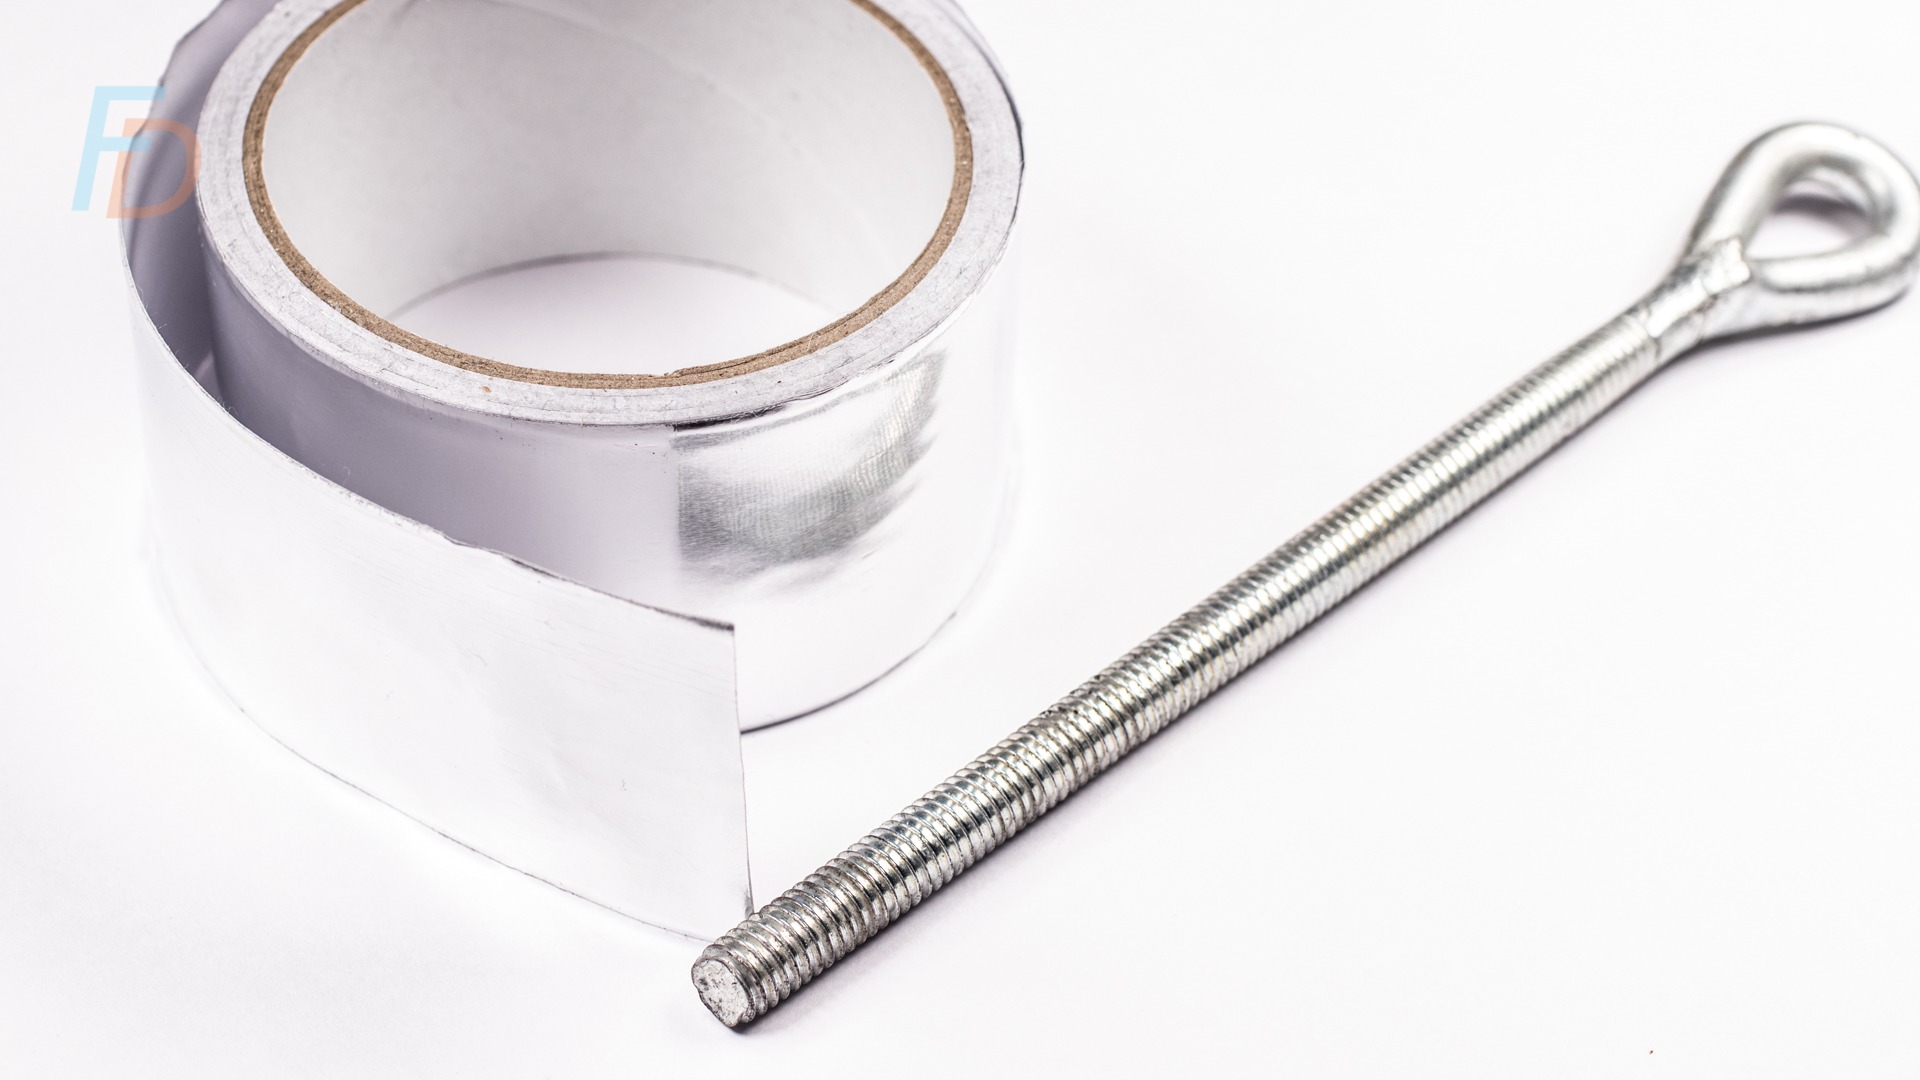
You can now draw around the bait to make the foil sides...
First fold a rectangle of the patterned aluminium foil in half; so that the two shiny, metal faces are pressed together (with the backing on the outside). Draw round the template so that the outline is drawn on the backing. Carefully cutting that out will make two identical copies fo the foil-sides...
By peeling part of the backing off and carefully lining up the rest, the foil sides can be smoothed on to the lure. Small wrinkles can be smoothed out using the edge of a pen-barrel.
Warning: The process of smoothing the foil is VERY satisfying...
With the diamond-patterned sides attached, you can then take a second, folded (and unpatterned) piece of foil and draw round just the head of the lure. Sketch in a gill plate and then carefully cut out - again producing two identical head/gill-plate shapes.
Stick on and smooth out as before. You can see what I ended up with below:

The diamond-patterned foil sides are overlayed with smooth head/gill-plate sections and the edges are smoothed on using the outside of a pen barrel
With the foil in place, it is time for another two coats of nitrocellulose lacquer.
Pro Tip: I discovered that, once the top coat was fully cured, this was a good time to check how bouyant the lure was - you need to allow for the paint layers, the final, clear top-coat (which is quite dense) as well as the split rings and the hooks.
I found that having it just about sitting vertically in the water when tapped under with a finger - but still easy to knock over onto its side to lay flat on the surface was good at this stage.
Once the lure was complete I ended up with a very good "suspension" neutral float/very slow float.
Coming up to the fun part of painting the lure - the only thing left after that is how you want to fish it! To get a head start there's some really practical skills and tactics covered in my guide to fishing hard and soft baits. Right now, it's available to download instantly for free:
Best Lure Fishing Tactics...
This full-color guide (illustrated throughout) contains my favourite tricks and tactics for catching more fish on both hard and soft baits. It's set up as a series of quick hits you can easily cherry pick and add to your game one at a time when it suits you.
Just Click Here or on the Book Image/Button below to register for your Free Copy - plus 5 more fishing secrets via email:
How to make fishing lures: Painting a Balsa Minnow
By this time I felt like I was getting towards the final straight - but I was also nervous that it had gone quite well so far and there were some particularly good chances for me to mess it up now.
After creating eye sockets using the leather punch, it was time for the painting!
I knew I wanted something that would remind me of the barred amago parr I'd come across in Japan while tenkara fishing - while at the same time would be a good imitation of my local brown trout parr. Fortunately, the barred flanks, red and black spots are a feature of both fish.
I copied the barring pattern from a photograph of a beautiful amago (and, after drawing round the paper template, cut that pattern into a sheet of clear, stiff cellophane sheet taken from a box of cakes).
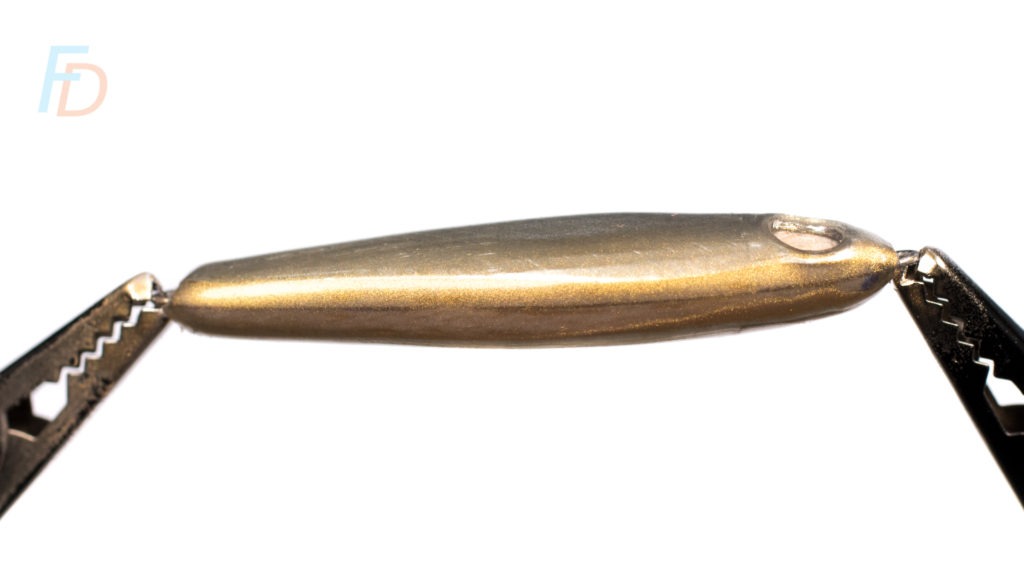
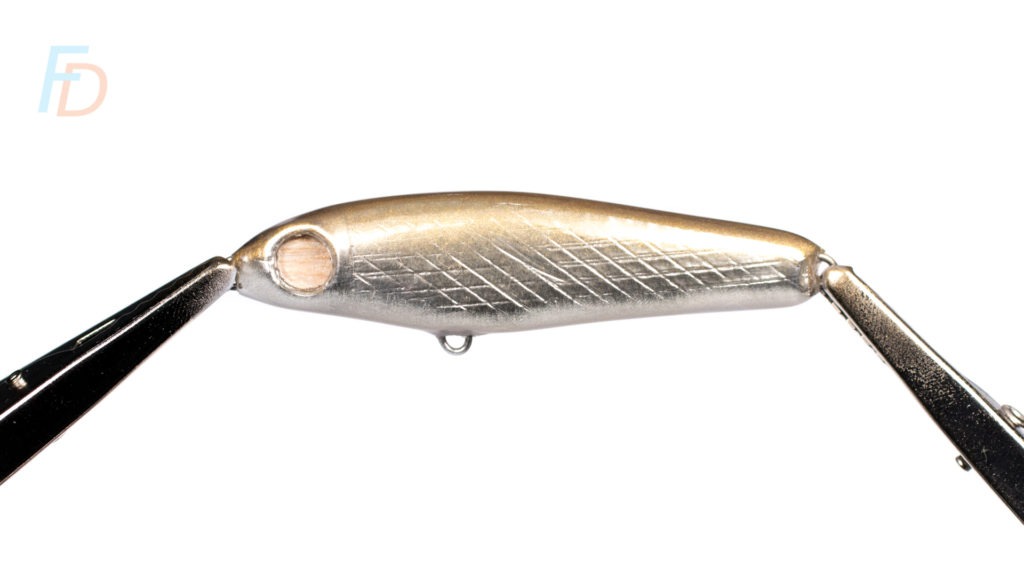
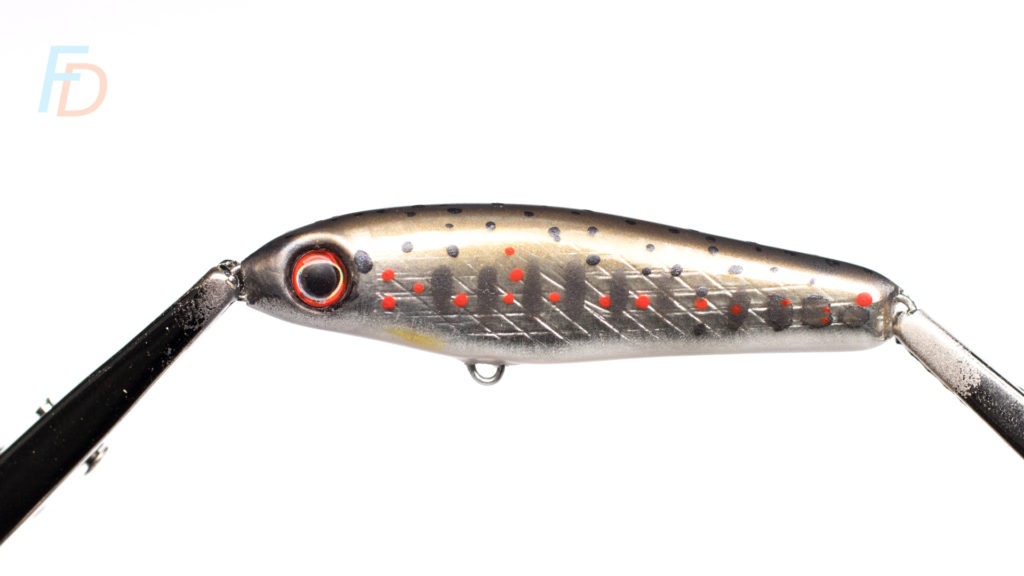
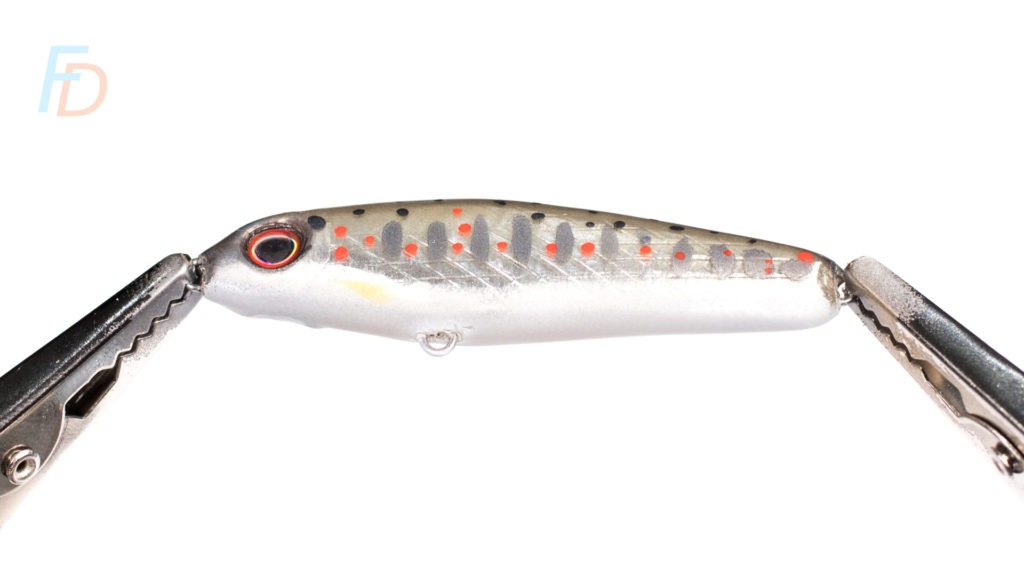
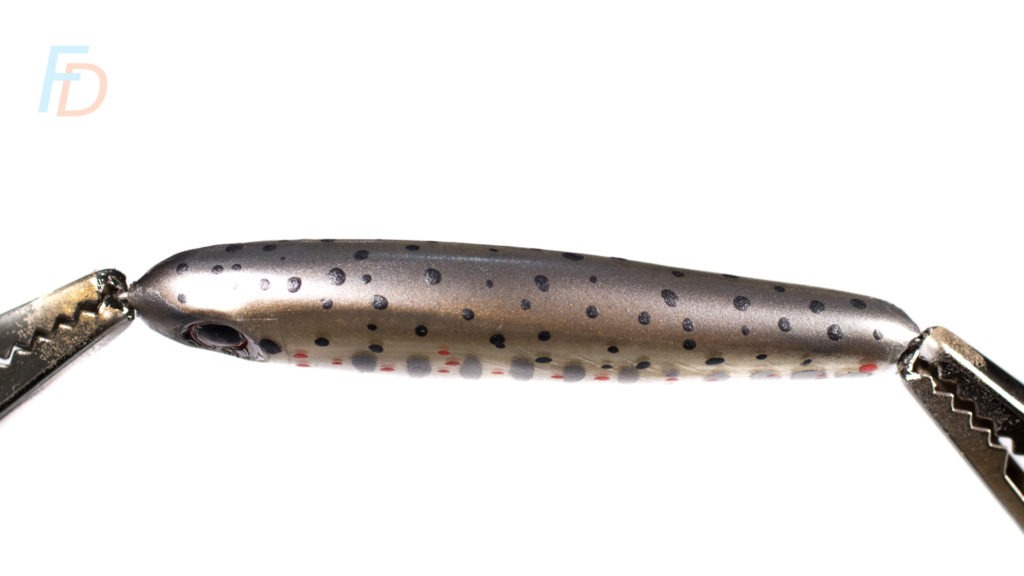
The first thing I did was to add the white belly using a very affordable airbrush that I found on Amazon. Since I only wanted to put fine layers of paint as background colours, it worked fine in this application. Next came the gold layer on the back (the little "helping hands/crocodile clip stand" was really useful during this stage).
Then I sprayed gun metal grey through the template on the flanks - and also added a layer of gun metal grey over the gold in the centre of the back to create a dark to light blend from the back to the flanks.
I added some rust/orange pectoral fins and then the black and red dots I applied directly (by dipping the cut end of the 0.7-mm wire into the paint and dabbing it onto the bait).
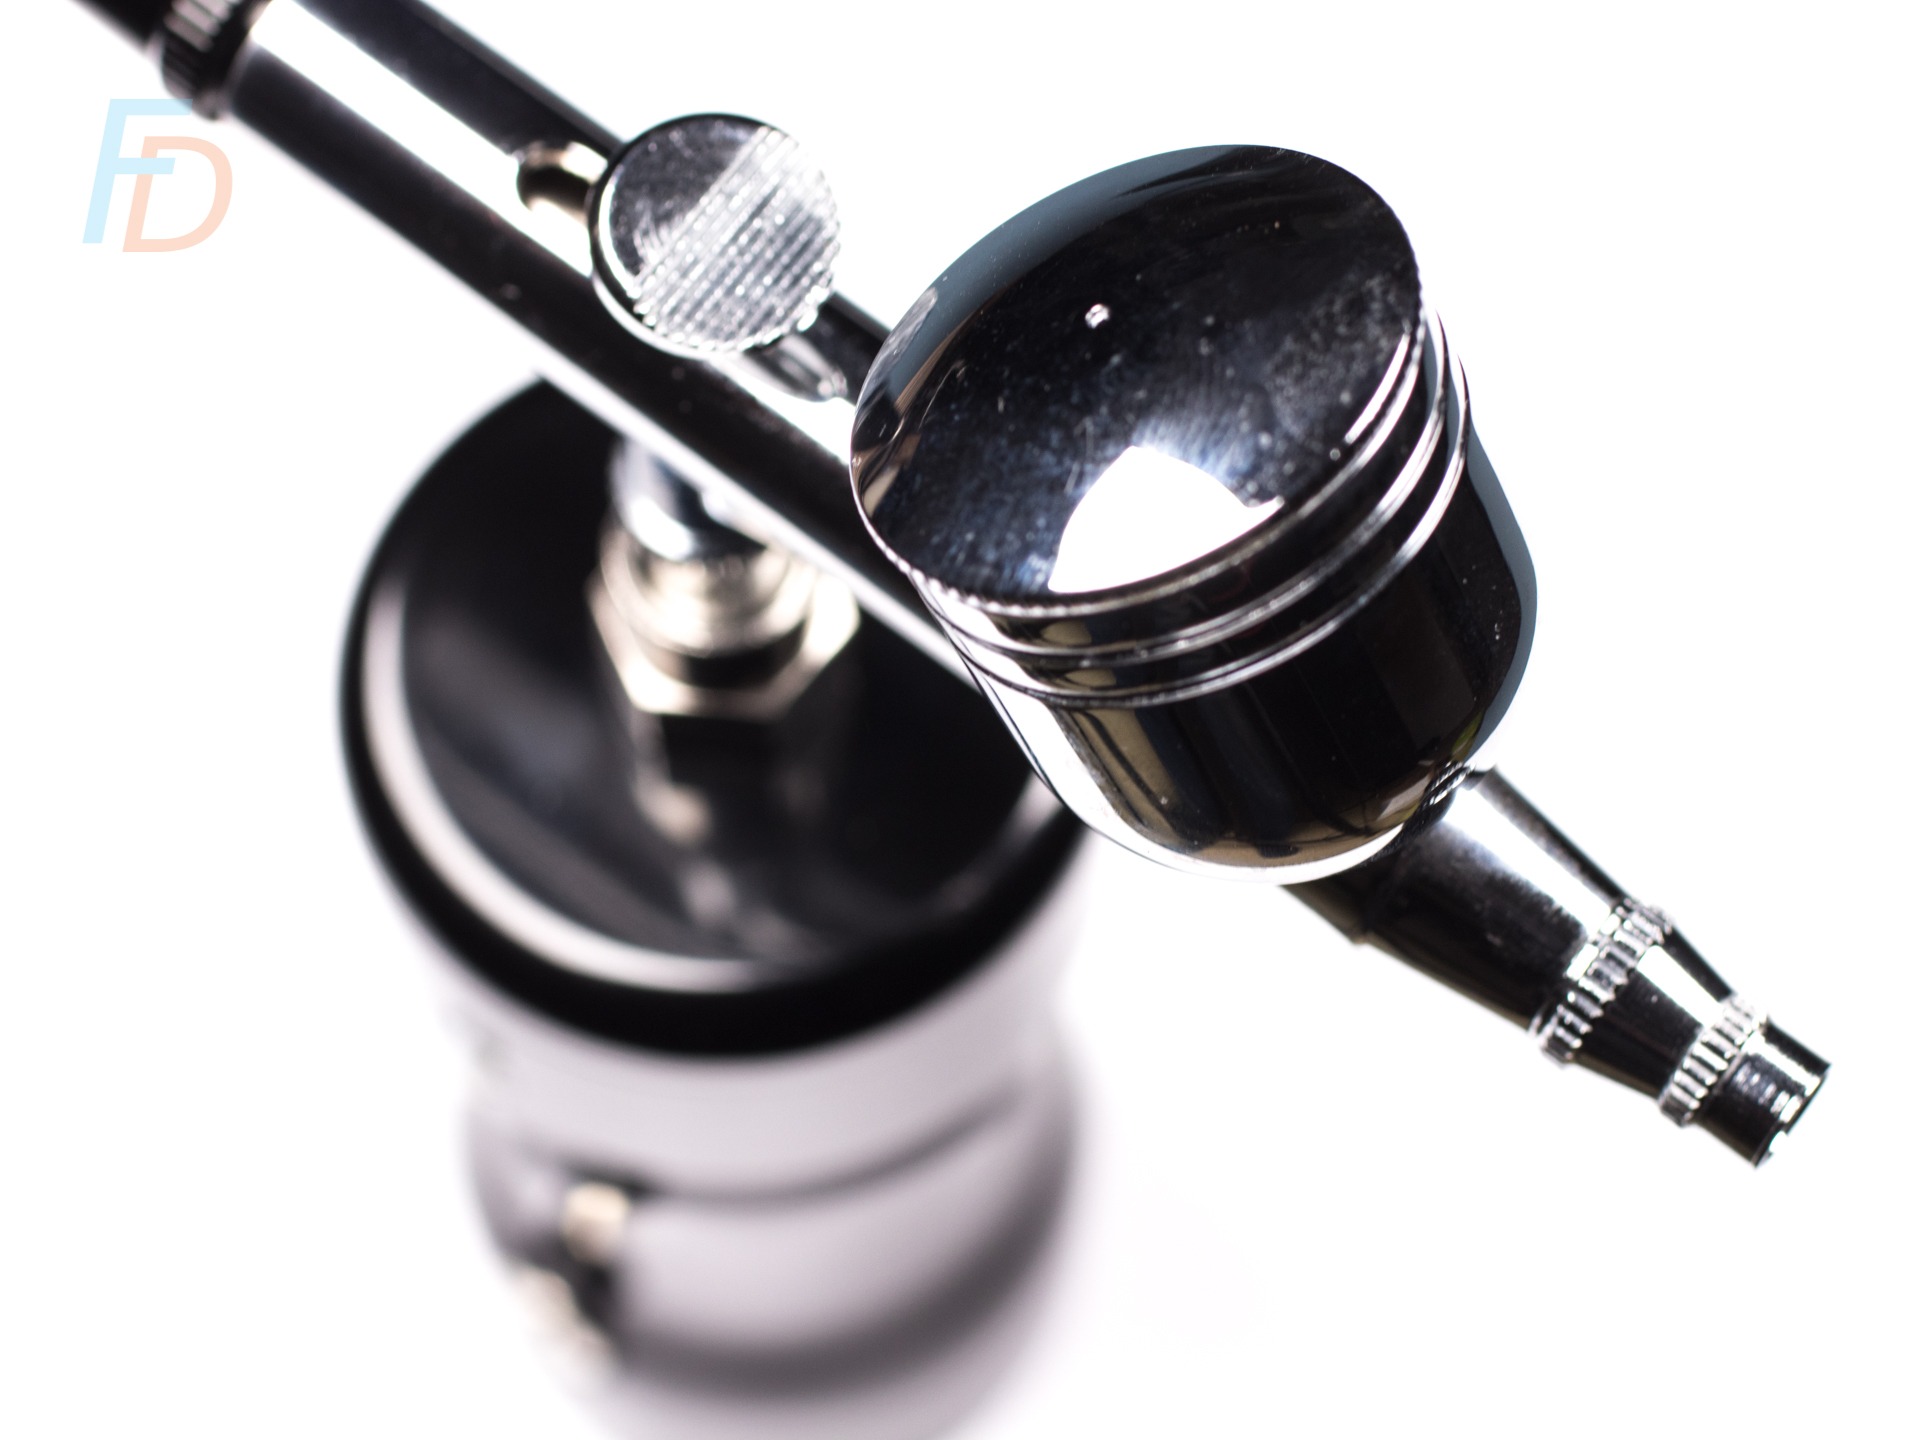
There are a ton of beginner airbrushing videos on YouTube which are really helpful - particularly for the basics of how to clean out the brush when changing from one paint to the next (and how useful the cleaning pot is if you value your lungs!). As an aside, I had two reasons for choosing water-based acrylic paints. Firstly so that I wouldn't have as much need of a full on spray-booth/fume-hood and secondly so that the paints wouldn't be dissolved by the solvents in my top-coat lacquer.
Final steps for a balsa minnow
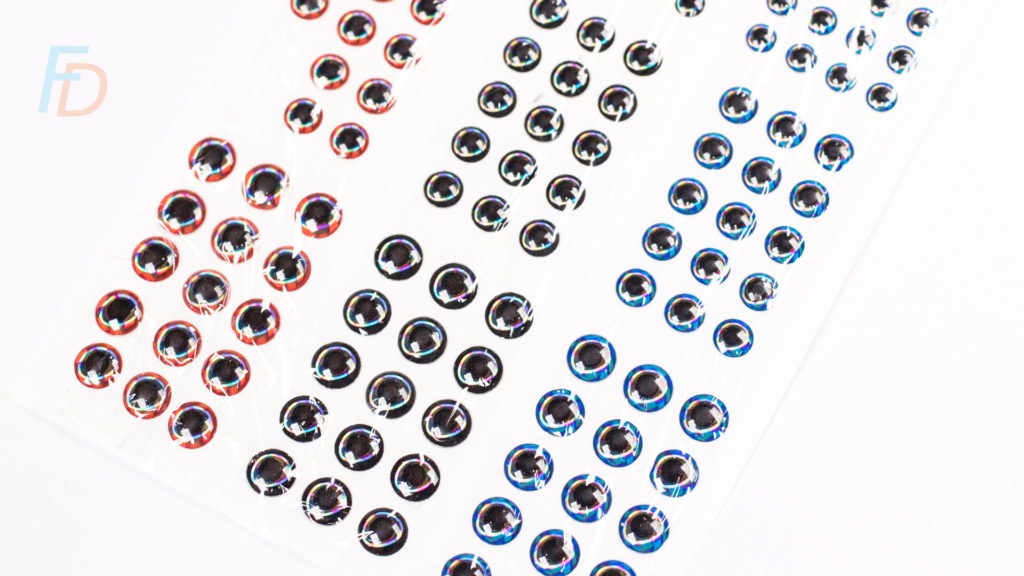
Sticking the 3-D eyes in place is a simple case of dabbing some water resistant superglue on the back of each and carefully siting them in each eye socket. The more difficult thing was cutting the eye sockets so that they were level and equal (mine were slightly uneven).
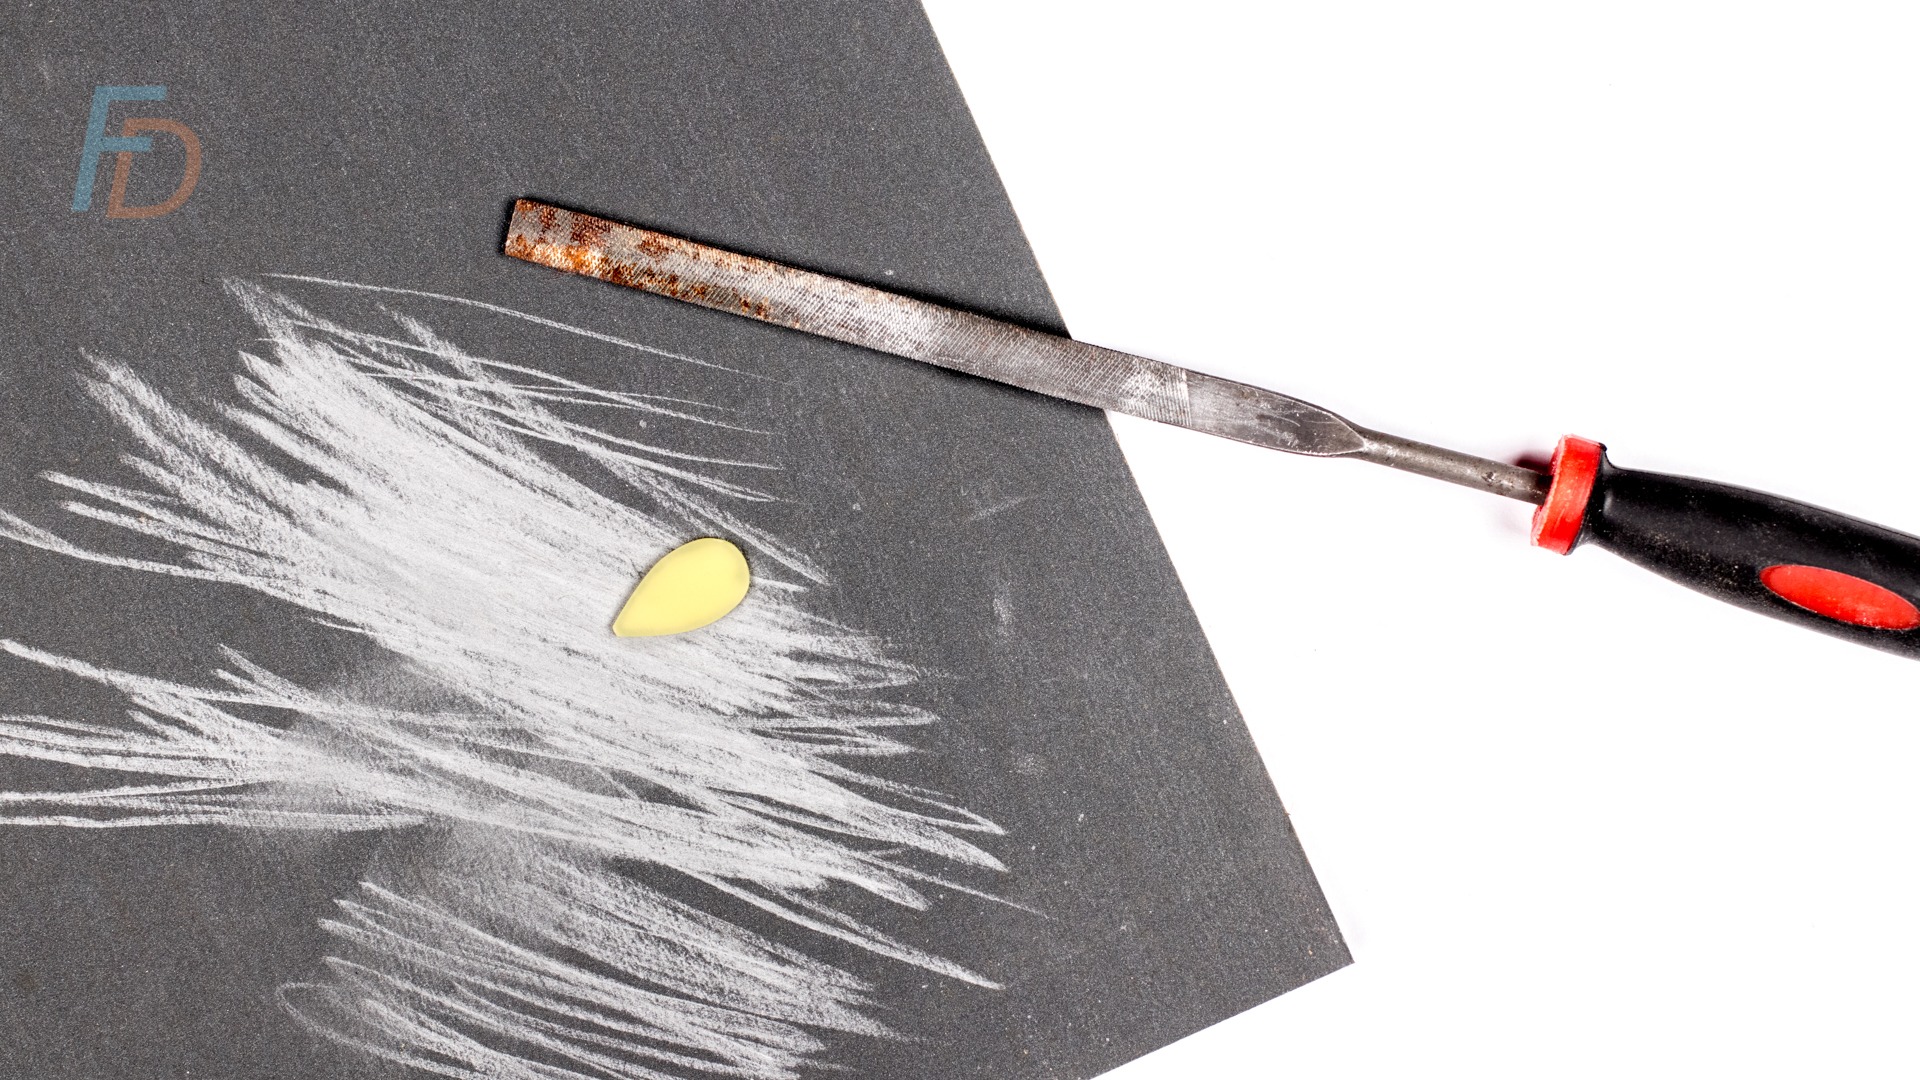
I also needed to shape and fit the lip to give the bait its action. Here patience is a real virtue - because getting the lip slightly uneven will stop the bait from swimming straight. Drawing round a lip template and then roughly cutting out the shape was followed by a lot of shaping with a flat file and, ultimately, 1200-grit wet and dry paper (though 600 grit would do the job from a shaping point of view).
Cutting the groove to fit the lip into was done using a scalpel - and I glued mine in place using water-resistant superglue. I also consolidated that with the final topcoat as well.
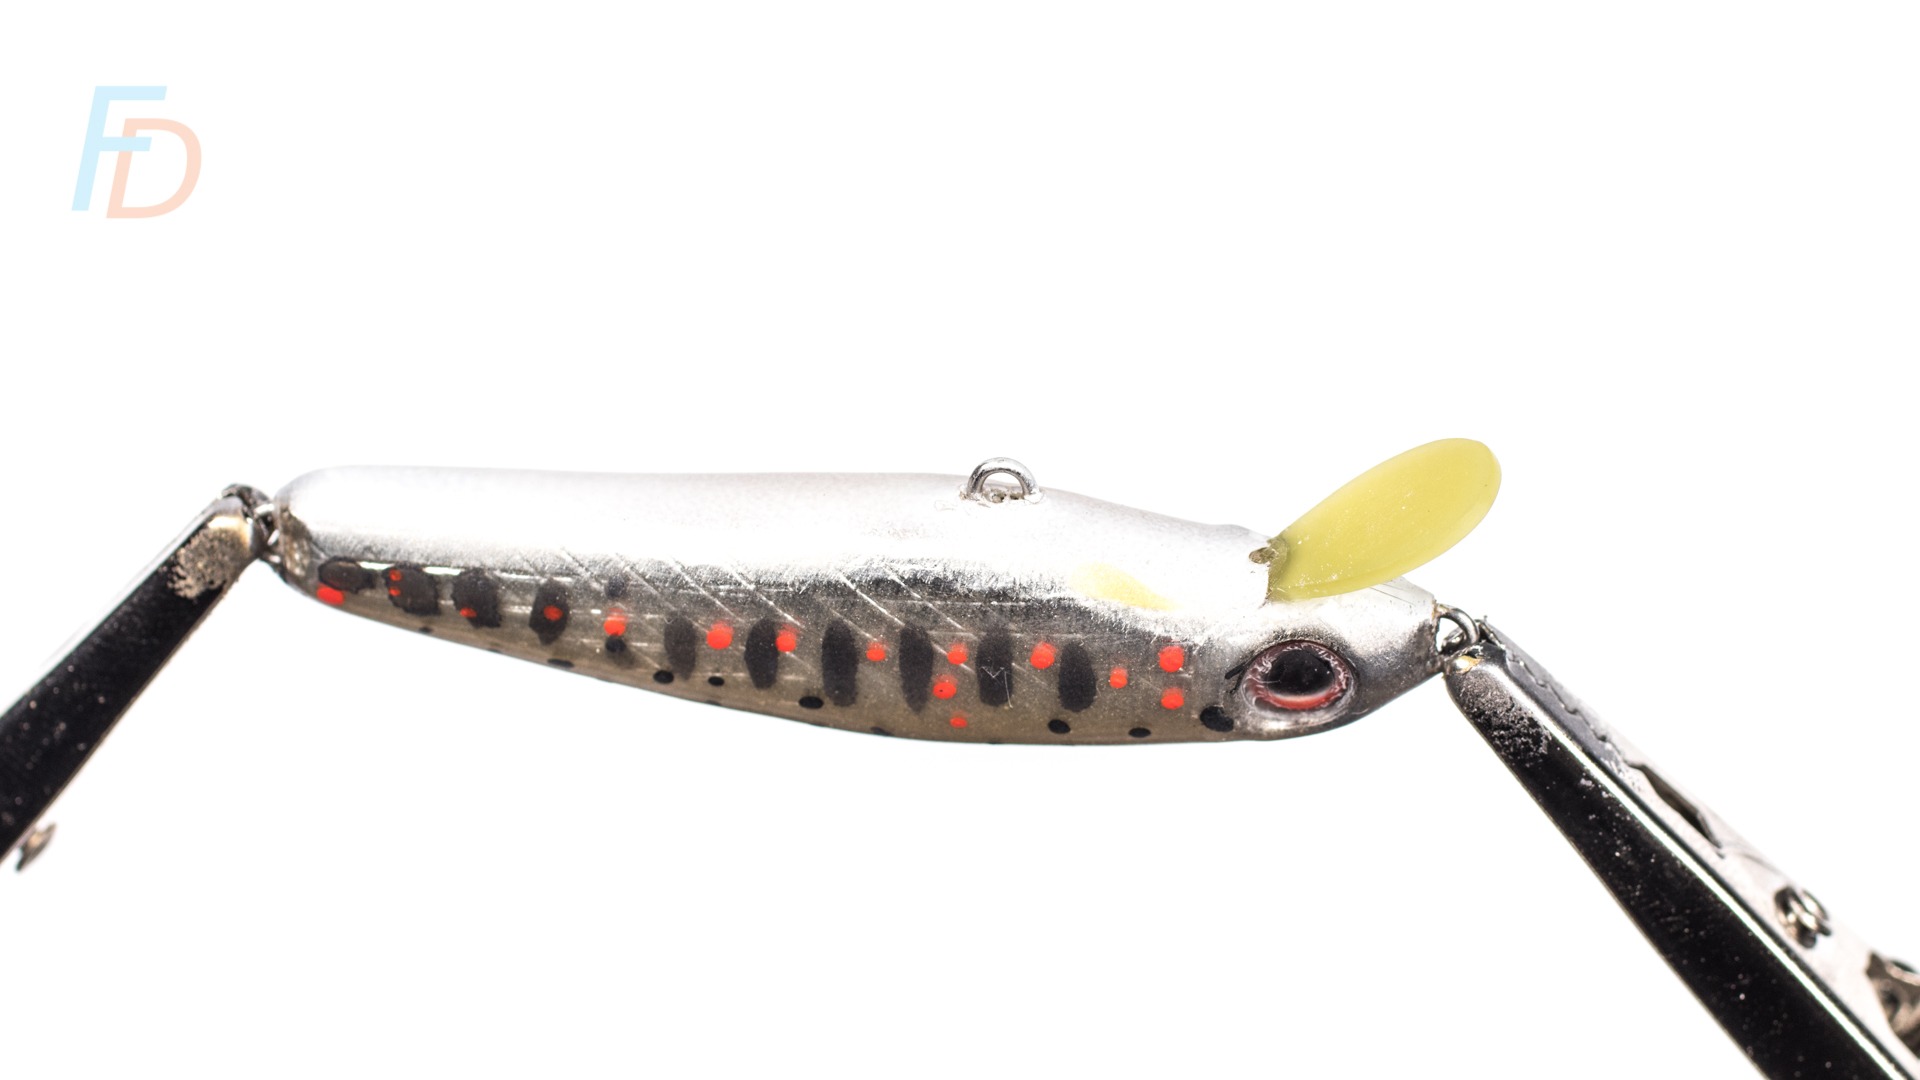
Setting the lip in place was nerve-wracking because the glue would go off quickly - so I needed to set it straight right off the bat
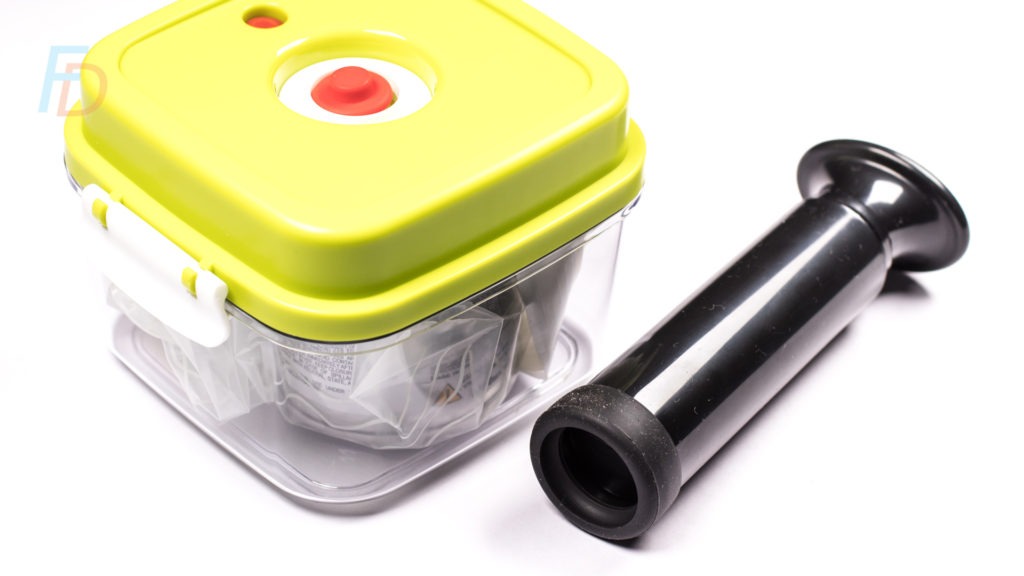
For my topcoat I used KBS Diamond Finish Clear (a moisture-cured urethane lacquer) - which I have subsequently stored in a vacuum-pack box. Any moisture in the air will cause this lacquer to cure, so I wanted to preserve my tin for future use. The pump looks like something out of an Austin Powers movie ("Seriously baby, it's not my bag!"), but it is a very affordable solution compared to buying argon gas to spray into the tin between each use.
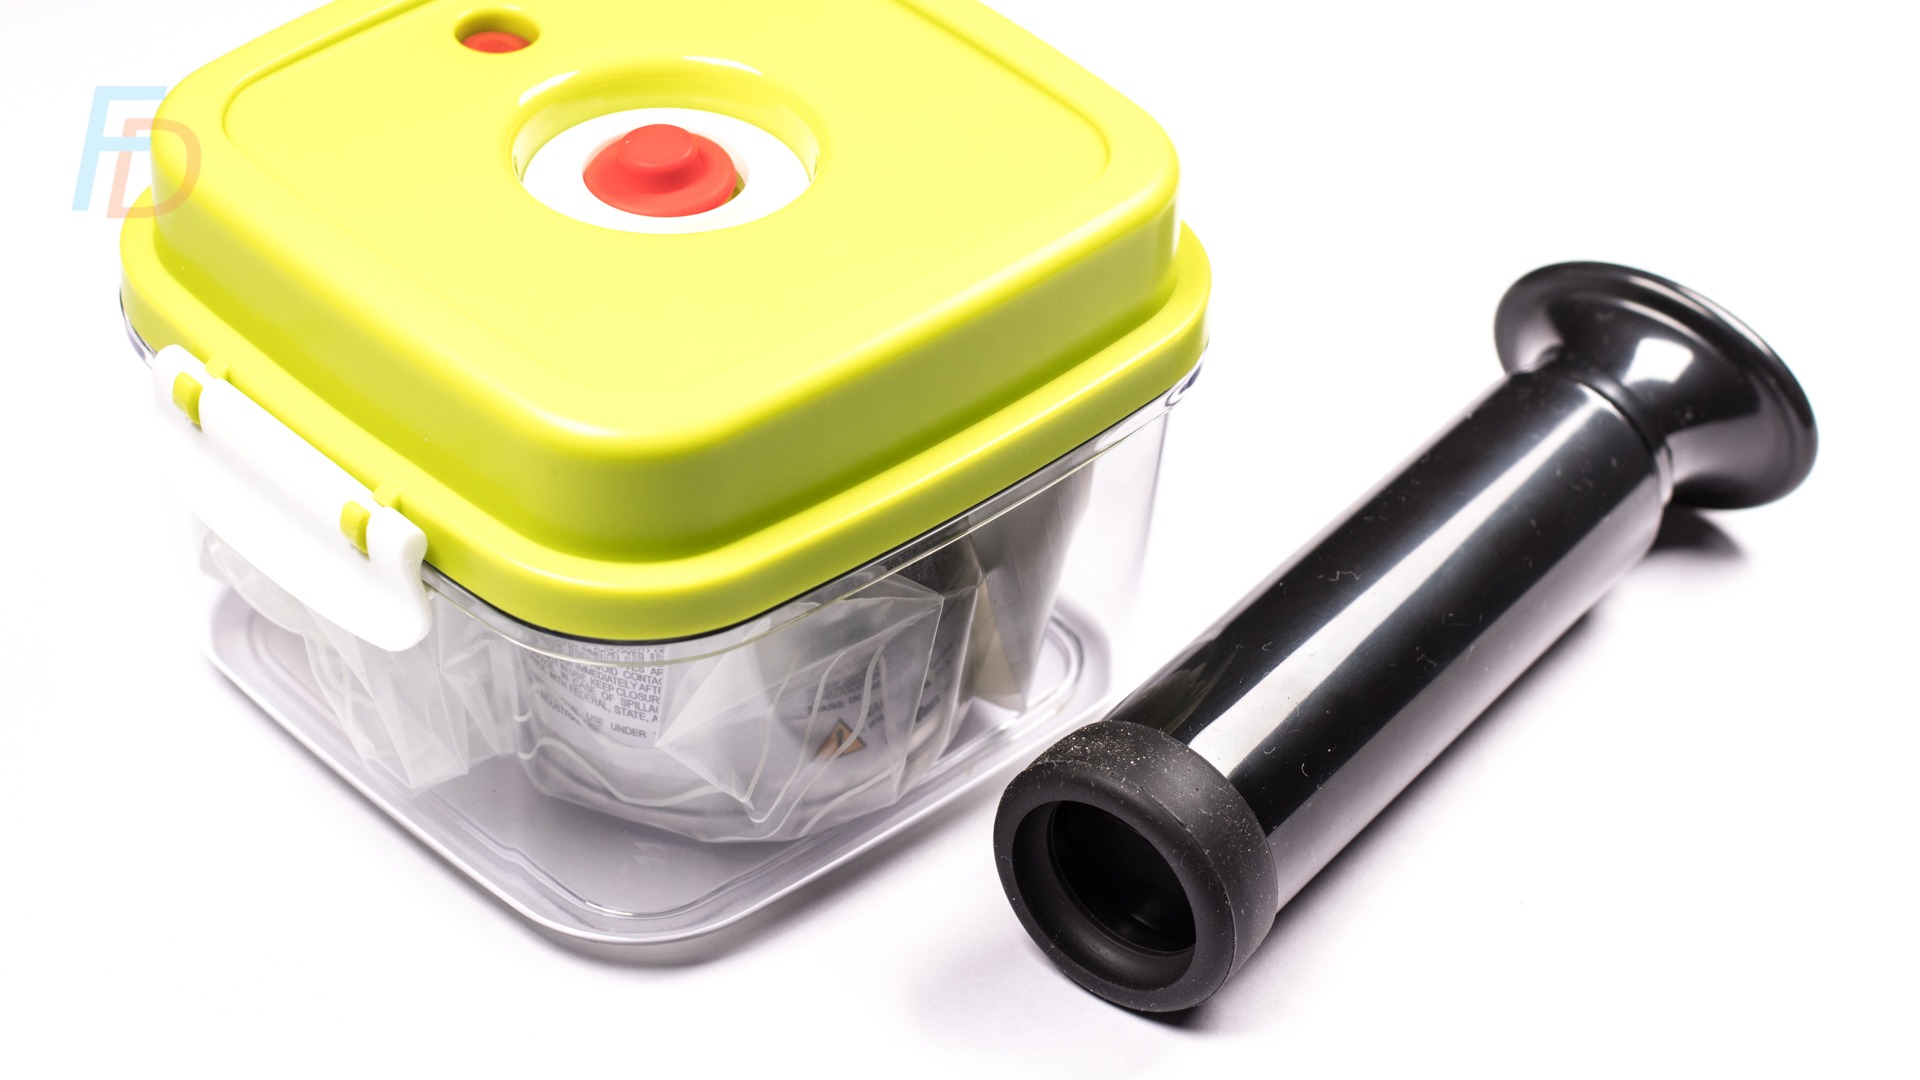
My main mistake here was to put the topcoat on a little too thick - and this caused some bubbles of carbon dioxide to form in the finish (since moisture on the surface of the lure released that gas as the underlying layer of resin went off). In future I think I would apply a thinner coat and then also allow the lure to hang vertically (rather than putting it on a rotisserie as I did for my first attempt).
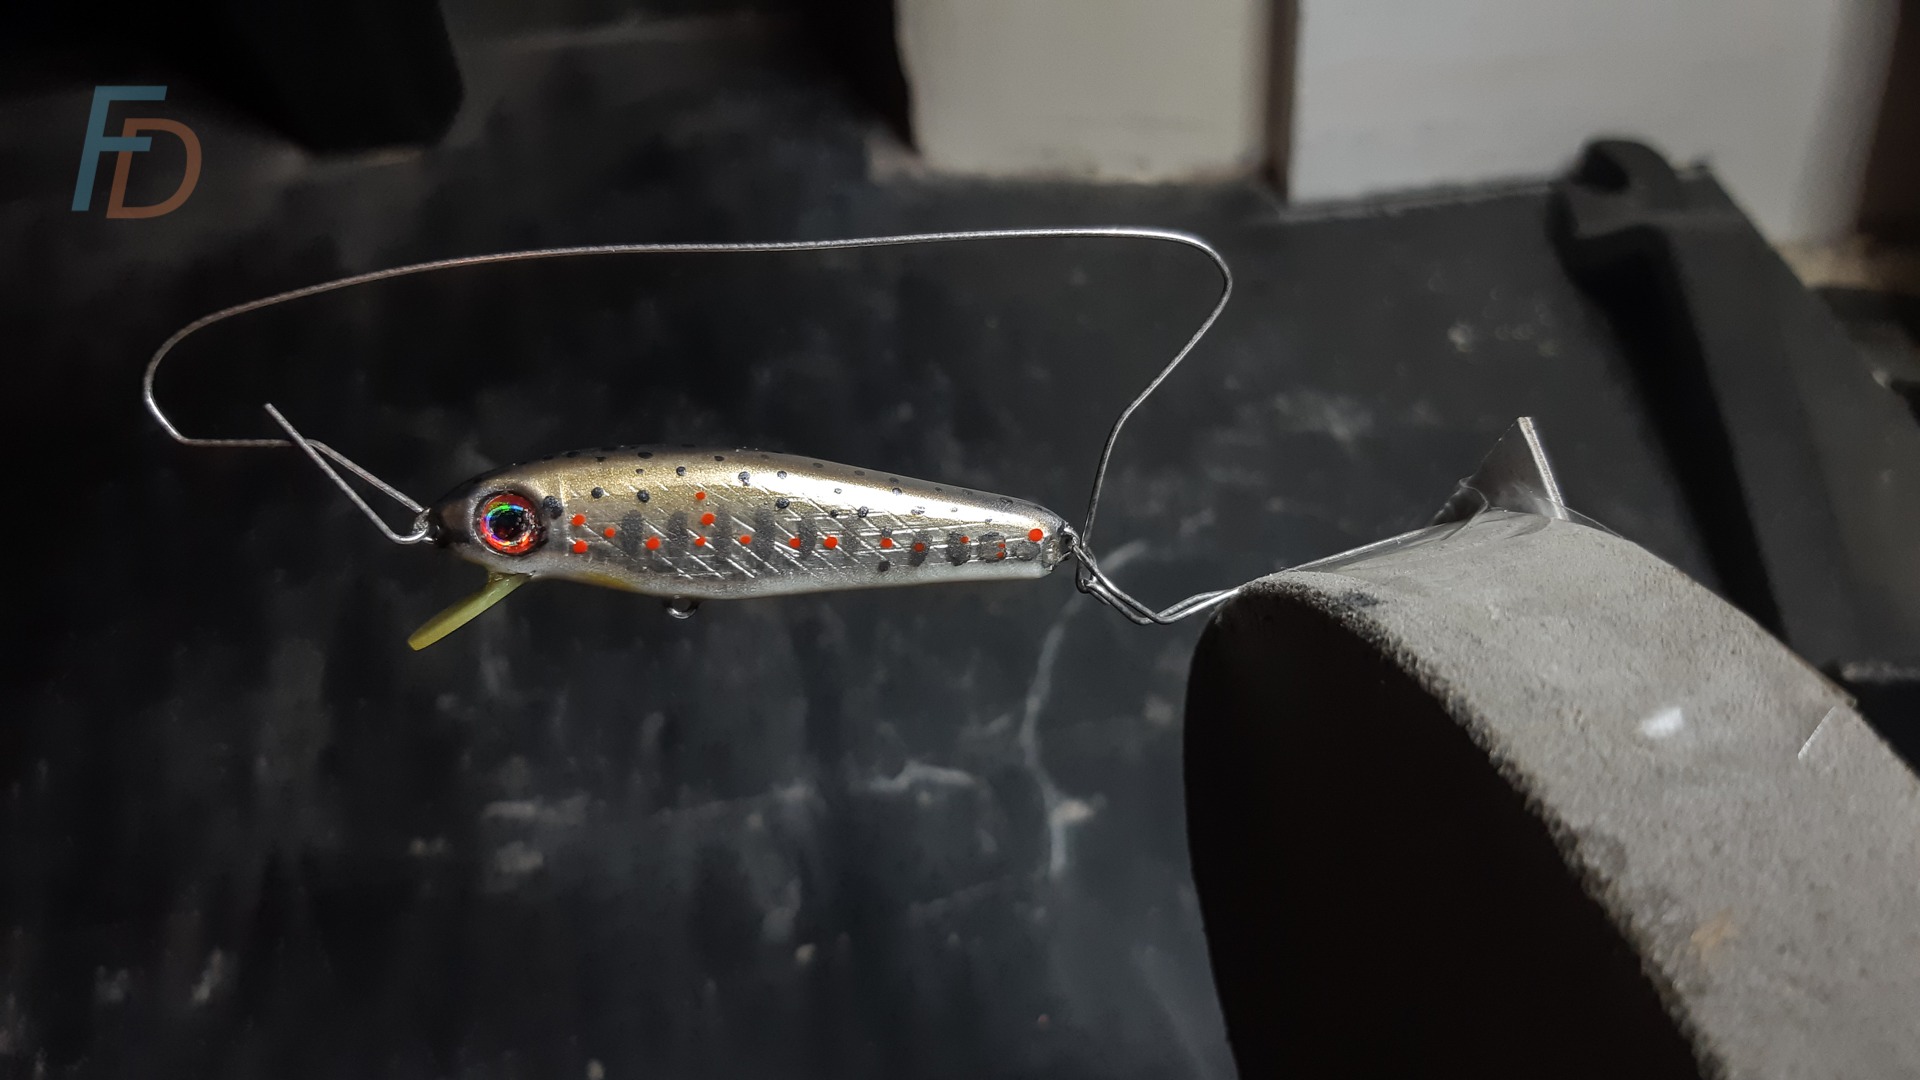
However, once that topcoat had cured, all that remained was to add the mini split rings and the hooks...
I have to admit that to get to that point was incredibly rewarding - and also a big relief because there was less chance that this part of the process would spoil the lure (compared to shaping and fitting the lip and adding the topcoat).
Of course I had to tie it on a piece of mono and dunk it in the bath to tow around and to a quick tank test - and again I was really delighted that the buoyancy worked out and that it seemed to swim straight with an enticing action.
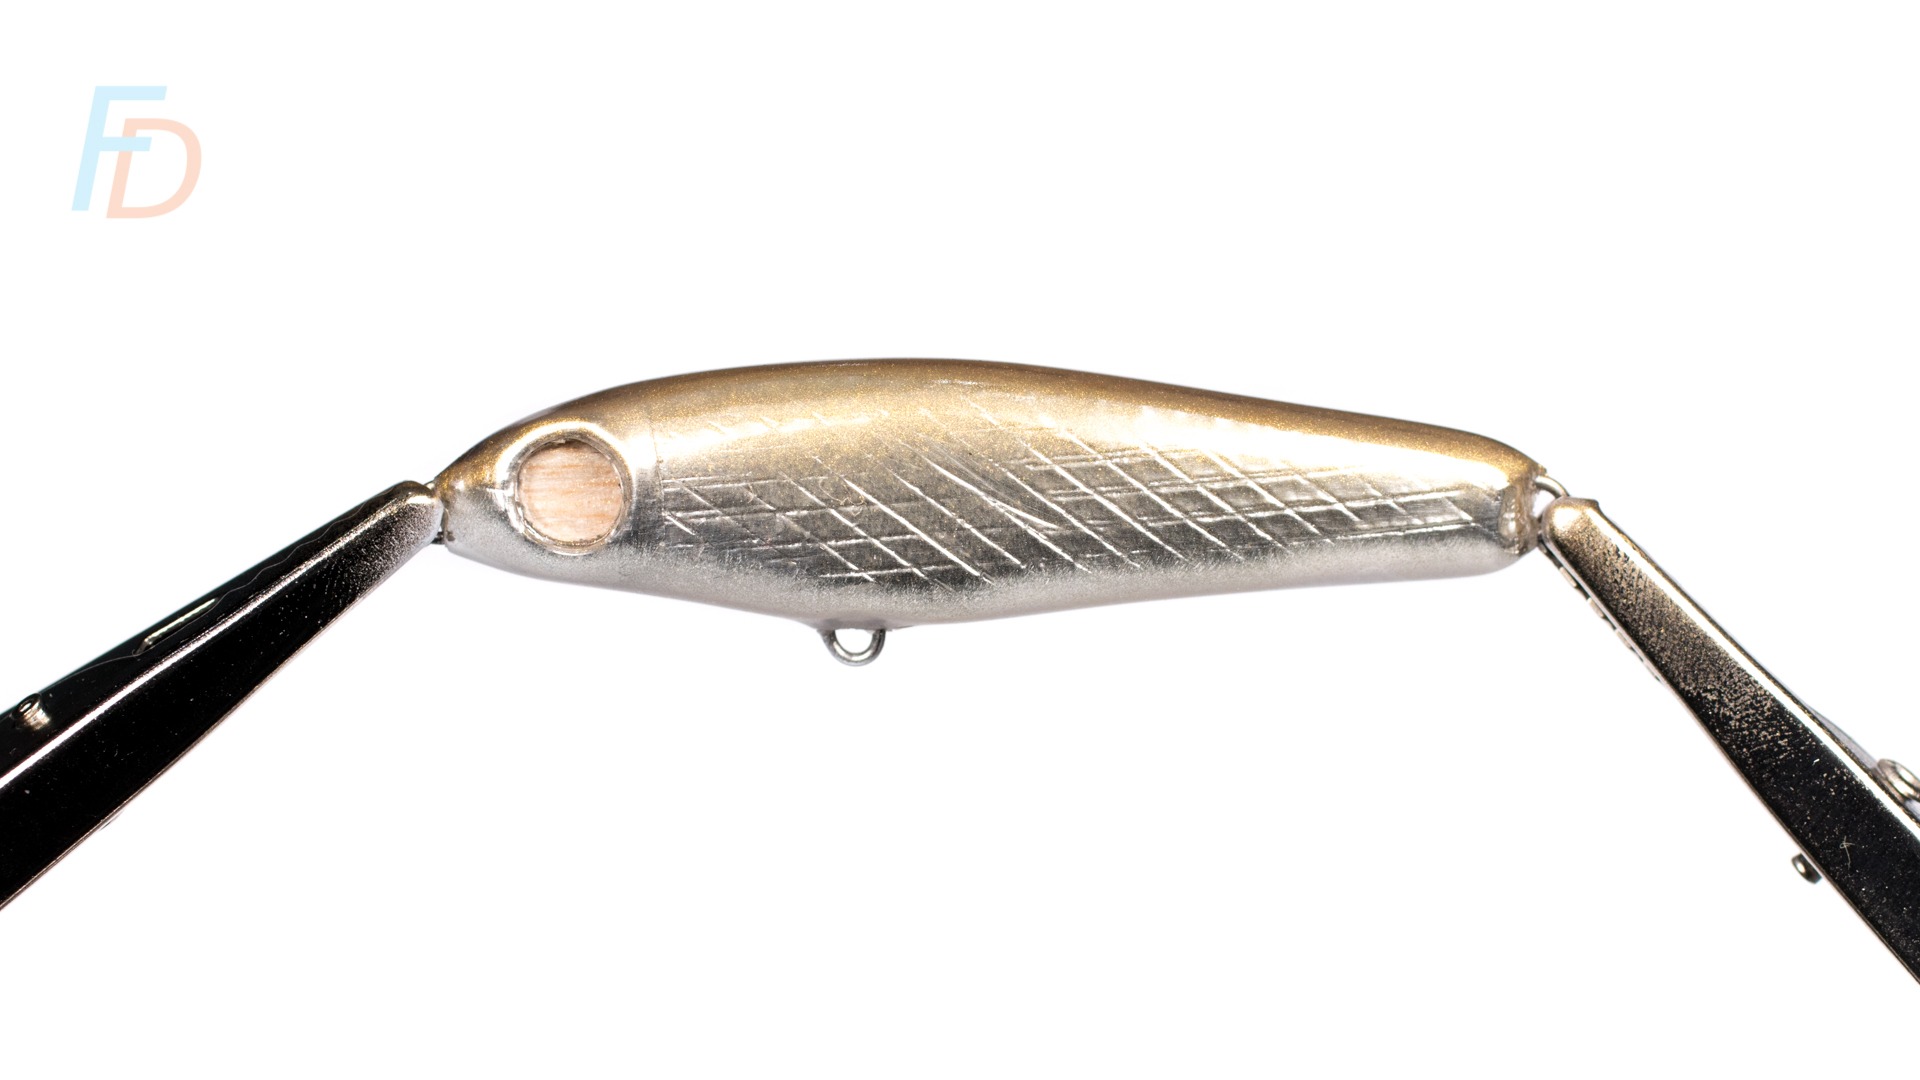
So, here is what I ended up with after the whole process was completed for the first time:
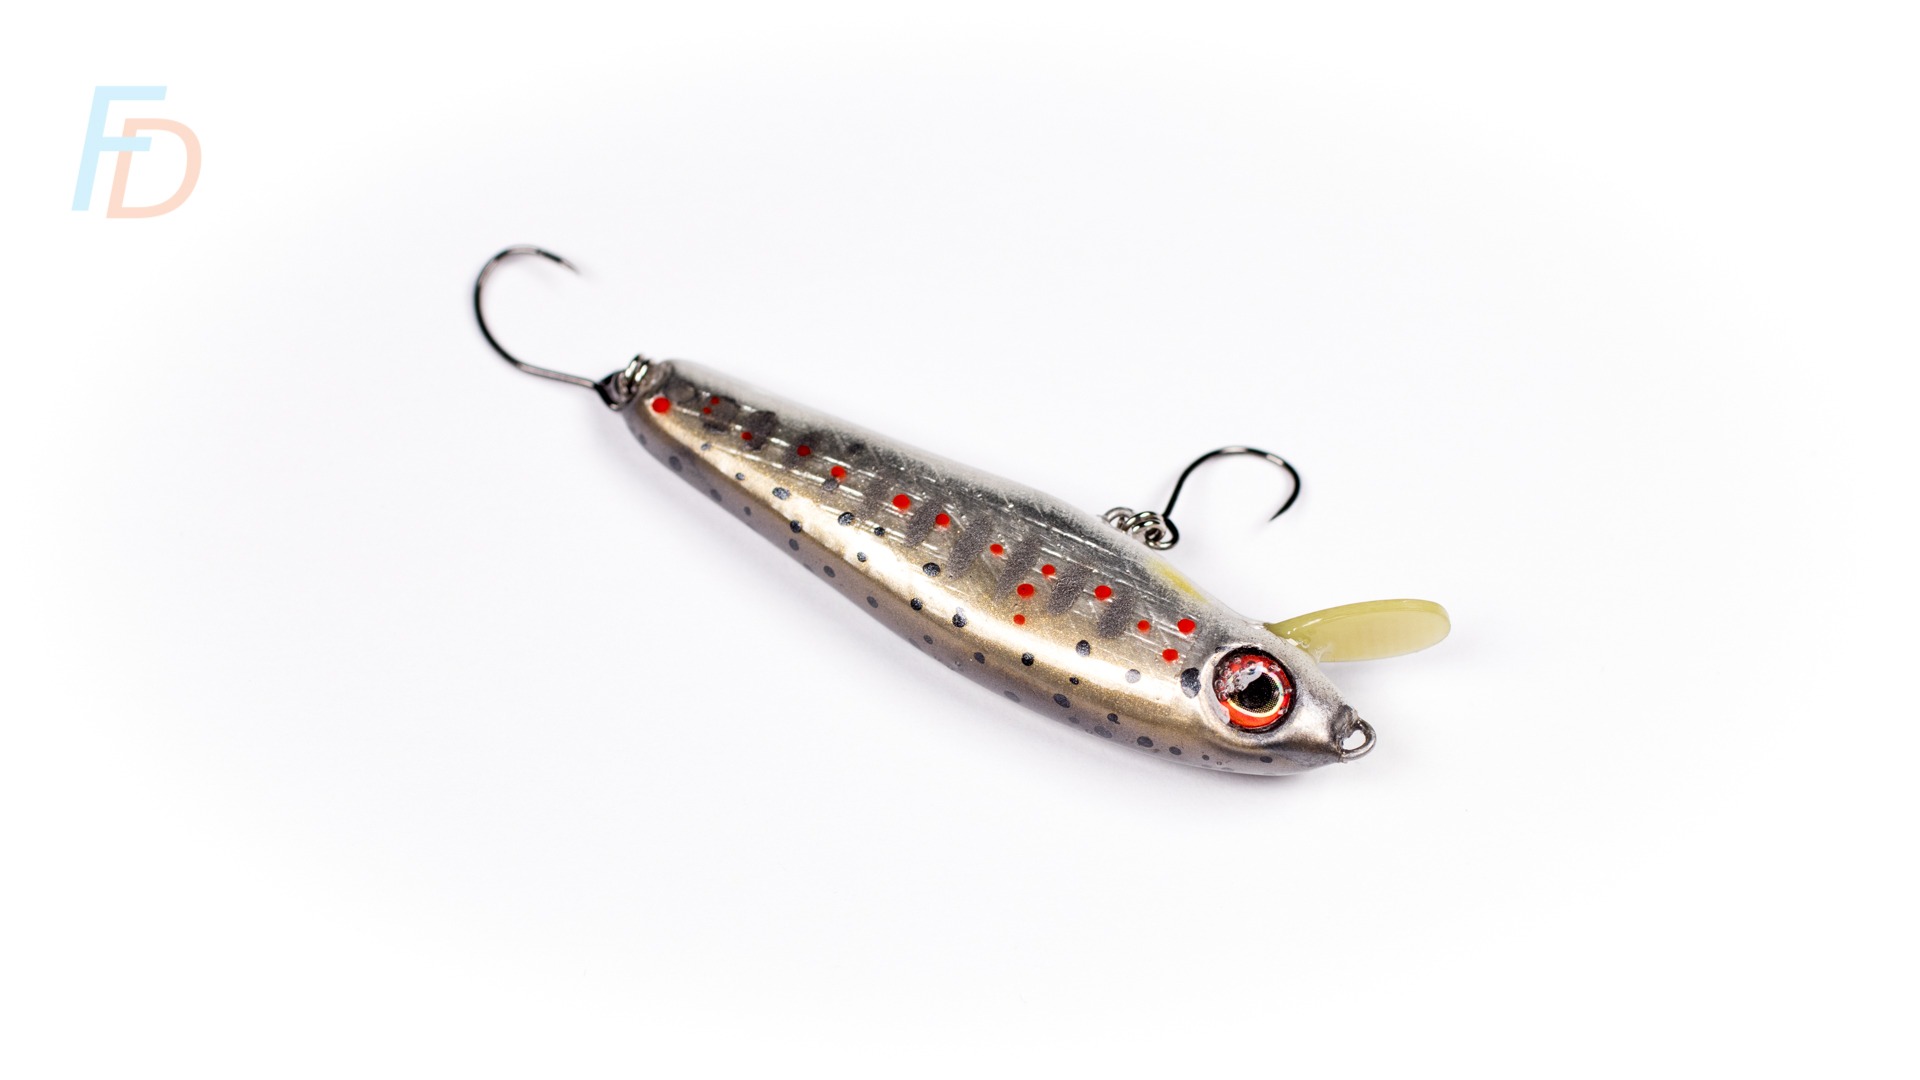


How to Make Fishing Lures: BFS Balsa Minnow Suspending Jerkbait Conclusions
All in all I'm really glad I've started to learn how to make fishing lures - and I'm really happy with the way my first balsa minnow turned out. Watch this space for attempts to catch the first fish on this bait.
Let me know what you think of this bait in the comments - and whether you might try out making your own lures. Also let me know if you already do make lures (and what kind you specialise in).
Finally, look out for updates to this article when I might try my hand at a different style of lure...
Paul

[…] How to Make Fishing Lures: Confessions of a 1st-time Lure Builder […]
Have you ever heard a fish laugh? I have. When I put a hook on a small shiny hinge just to see how it would act in the water. I also use expanding foam “great stuff” & “j.b.-weld” to make pop-R type lures, in place of wood & weights.
I think it’s great!
Paul
Yes, creative fly tiers can also use their talent to make abfab balsa lures or spinners. Why limit to flies & streamers. The combination of both worlds may leed to other (innovative) designs. I combined tubes from salmon flies with balsa lures: a mini line through balsa lure. Its my favourite. I stick the hook (point up!) in the back of the tube (tail of the fish). I’ll email you a photo.
Super interesting Rom – thanks for contributing!
Paul
Paul – you have the patience of a saint. Great result for your first effort.
Now for a monster Irwell trout before the end of the season.
Don’t tempt me Richard!!! Great shout btw and thanks for the kind comments.
Paul
It’s not making the lures that is an issue for me, it is finding a decent set of split ring pliers. I have been trying to get hold of the Daiwa Micro ones and it is proving impossible without ordering from Japan. BTW one of the best places to watch these types of lures being hand-made is here: https://www.youtube.com/channel/UCa-xsrfvLmgaUfPFE1TK7OQ
Yeah – Nate Marlin knows what’s up!
Paul