Here's John Pearson's zero to hero guide to pole fishing with rigs, methods, species and strategies all covered in one place.
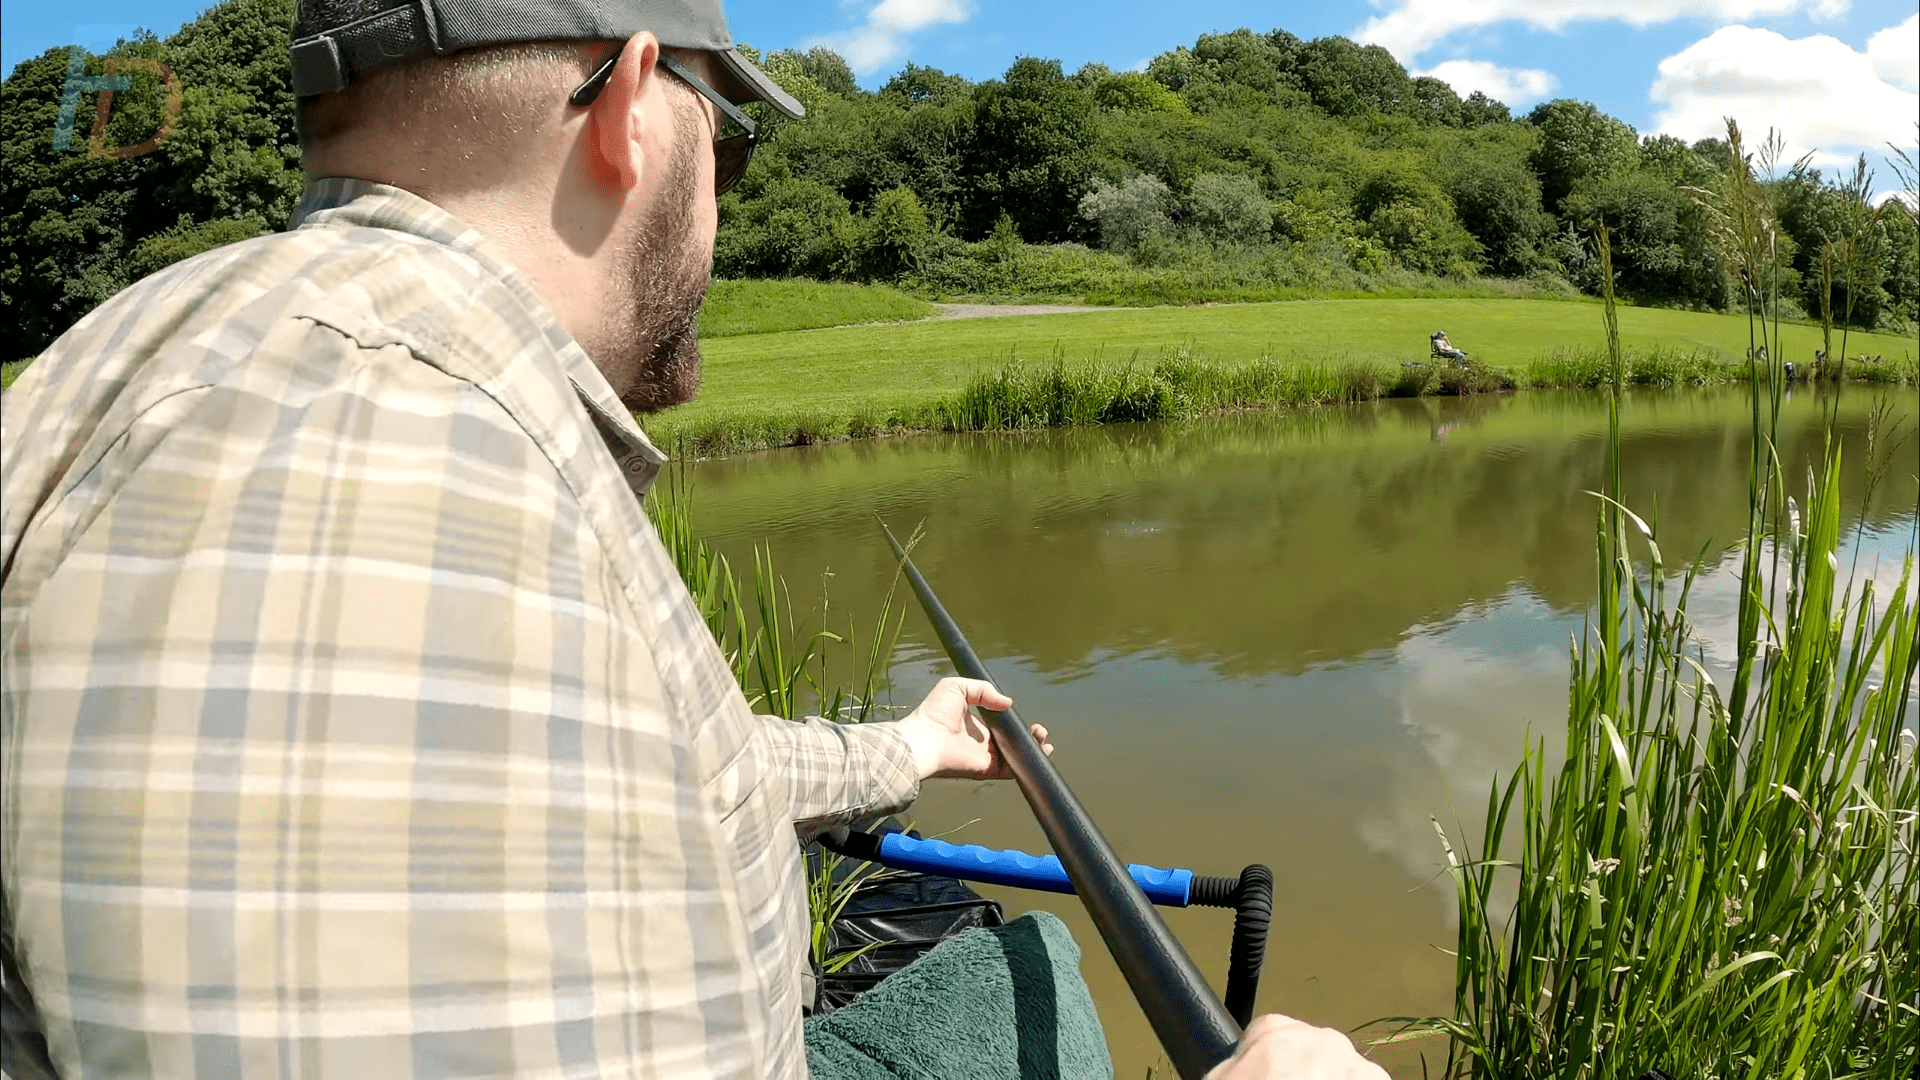
Brief History of Pole Fishing
It could be argued that fishing with a pole (i.e. without a reel) dates back thousands of years to the earliest origins of angling but the most recent examples a modern pole angler would recognise would probably be the “London roach pole” style which originated around 150 years ago on the canals of London and the surrounding area.
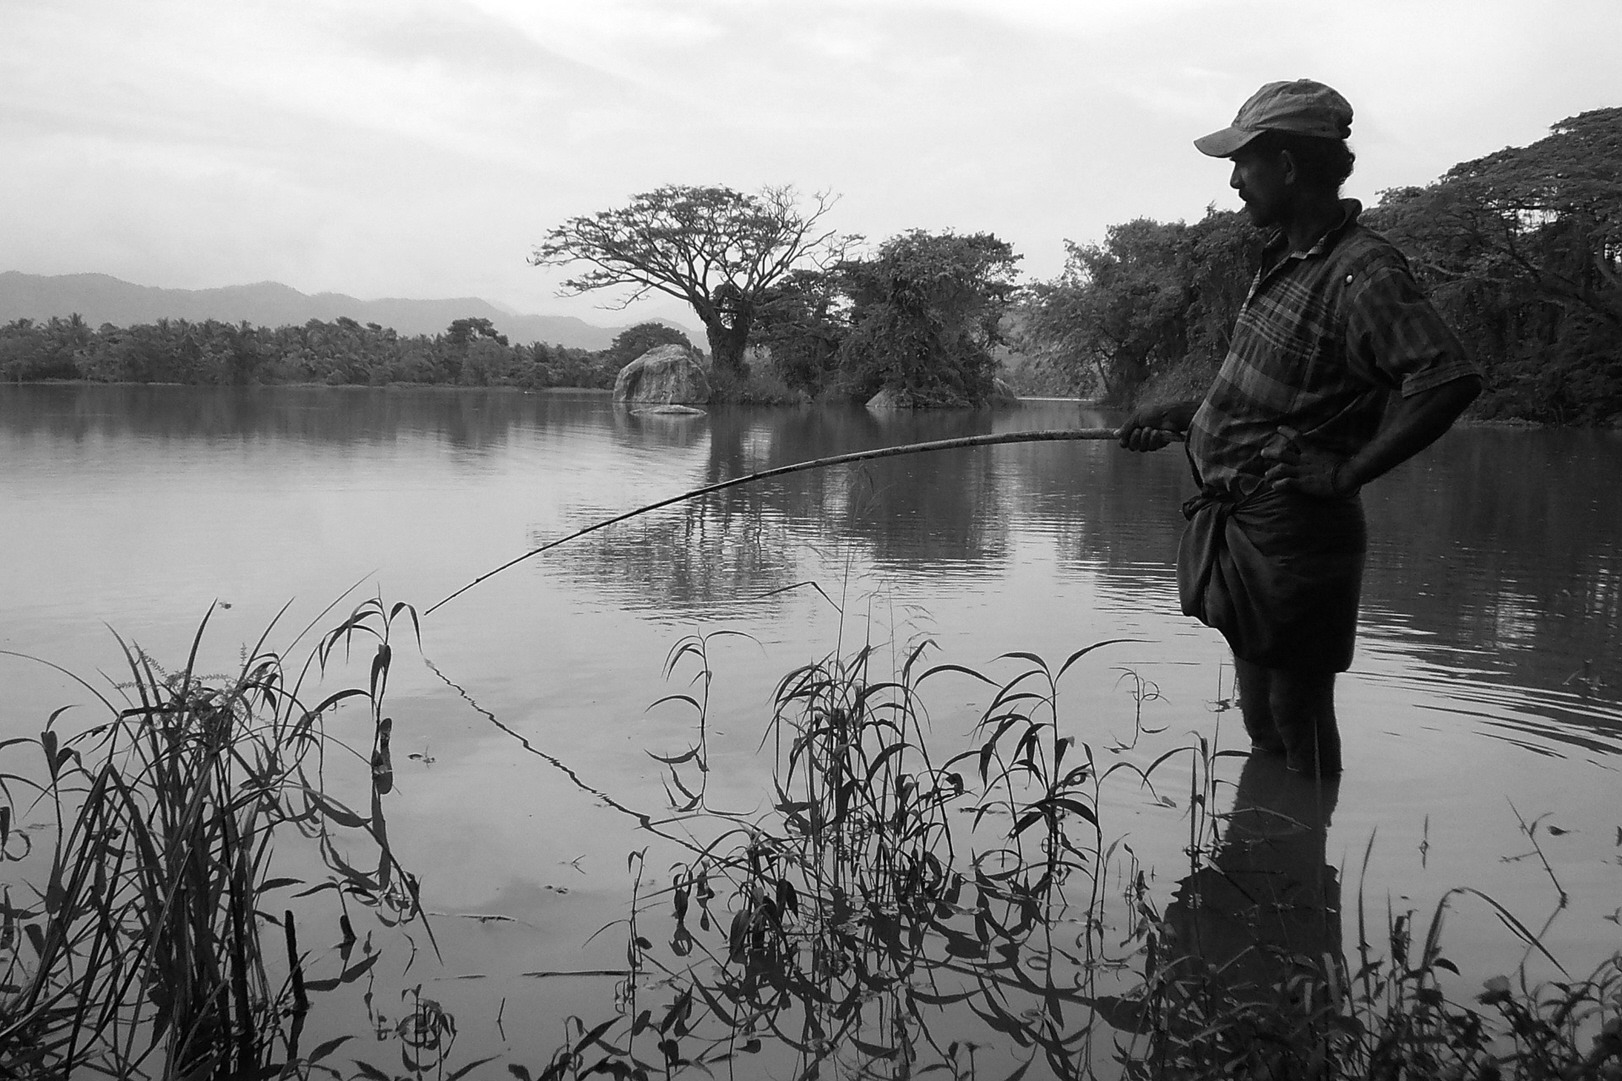
Fishing with a pole and fixed line dates back to the origins of all angling (Photo: Thanuja Sandaruwan pixabay.com)
The London roach pole (often just called roach pole as it spread throughout the UK – especially in the 1960s and 70s) was made from bamboo sections which functioned pretty much the same as poles of today and included a similar set of accessories such as pole winders carrying ready tied rigs.
Earliest examples of the roach pole started at around 14 feet/4.2m but in an “arms race” for reach were soon being made at lengths of around 24 feet/7.3m. The practicality of cane restricted growth much beyond this but the introduction of modern materials fibreglass in the beginning soon followed by carbon fibre pushed lengths beyond 32 feet/10m during the 1980s and currently poles of 52feet/16m are considered the norm.
What is Pole Fishing?
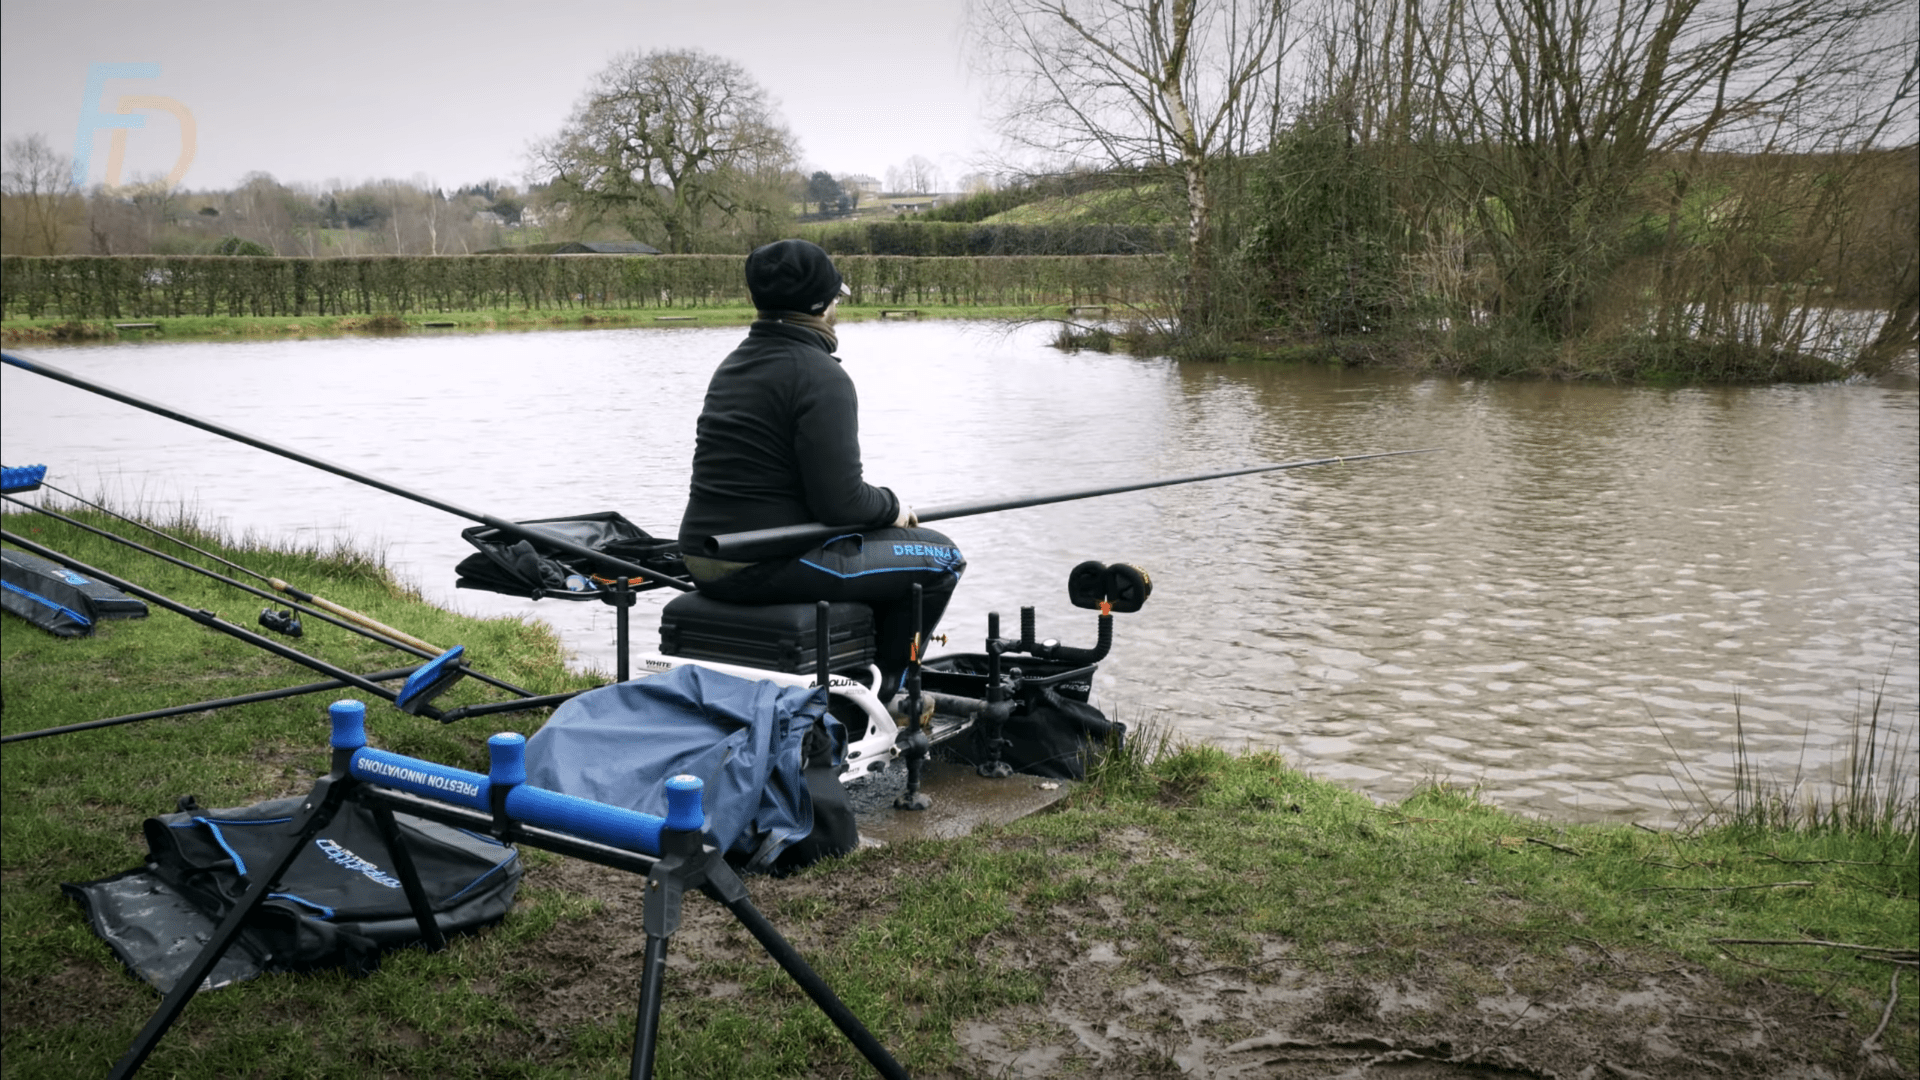
Basically, pole fishing is a method of float fishing where the float is fished just below the tip of the pole. The float “rig” is connected directly to the pole tip; unlike waggler fishing there is no free running main line or a reel. The distance you can fish is therefore limited by the maximum length of your pole. Poles are available at lengths of up to 16m and (at least with current technology) this seems to be the limit of what an angler can comfortably handle due to the leverage of the protruding pole from the anglers’ grip (although there have been experiments from a few manufacturers with poles as long as 20m).
How Does Pole Fishing Work?
A pole is made up of several separate sections with put-together joints in the same way as sections of a regular fishing rod are put-together. The distance from the angler to the float is varied by how many pole sections the anglers uses. Great accuracy can be achieved by simply ensuring you consistently sit in the same position, grip the pole at the same point and line your float up with a consistent "marker" feature on the far bank or horizon.
The rig is positioned by extending the pole, adding a section at a time as needed until the fishing range is achieved - and this process is reversed when bringing the rig back in for rig adjustments or landing fish. That process is known as "shipping" the pole in or out.
Modern poles generally have multiple “top kits” which are the end section where the float rig is connected. Top kits can be one piece sections often used for short/shallow fishing rigs or most commonly two piece sections for all round use and even three piece sections with finer more sensitive tips (often referred to as match kits).
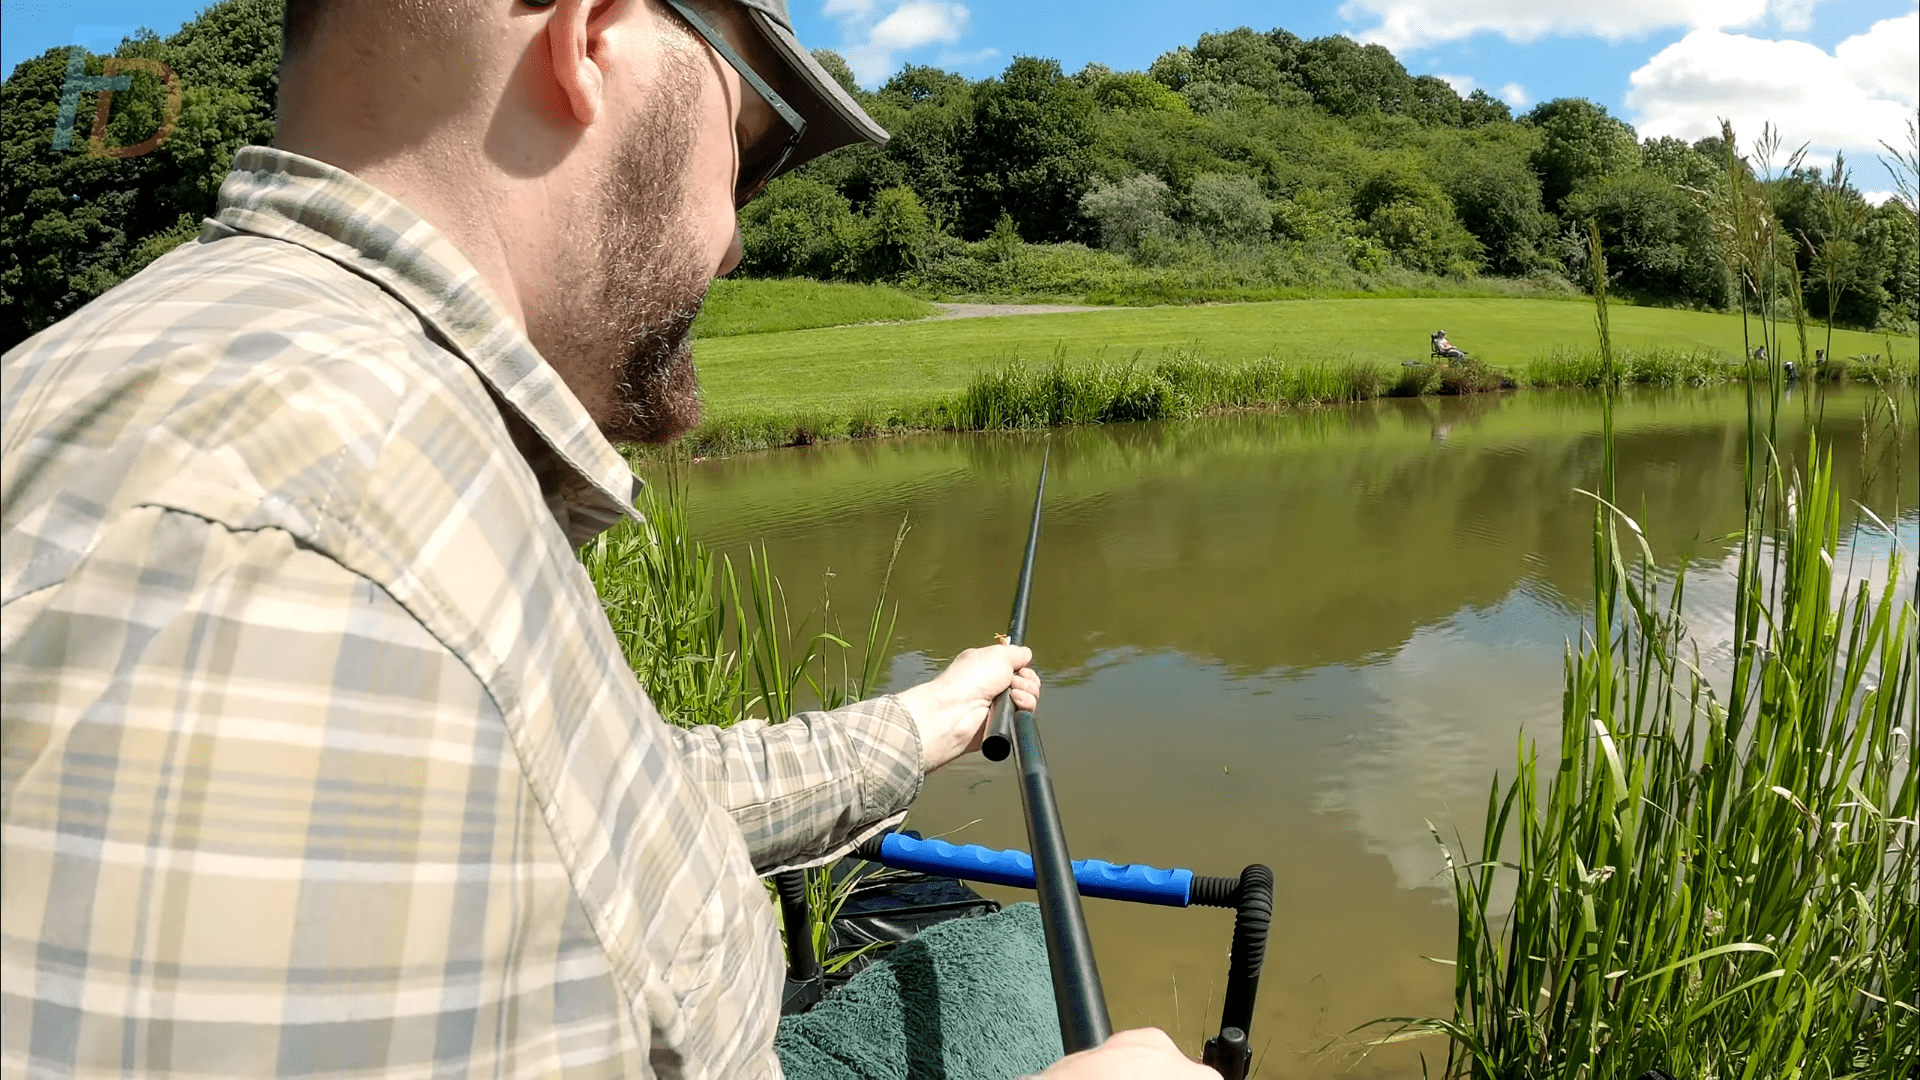
Fitting the top kit back onto the pole after re-baiting the hook ready to extend out to fishing range
The top kit has a length of specialized elastic running through it which acts as a shock absorber and becomes part of the fight when landing fish. This allows pole anglers to adopt a very different fish playing style to other rod and reel anglers... with a rod and reel it’s important to maintain a good “fighting curve” in the rod allowing it to “cushion” the line from breaking.
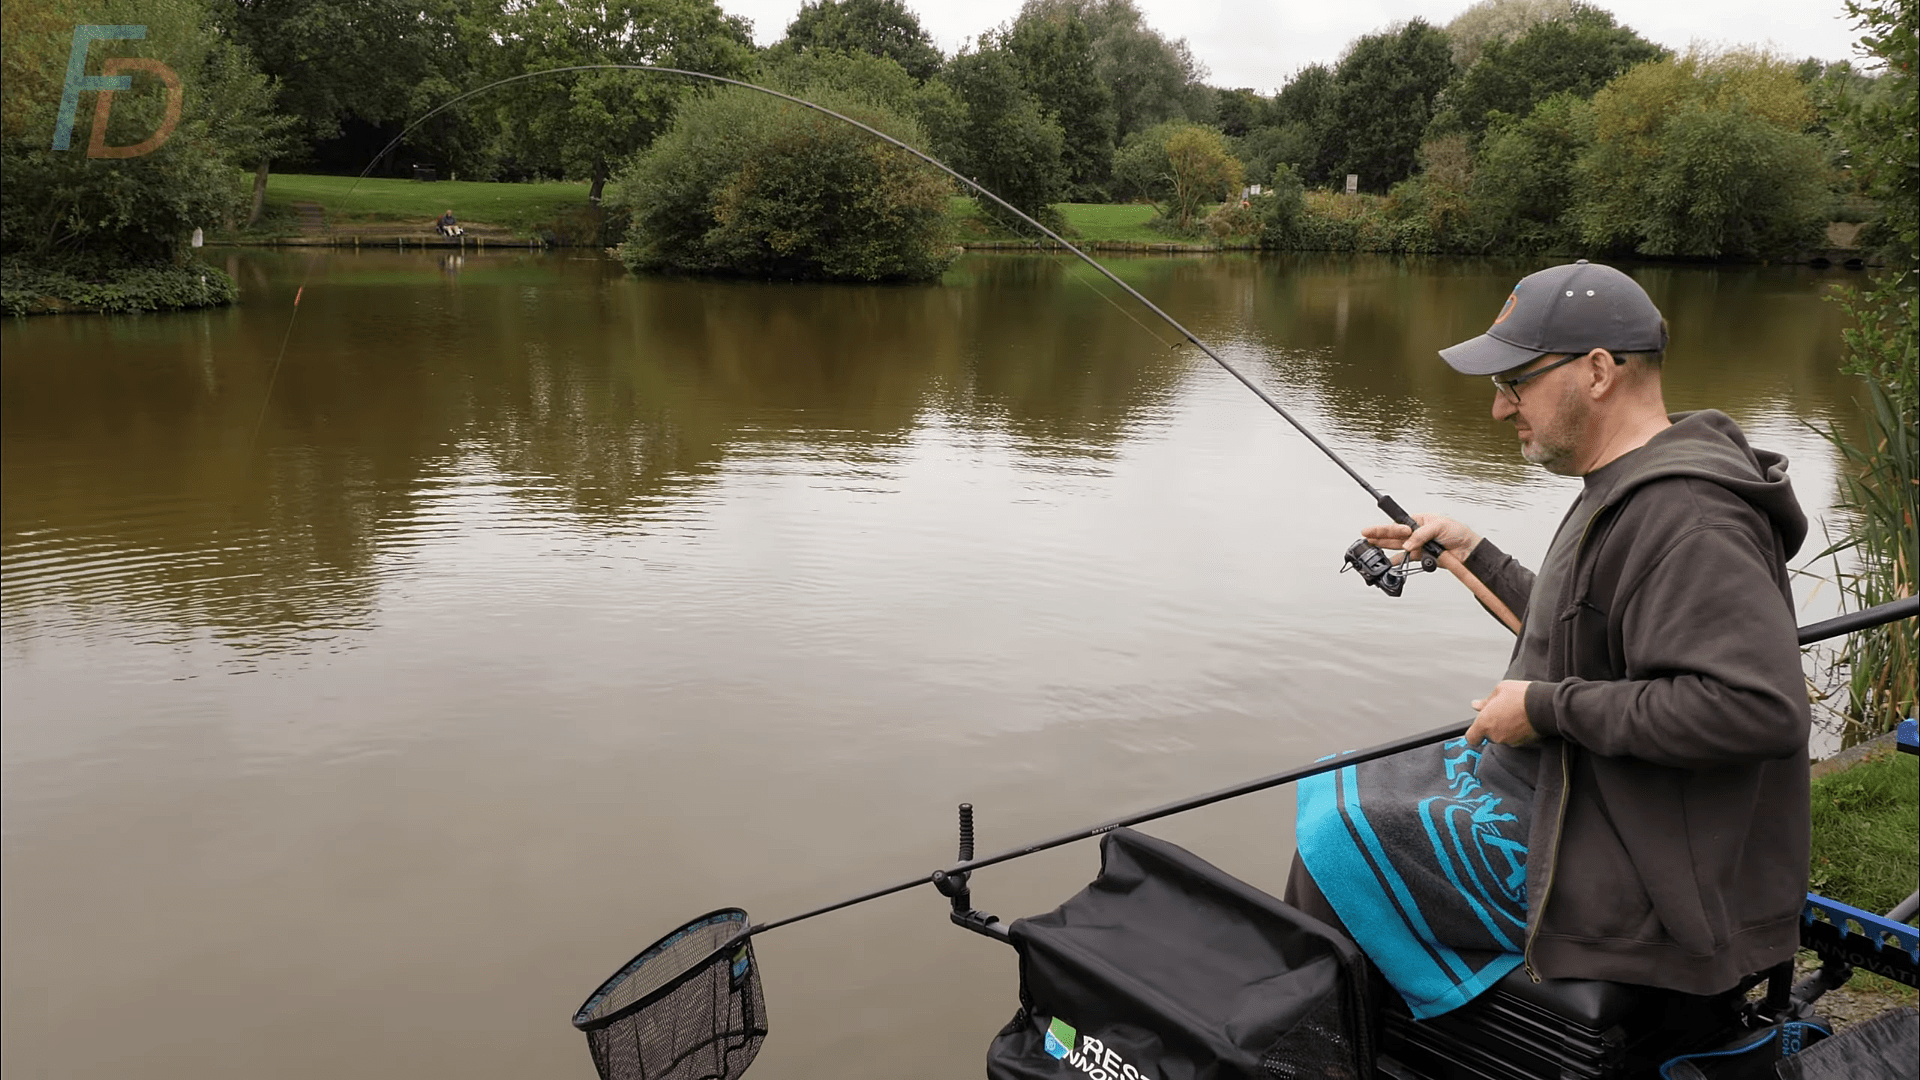
Fighting Curve of a Rod and Reel
On a pole, the elastic cushions the delicate hook length from breakage and it becomes less important to maintain the same “fighting curve” as with a rod.
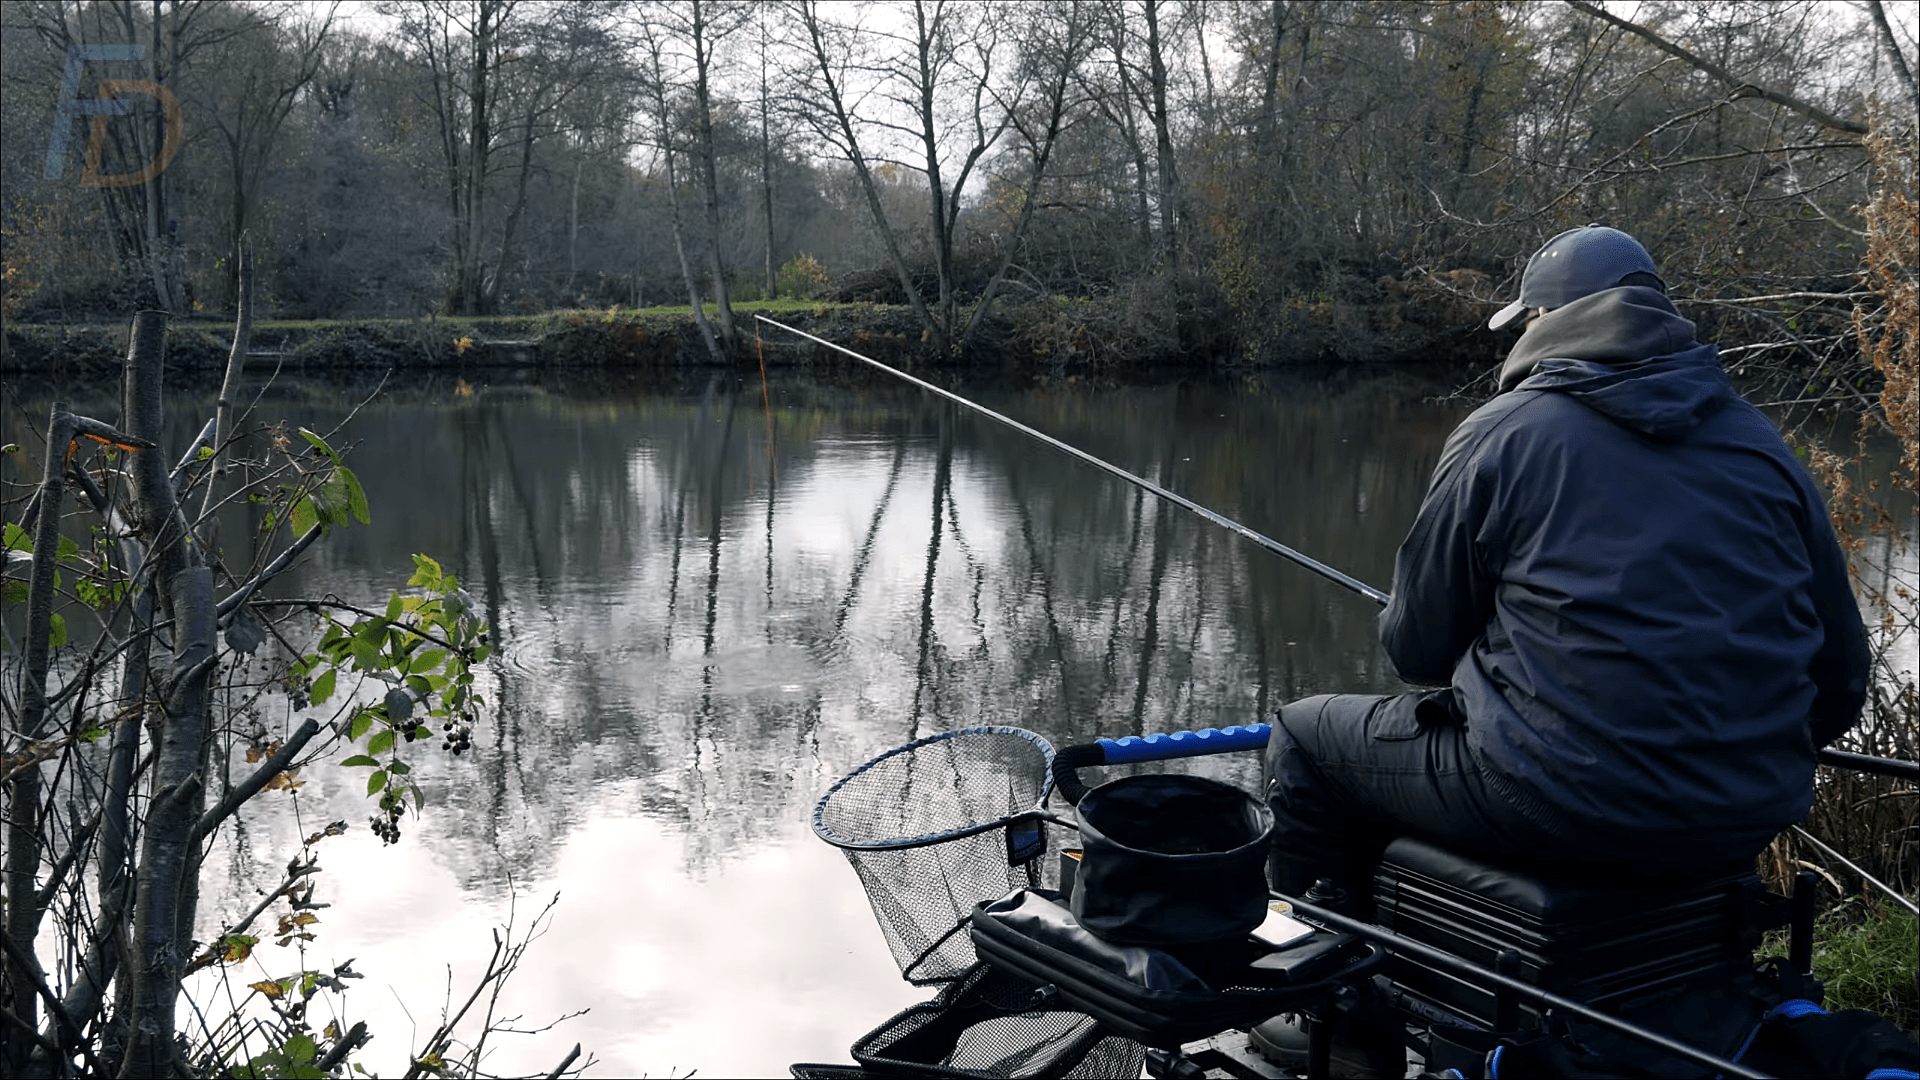
Elastic Extending (red) from the top kit while playing a strong fish
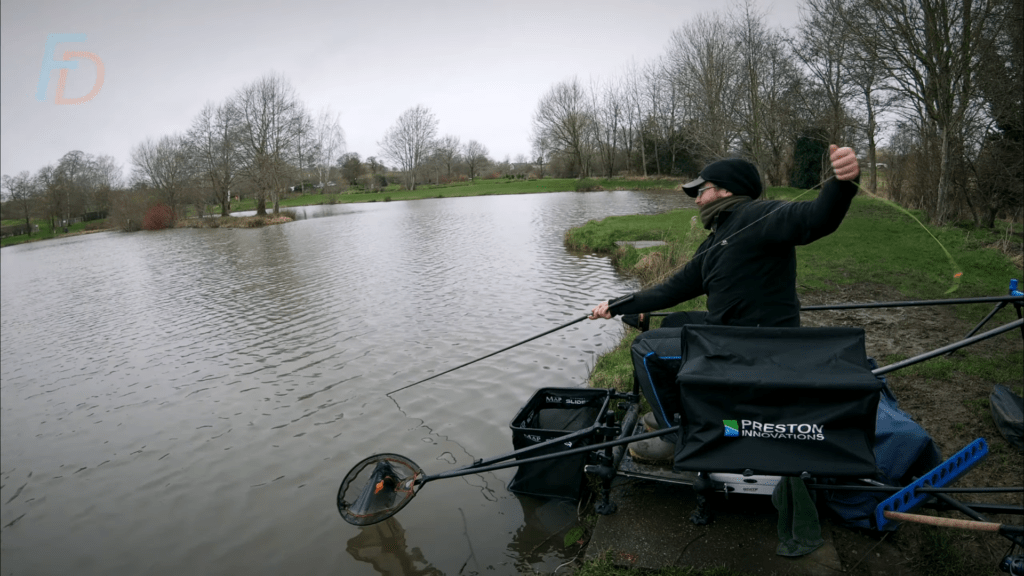
Modern top kits come equipped with “side pullers” – a slot added to a reinforced section at the base of the top kit. The elastic protrudes out from the slot (secured by a bead) allowing extra tension to be added to the elastic when playing fish. You can see Paul's nephew, Shaun, hauling a ton of extra tension using his side-puller to land a chunky carp in the rotating slide show below:
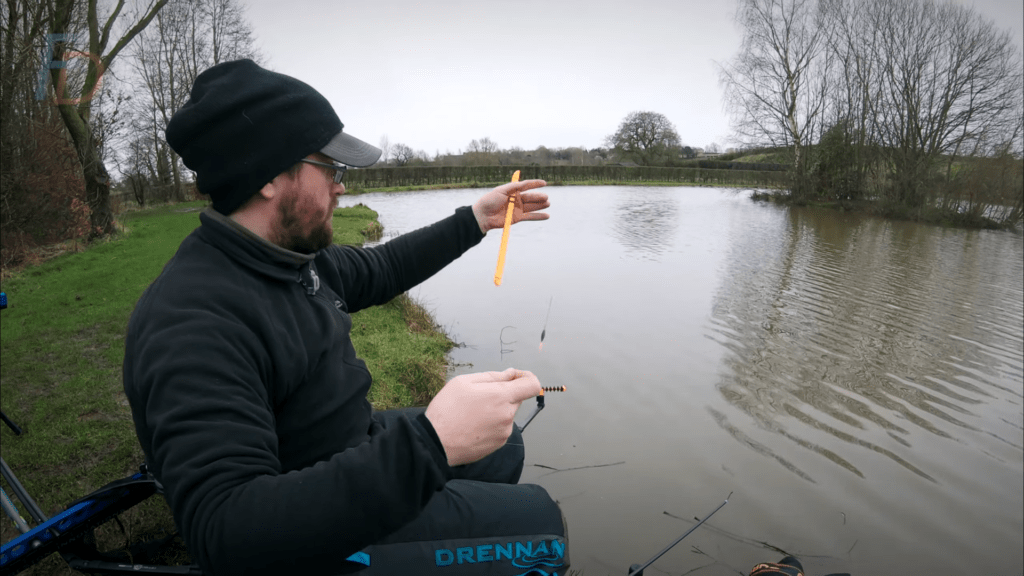
Float rigs are usually pre-rigged at home and stored on rig winders ready for use (again, see the rotating slide show above for Shaun unwrapping his pre-made rig, ready to attach to his pole). The fact that pole rigs and their floats are “placed” rather than cast into position means they can be much more delicate and pre rigging at home allows extremely fine adjustments to the shotting/weight on the float allowing the fine “bristle” at the top of the float to be “dotted down” to have only a very tiny section of the float top showing if desired. This makes for extremely sensitive bite detection compared to floats such as wagglers cast from a rod and reel setup.
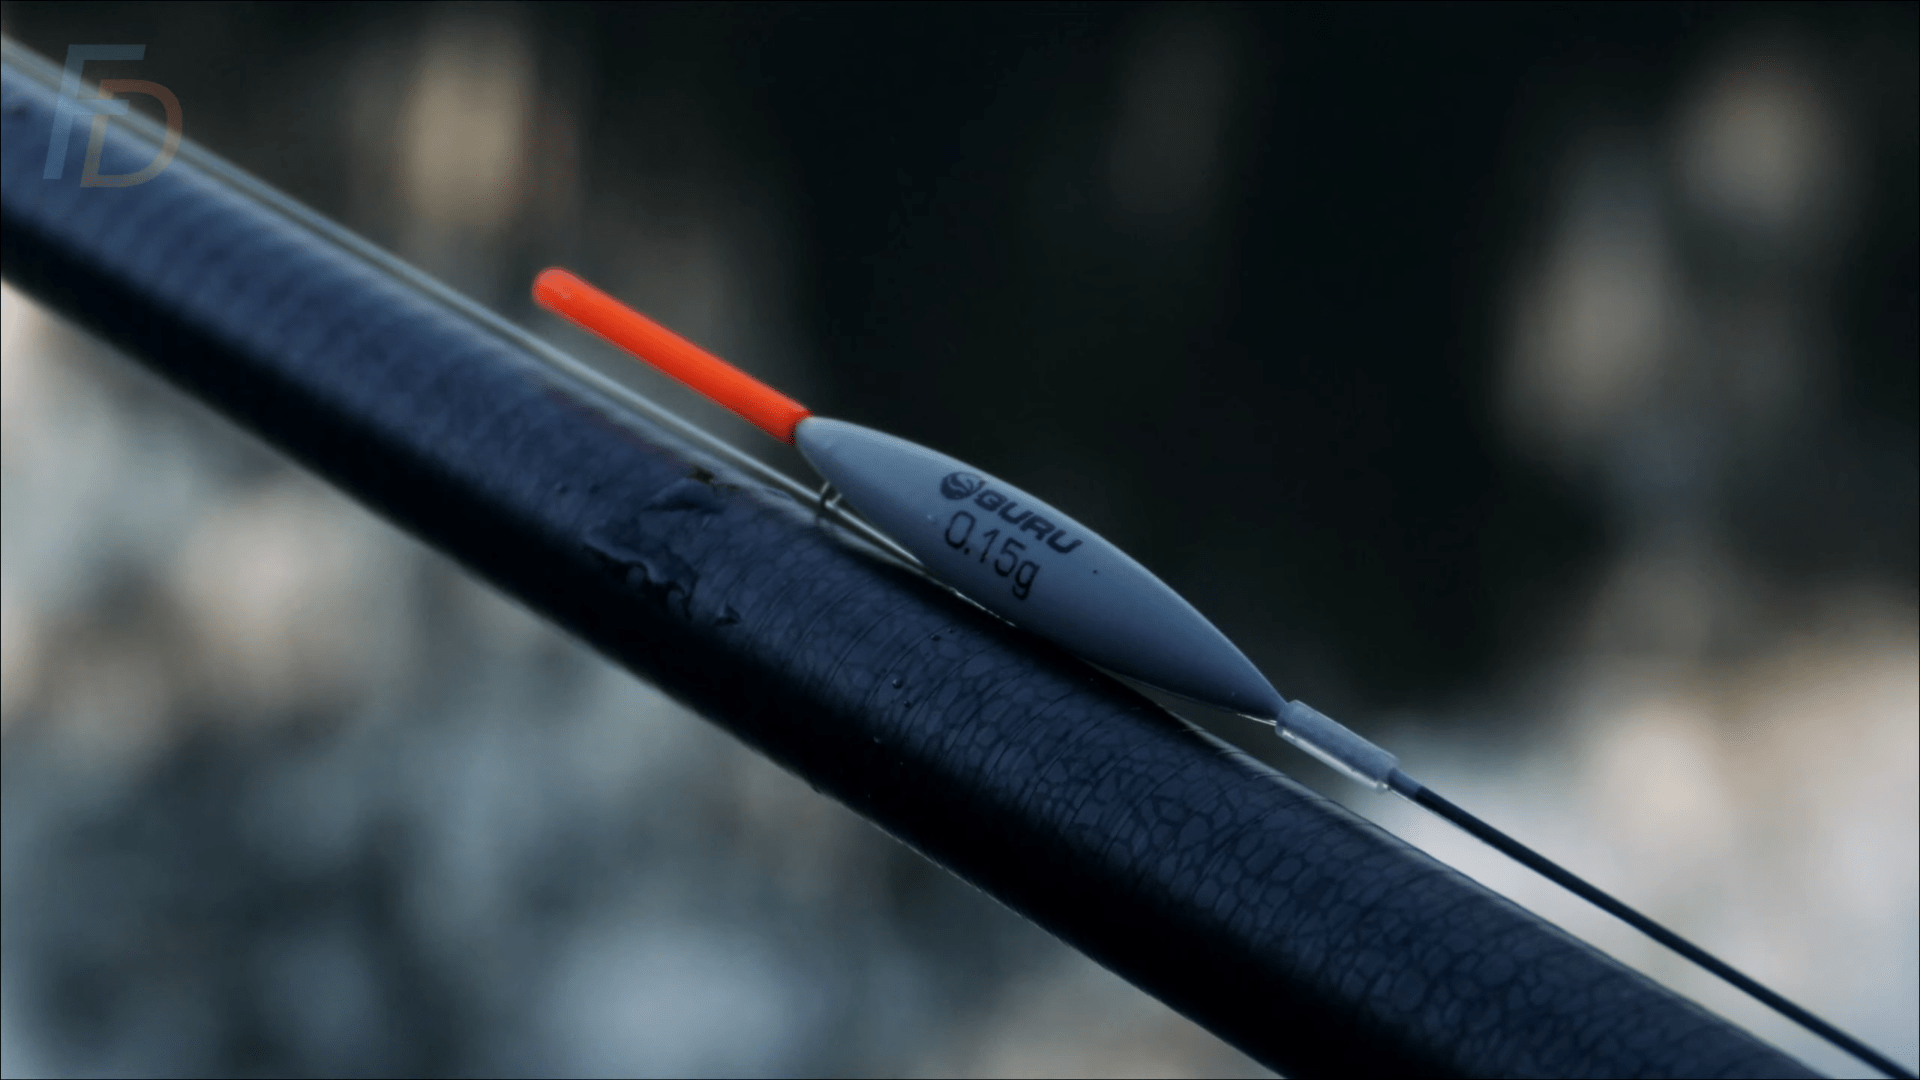
Almost all poles are sold as packages with some extra top kits allowing you to have multiple rigs (with different elastic strengths) for different scenarios or set up ready on the bank for use in different parts of your peg. It pays to weigh up the total amount of extras included when comparing the value of pole packages as for just a little more money you may get a lot more extras or given two equally priced poles one may offer more spares.
Sensitivity is further enhanced by the ability of the pole to repeatedly place the float the exact same distance from the angler/bank again and again. This allows you to plumb the depth (using a plummet) perfectly at your chosen spot then repeatedly present your rig there knowing your hook bait is exactly where it should be every time.
When it comes to sensitivity - this is one of Paul's 5 Key Factors for success; find out how to maximise bite detection by mastering "contact" across ANY style of fishing below. At the same time, you can check-off which of the other 4 factors that could be limiting your success in Paul's free course:
The addition of a pole pot further enhances the method. The pole pot is a small cup holding a few free offerings of bait which is attached to the end of the pole. This can provide a regular supply of free offerings trickling in exactly in the same spot as your baited rig.
Summary of Benefits vs Float Fishing with Rod & Reel
- Increased precision, can place hookbait in the same place every time
- More sensitive – the floats are much lighter, slimmer and show sensitive bites more easily.
- Increased precision of baiting your swim using a pole tip mounted bait cup or sprinkle pot
- Closer contact with hook (no long lengths of main line between rod and float)
- Makes more efficient hook setting
- Keeps bait in correct place
- Rig can be repositioned quickly in case of missed bites – less time wasted reeling in and re-casting
Potential Drawbacks
- Cost – on average poles can be much more expensive than a rod and reel
- Poles sections are thin walled composite tubes and can be susceptible to handling damage, they are easily chipped and damaged if carelessly knocked around on the bank.
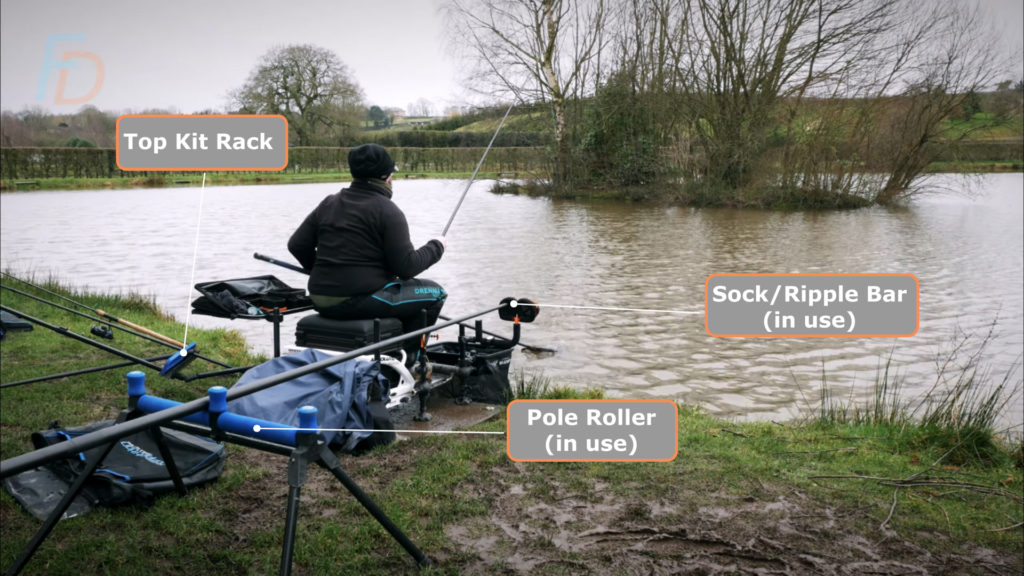
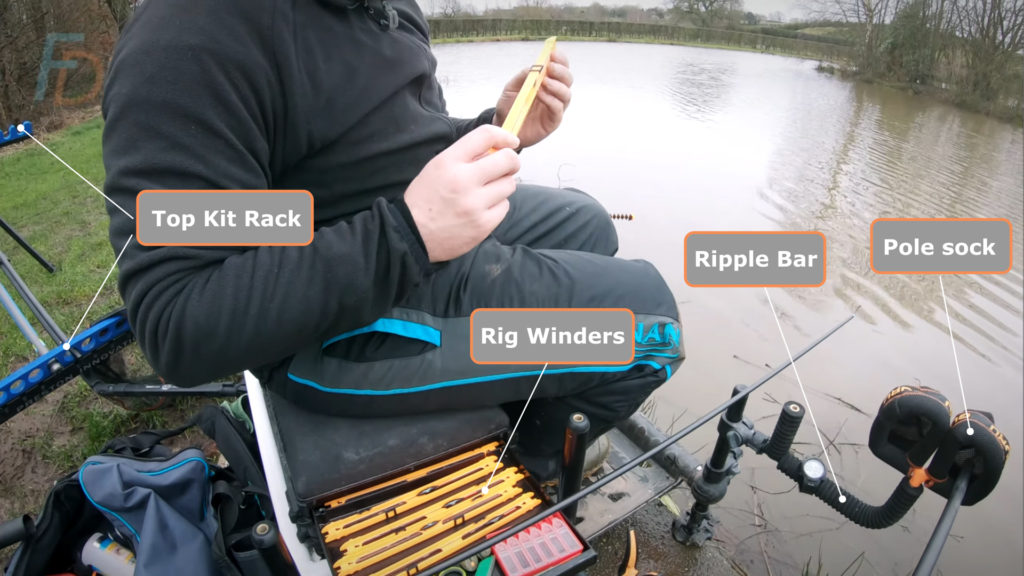
- Cost of ancillary equipment if you get serious (pole rollers, winder trays, top kit holders)
- More gear to carry to your peg
- Difficult to handle in windy conditions
What is the Difference Between a Fishing Pole and a Whip?
A pole has elastic inside the tip section to which the float rig is attached. Pole tips are often quite thick at the end and sturdy. Pole fishing is suitable for a broad range of fish sizes, by using a stronger elastic, larger fish can be easily landed.
A whip has a much finer tip and no elastic, the float rig is attached directly to the tip. The tip of a whip provides the cushioning of a fighting fish and therefore whips tend to be used when fishing for smaller fish and generally at a shorter range.
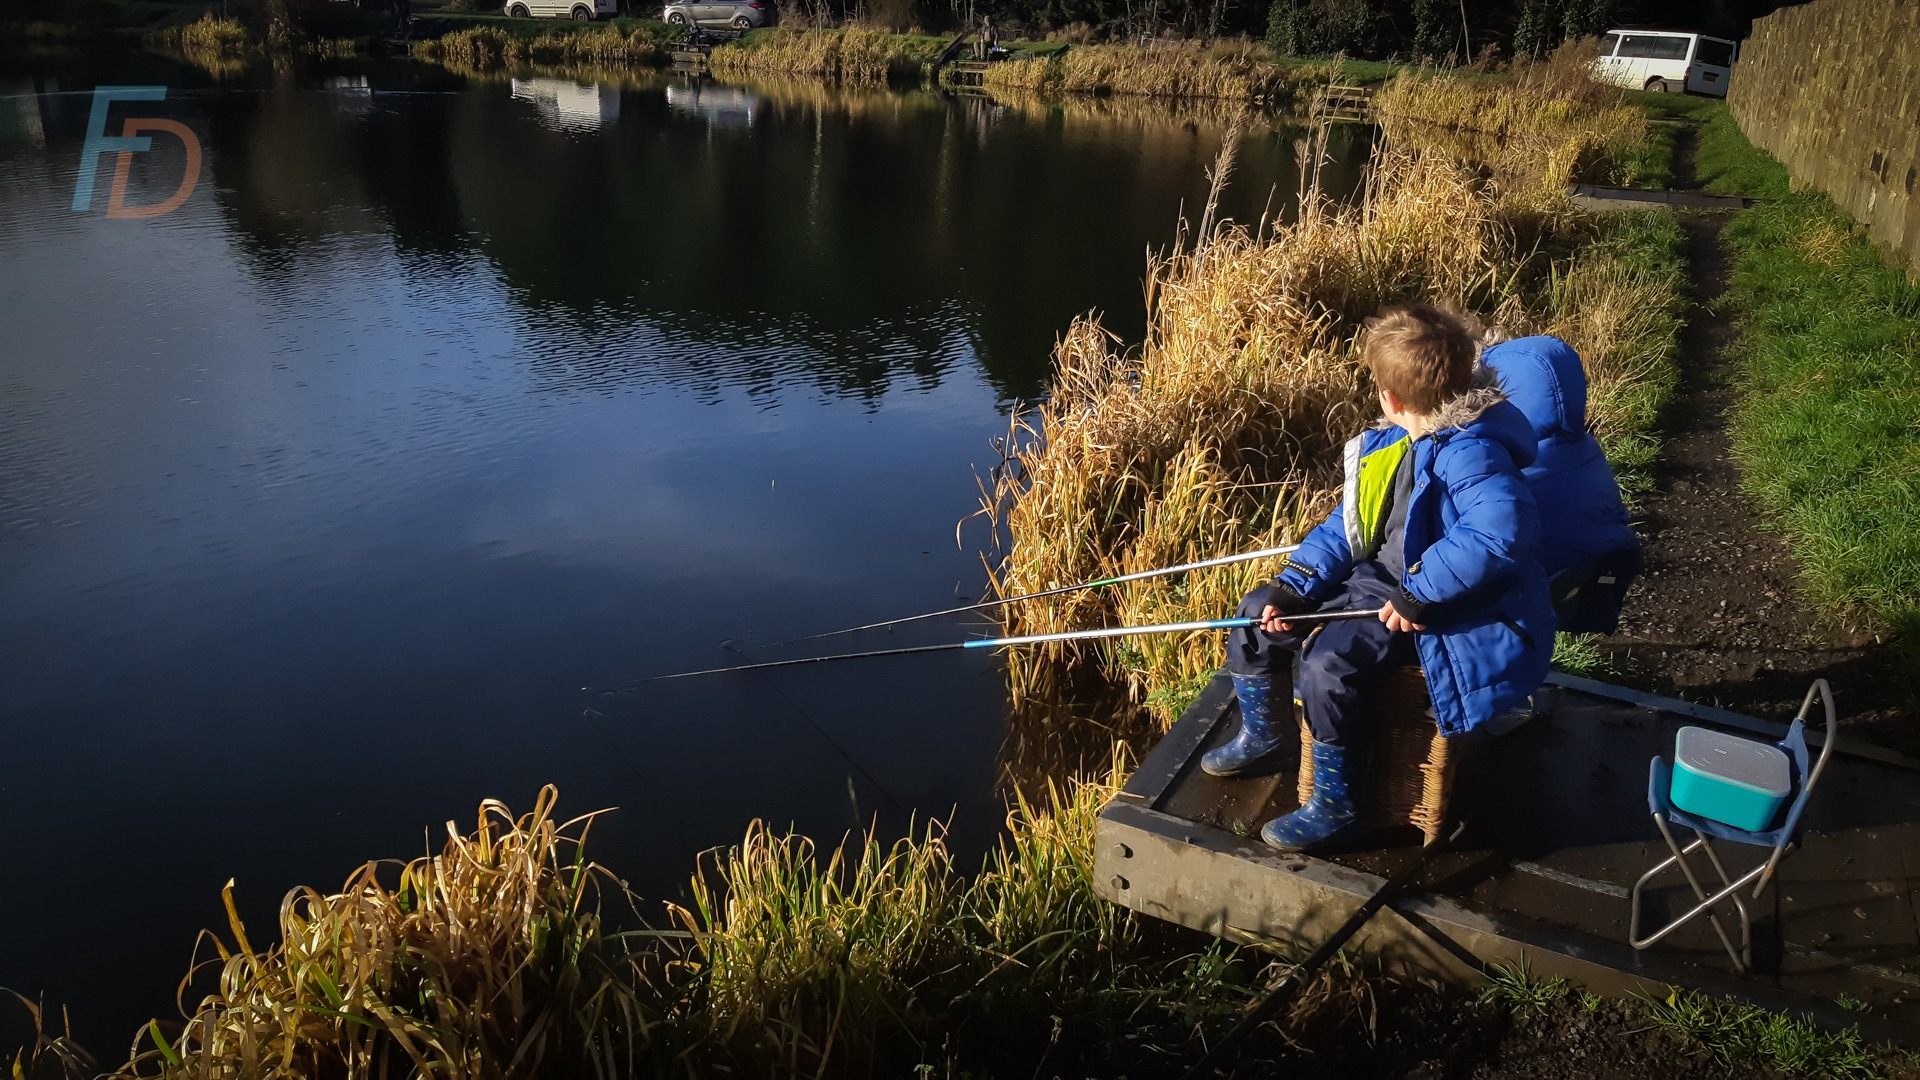
You can even get super short "whips" down to around 10ft long - which can be ideal for getting young kids into pole fishing (and also don't need to cost very much money!)
Whilst a whip has put-together sections similar to a pole, anglers tend not to break them down to land the fish, instead the whip is lifted and the fish is swung “to hand”. As a whip is usually shorter and lighter than a pole, it is often used on flowing water where the tip needs to track the float down the current.
What is a Good Starter Pole?
Perhaps the best way to get started in pole fishing on a budget is to purchase a margin pole. These range from 6m to 10m in length and budget can be found between £50 and £100. Most poles come with some kind of warranty so buying new gives you a little bit of added “insurance” against mishaps while you’re learning.
There are many good options for margin poles available, usually in the 8.5m to 10m range. Margin poles are designed for targeting large fish “down the margins” i.e. very close to the bank a few meters either side of where the angler is sitting.
There’s no rule that says you can’t fish your margin pole straight out in front of you though...
If you have a local tackle shop you may be able to get someone there to fit elastic for you (a few mail order companies may do this for you too if you contact them). There are many second-hand pole for sale but be aware that any wall crushes or other structural damage is almost undetectable until failure occurs and you could end up with either a costly replacement parts bill (if parts are still available) or a useless pole if it’s an older model and parts are no longer available.
What length Pole Should I Buy?
If money were no object the advice would be, buy the longest pole you can - a 16m pole can also be used at 6m, 8m, 11m etc. The most common serious entry level/mid range pole packages start at 13m long which will cover almost all your pole fishing situations and is probably as long as you will want to hold by hand when first starting out.
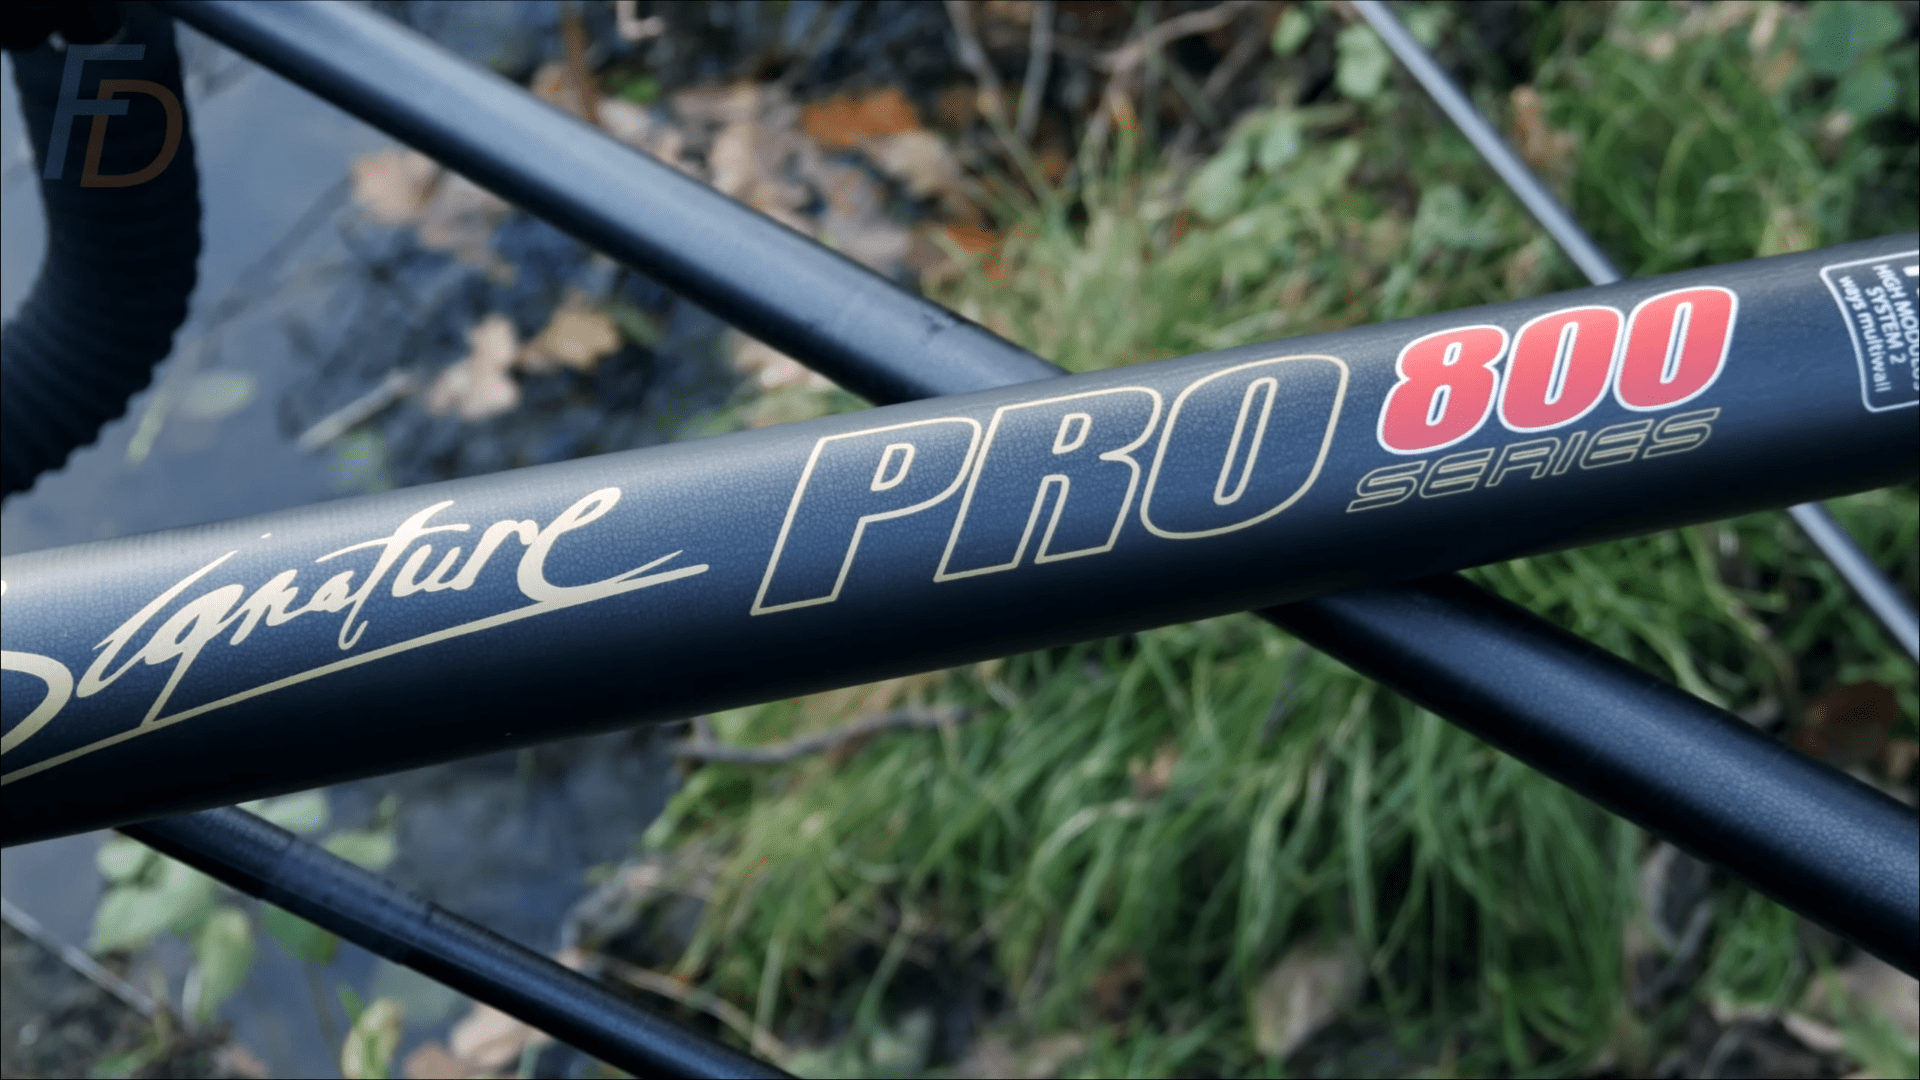
There’s a trade off point where for the cost of a very good 13m package you could get a budget 16m package. That’s a judgment call you’d have to make for yourself.
When you decide it’s time to invest in a pole if at all possible it’s worth making a trip to a fishing shop with a “pole alley”. This is a long narrow section of the shop devoted to racks of poles set up and ready to try out in side by side comparison. You will be making a much more informed decision if you’re able to sample as many options as possible and compare several different brands and price points.
What Else Do I Need?
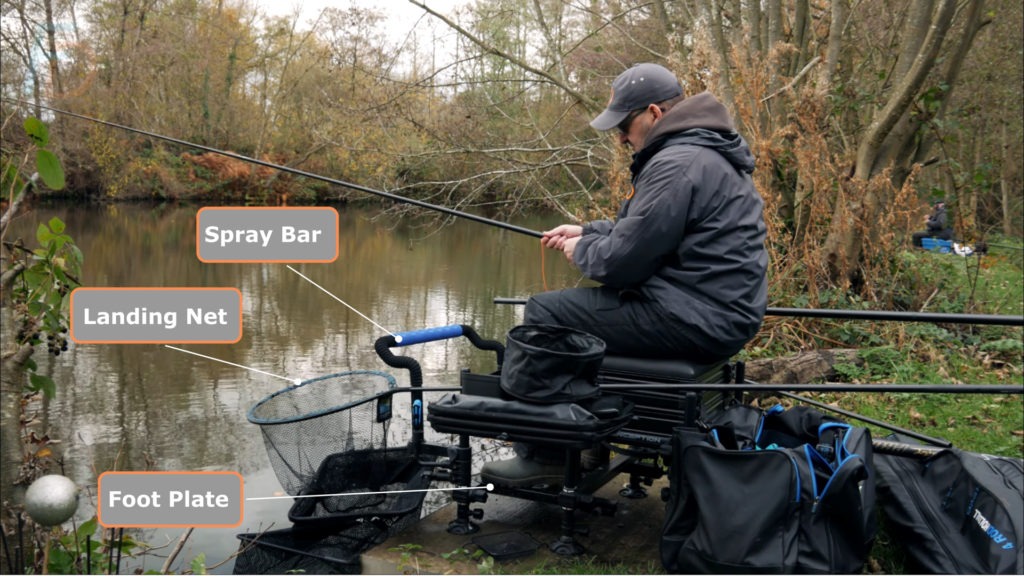
How to Choose Pole Elastic
Solid Elastic is the original “old school” elastic. This is still used for very fine work in ratings between #2 and #5 often in finer “match top kits”. This type of elastic is really best suited to small silver fish species. Now we have access to modern dual core and hollow elastics for our pole fishing:
Dual core and Hollow Elastics – this is the modern evolution from the original solid pole elastic. The properties of a length of hollow elastic are slightly different giving a progressive increase in power (and therefore elastic rating) as the tube stretches.
This means you can have the properties of a #8 elastic in your pole but by using the side-puller on your top kit, you can increase the tension of the elastic to behave more like a #12 rated example.
Dual core elastics use two different elastic materials in the same tube in an attempt to make the transition in power feel smoother.
Here’s a Table of Target Species versus Suggested Elastic Ratings:
Target Species | Elastic Choice |
|---|---|
Small silver fish e.g. roach, dace, skimmers | #3, #4 or #5 solid elastic |
Larger silvers and F1s | Hollow elastics rated anywhere between #4 and #12 |
Smaller carp and tench 2lb to 6lb | Hollow elastics rated anywhere between #10 and #18 |
Larger carp and barbel 8lb+ | Hollow elastics rated anywhere between #14 and #20+ |
How to Choose Pole Floats
The choice of pole floats is bewildering to the newcomer and tackle suppliers add to this difficulty every season with new/recycled variants being marketed.
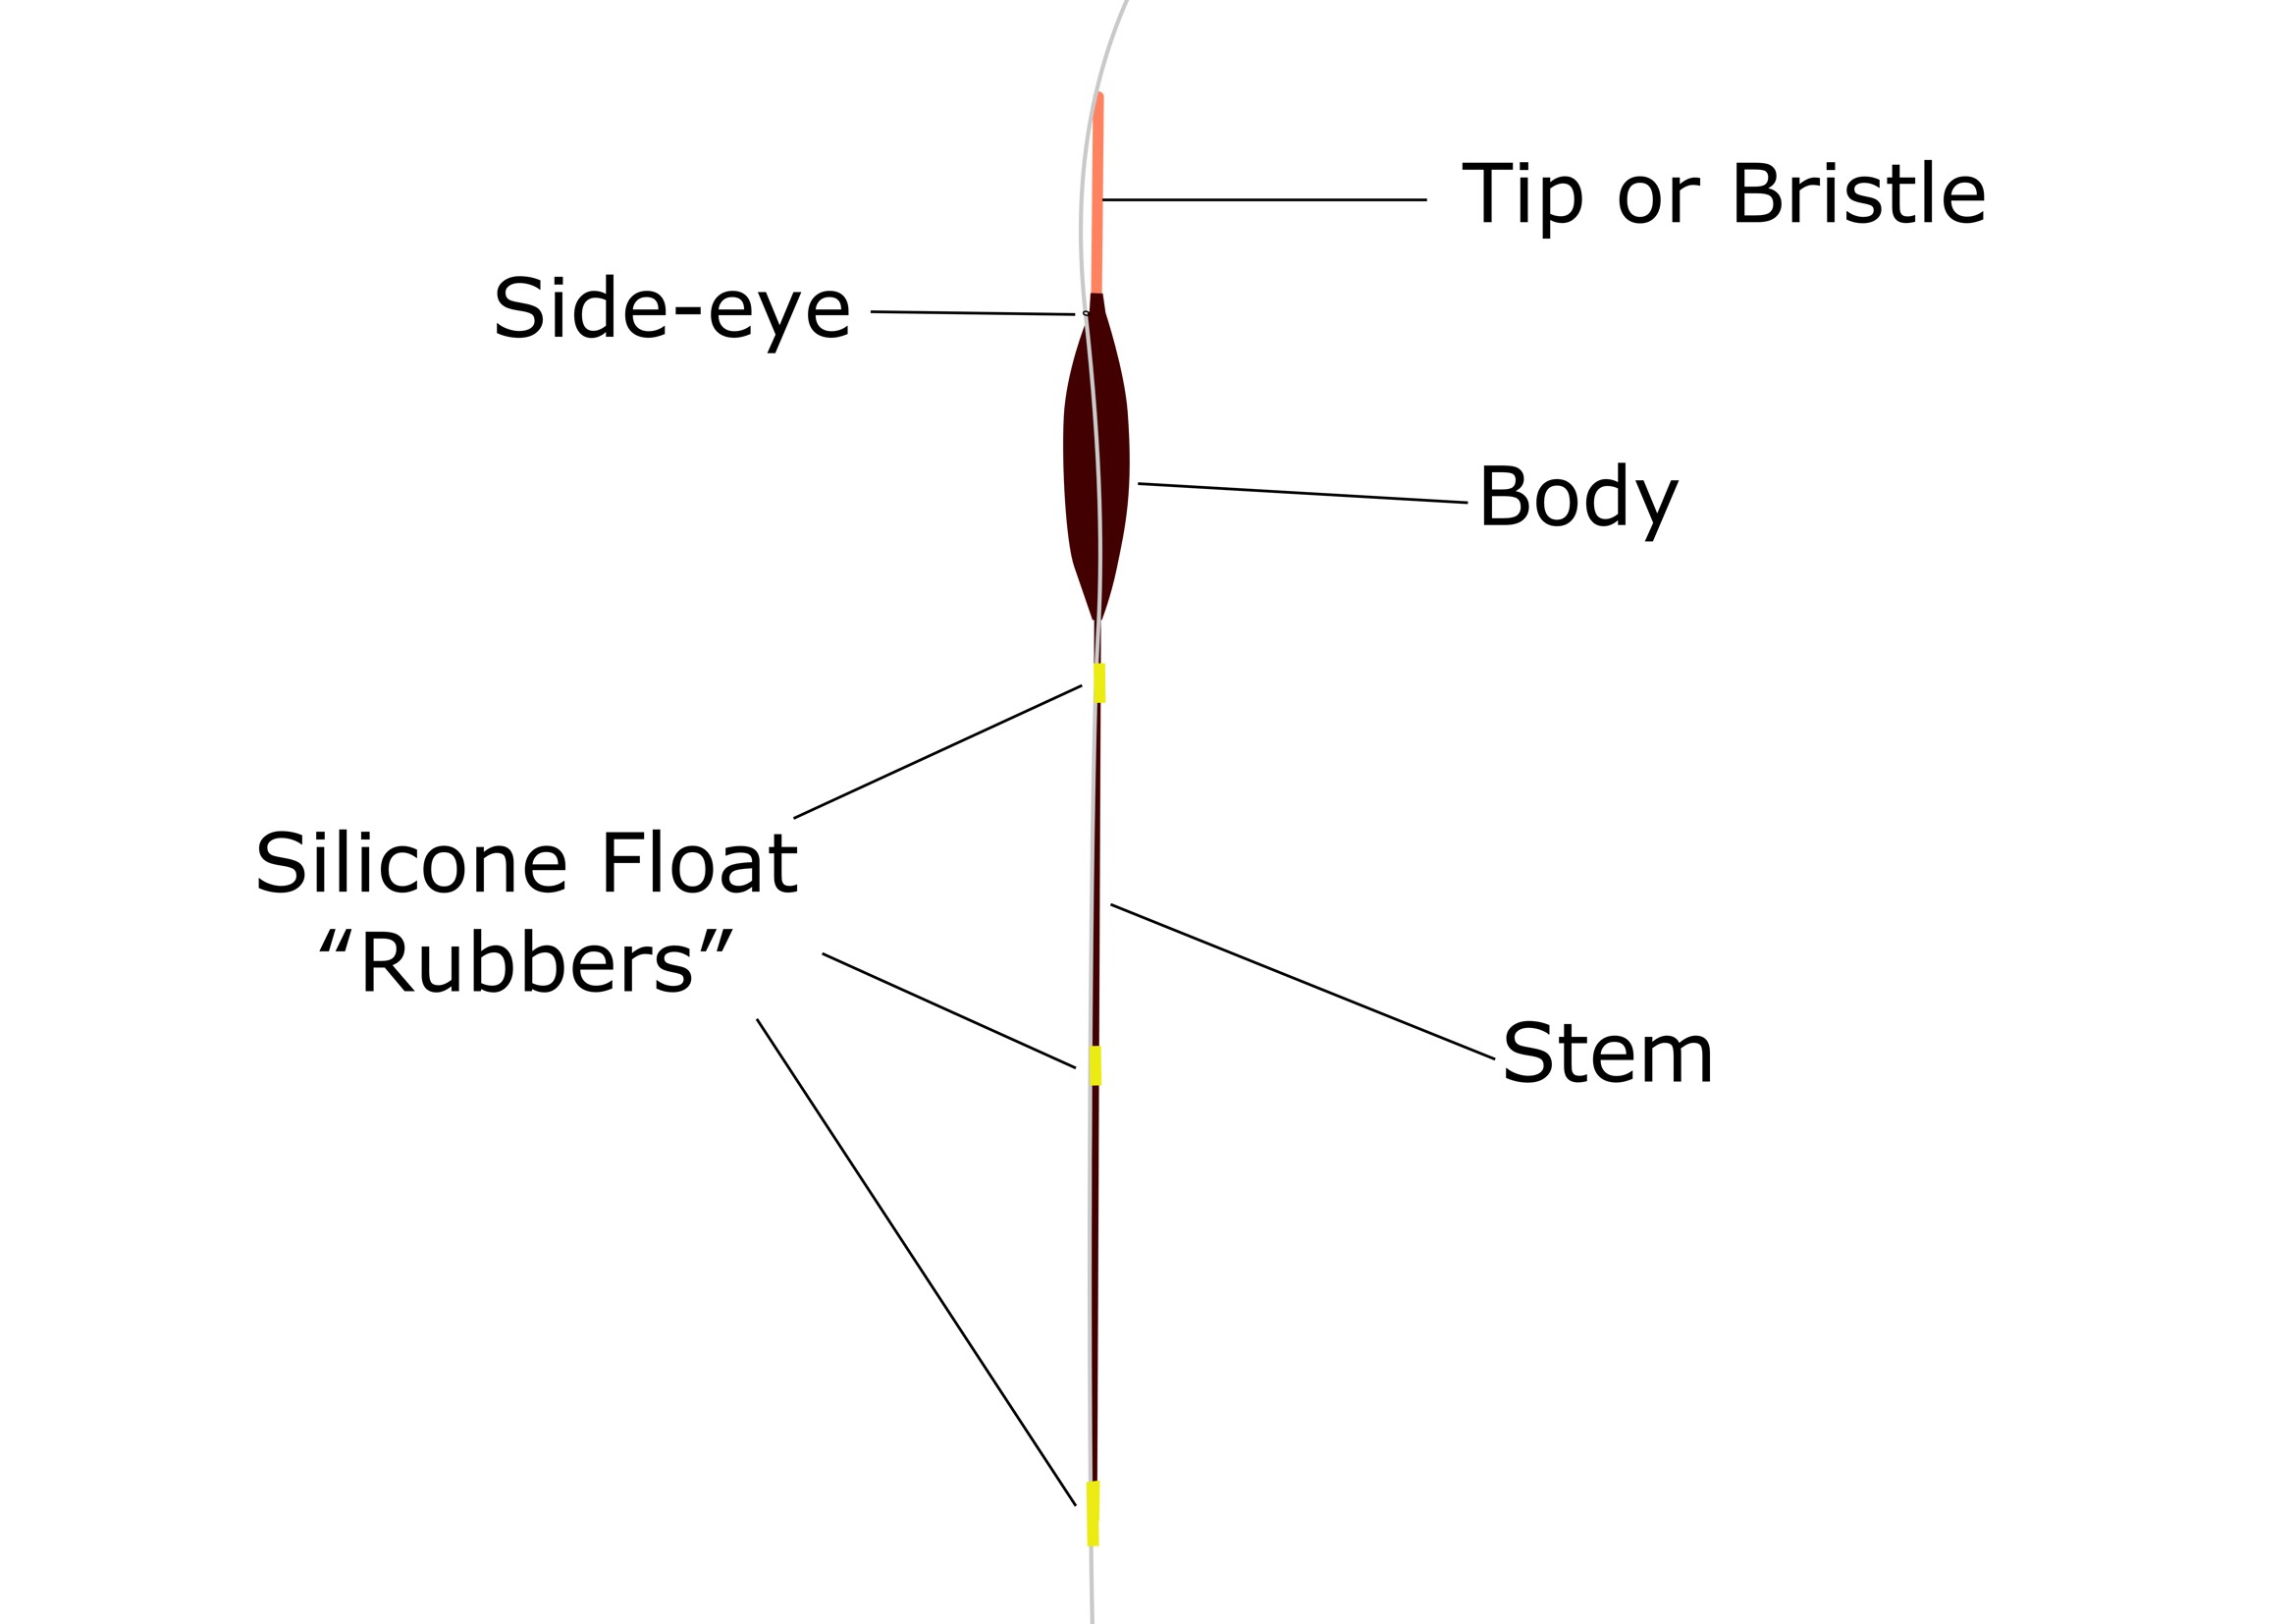
The components of a pole float are given in the diagram below (shown attached via line threaded through side-eye and held in place with float rubbers). Scroll down for video showing how to thread and attach your float correctly:
The key to float selection is based on certain characteristics and conditions;
Buoyancy (measured as weight of shot required to cock the float), shape, stem material and bristle diameter. An additional complication for pole float selection is the weight (buoyancy) marking. Some brands mark floats with the grams of shot required, while some use a rather archaic scale based on “style” weights (a form of thin cylindrical split shot rarely used these days).
Shape (see "Choosing Pole Float Design" section below)
For Fishing Deeper Swims - Use a larger float and consider matching with “olivette” weights to create a neat concentrated bulk-mass relatively close to the hook length. Olivette weights are available in fractions of a gram up to several grams to cover a wide range of floats and depths.
Sensitivity: the overriding factor for sensitivity is the bristle diameter...
Due to the surface tension of the water acting on the part of the float which breaks the surface film, the bristle diameter determines how resistant to movement the float is in response to a bite (in other words how sensitively it responds to a bite)
However, the finer the bristle, the more difficult it will be to see at range - so visibility is the trade off to movement-sensitivity
A great summary of advice Gary Evans has collated from various sources is given below (let me know in the comments if you'd like me to create a downloadable PDF version of this advice which you can print out and stick on the inside of your seat-box lid...
Pole Float Weight Conversion Cheat Sheet
Here's how to convert between what the label on your pole float says and the shot you need to attach:
Pole Float Size | Weight (g) | Shot Equivalent |
|---|---|---|
3 x 10 | 0.10 | 2 x No.10 shot |
4 x 10 | 0.15 | 3 x No.9 shot |
4 x 12 | 0.20 | 5 x No.10 shot |
4 x 14 | 0.40 | 6 x No.8 shot |
4 x 16 | 0.50 | 8 x No.8 shot |
4 x 18 | 0.75 | 3 x No.3 shot |
4 x 20 | 1.00 | 4 x No.3 shot |
5 x 20 | 1.25 | 5 x No. 3 shot |
6 x 20 | 1.50 | 6 x No.3 shot |
Now to choose the right float size for the depth and conditions at your chosen venue:
Calm Stillwater: Allow 0.2g of weight per metre of depth
Windy Stillwater: Multipy by 1.5 or 2 depending on wind-strength
This is a handy yardstick to keep in mind when picking out a rig from your pre-tied selection and looking at the conditions in front of you
Choosing Pole Float Design (with recommended examples)
Bristle Diameter:
Pole Float Body Shape vs Application:
Stem Designs:
The above tables and hlghlighted checklists are designed to stand out so that you can find and scan down them quickly when you need a reminder.
Pole Fishing: Setting-up for the First Time
Here's a great guide to getting set up from the guys at Matrix:
Rigging up Checklist for Pole Fishing
As a reminder for the steps in the above video, here's how to set up & attach your first pole fishing rig (without having to scrub through the video to the correct part - PLUS some bonus tips). Obviously, if you want to go the easy route, you can buy readymade pole rigs on winders. There are some fantastic options available using high quality components from most of the major pole fishing tackle brands.
If you’re wanting to start from scratch and build up your own rigs, heres how…
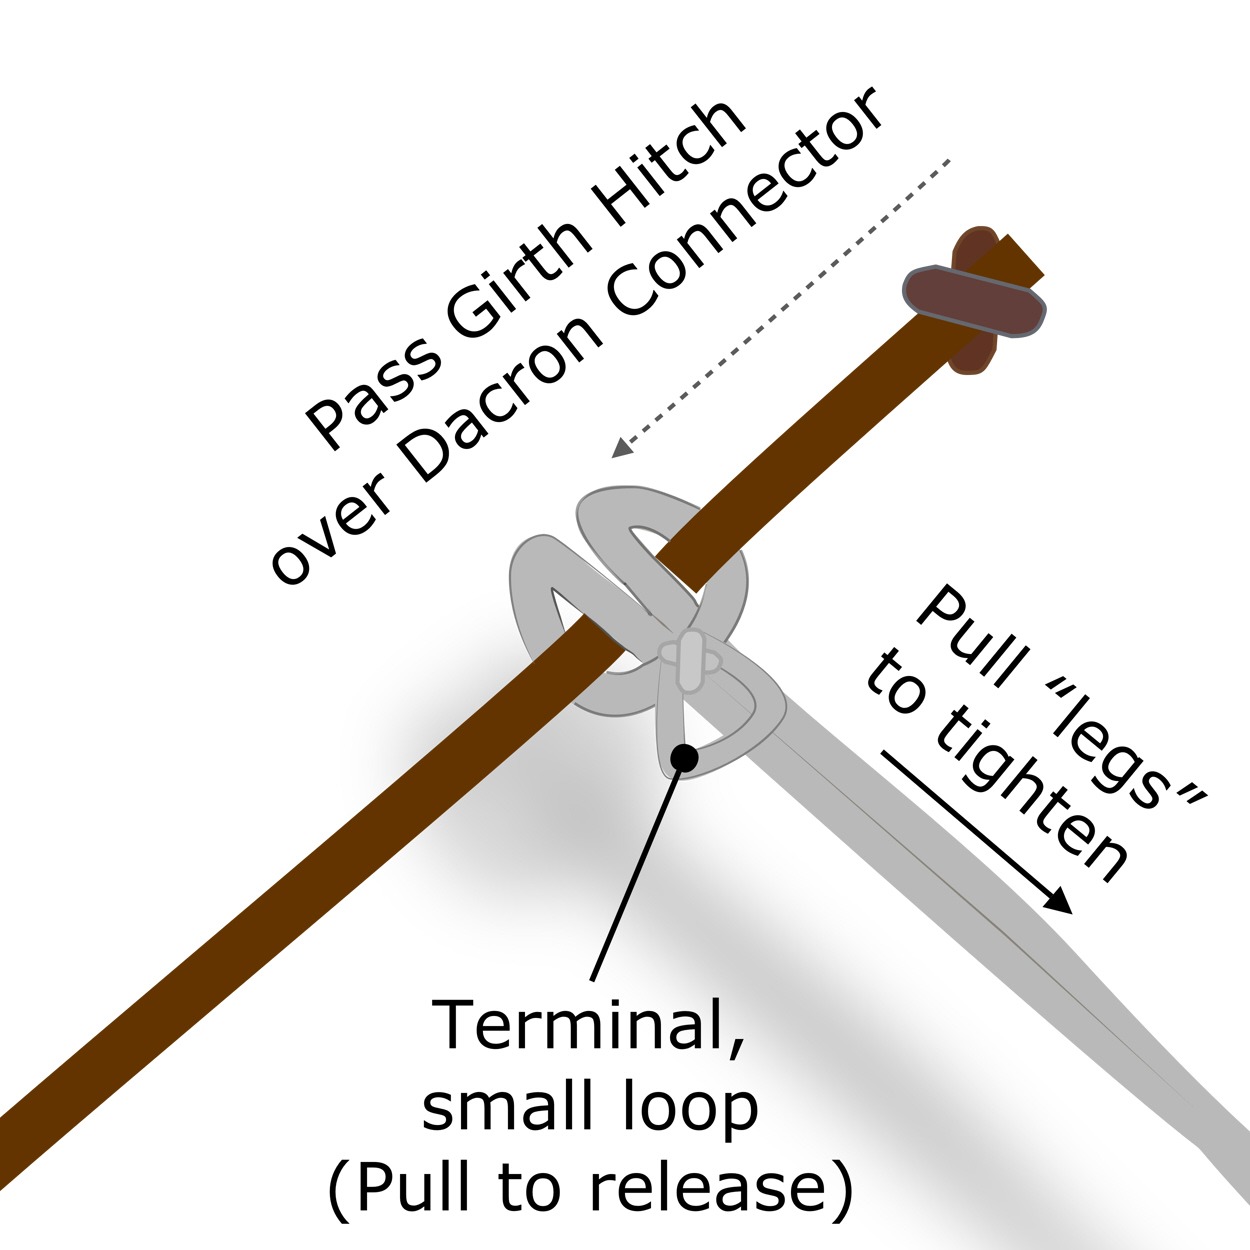
After forming a hitch by tucking a small amount the main rig line back through the large loop (and passing that hitch over the dacron connector), the hitch can be drawn tight by pulling on the main rig line so that each "leg" of the loop is drawn tight equally. The smaller, second loop is used as a tag to grab hold of and pull to easily release the rig after you've finished fishing with it
Plumbing the Depth is CRUCIAL to Pole Fishing Success
Here's a checklist with extra notes to go with the video
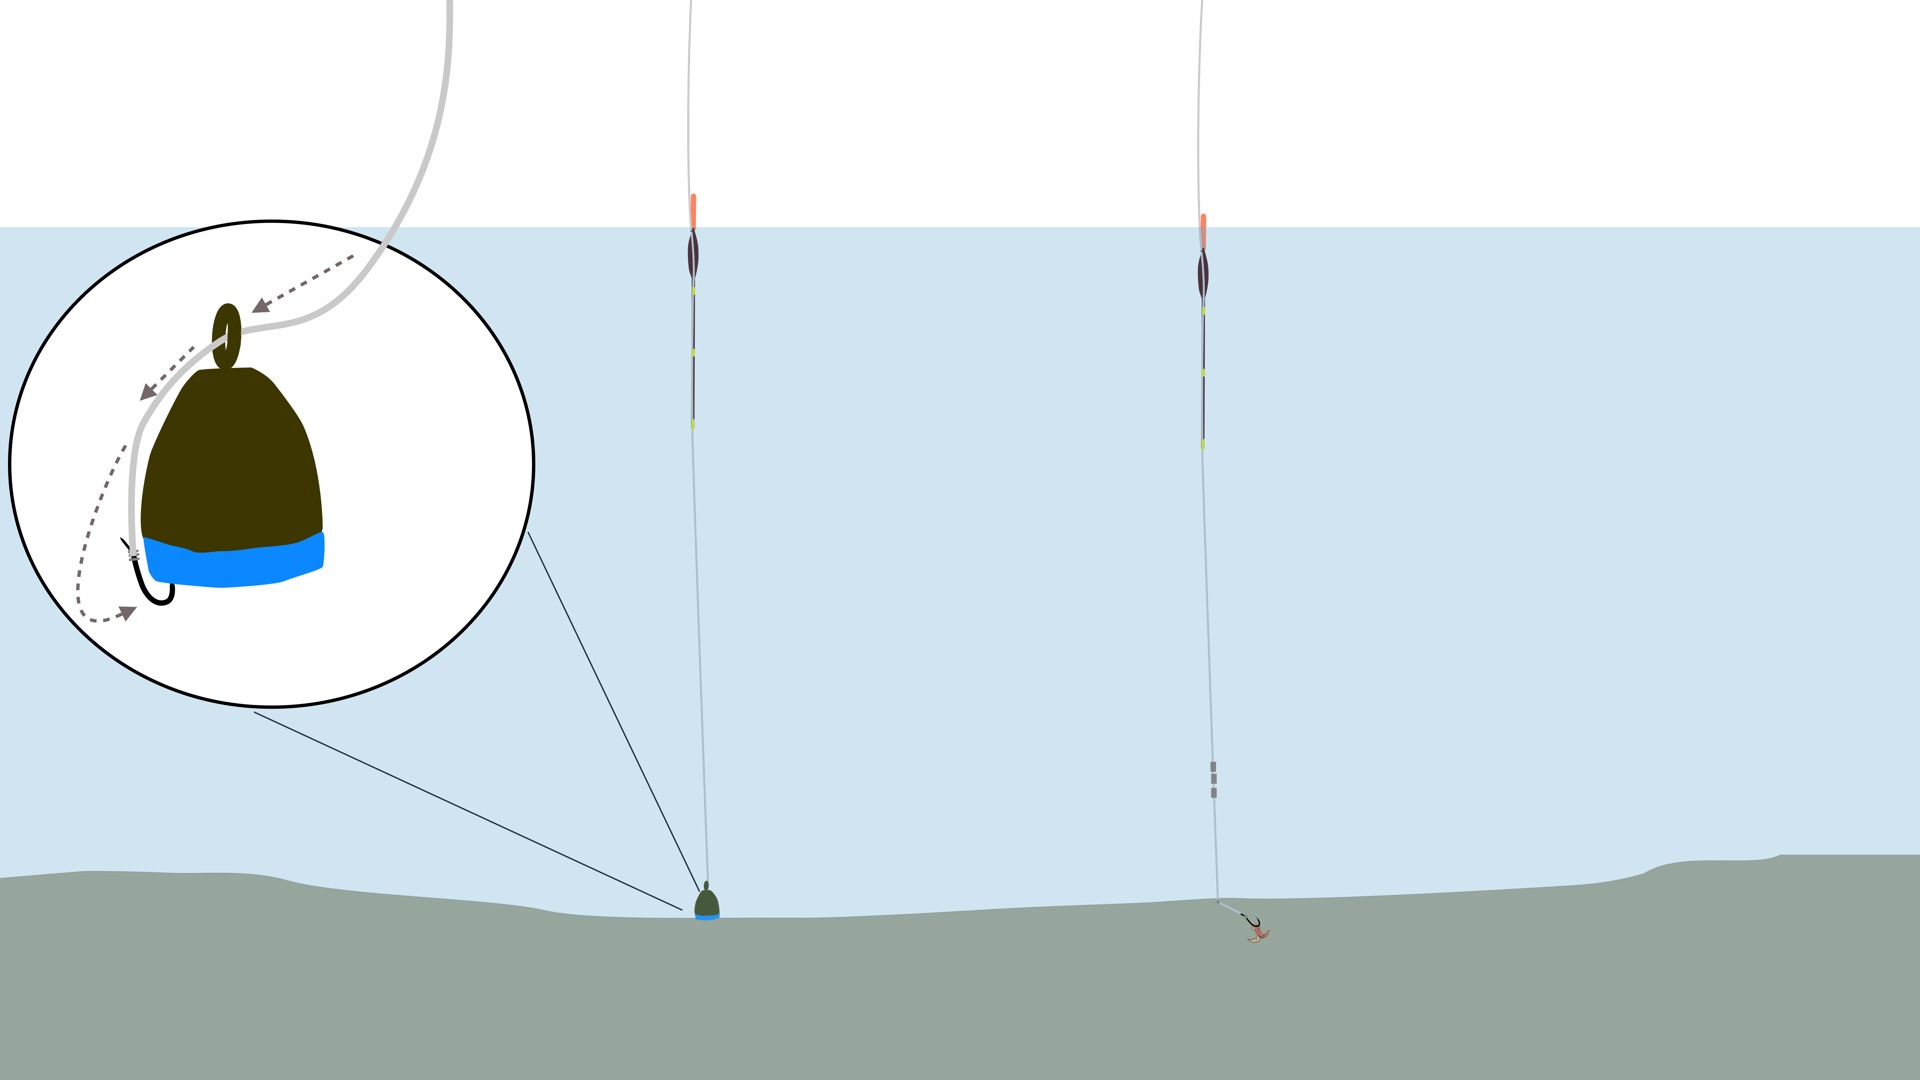
Pass the hook through the eye on your plummet and then embed the point in the soft foam/cork at the base. Note: with the full bristle showing when tight to the plummet (left hand float) the small amount of extra line that is gained below the float when it is shotted down to ride lower in the water while fishing (right hand float)
Basic Shotting Patterns
Rigging Secrets
Before I get into shotting patterns - you might find my free e-book on rigs for float, carp and even predator fishing a nice secret weapon to have on hand...
Just Click Here or on the Book Image/Button below to register for your Free Copy - plus 5 more fishing secrets via email:
Shotting patterns determine the rate at which the hook bait sinks in the water. For example, if all the shot is placed directly below the float then the float will cock immediately but the hook bait will fall naturally down the water column. This pattern may lead to missed bites because the hook is not in direct contact with the float.
If the shot is evenly distributed down the float rig then the hook bait will fall more quickly to the bottom allowing bites to show from fish feeding mid-water depth. This pattern is more suited to flowing water where the current takes up the slack.
Where the fish are known to be feeding on the bottom (e.g. in winter) the majority of the shot should be placed in the bottom 60cm to force the hookbait to the bottom more quickly. Placing some of the shot 15cm from the hook will show a bite quickly if a fish lifts the bait in the water column.
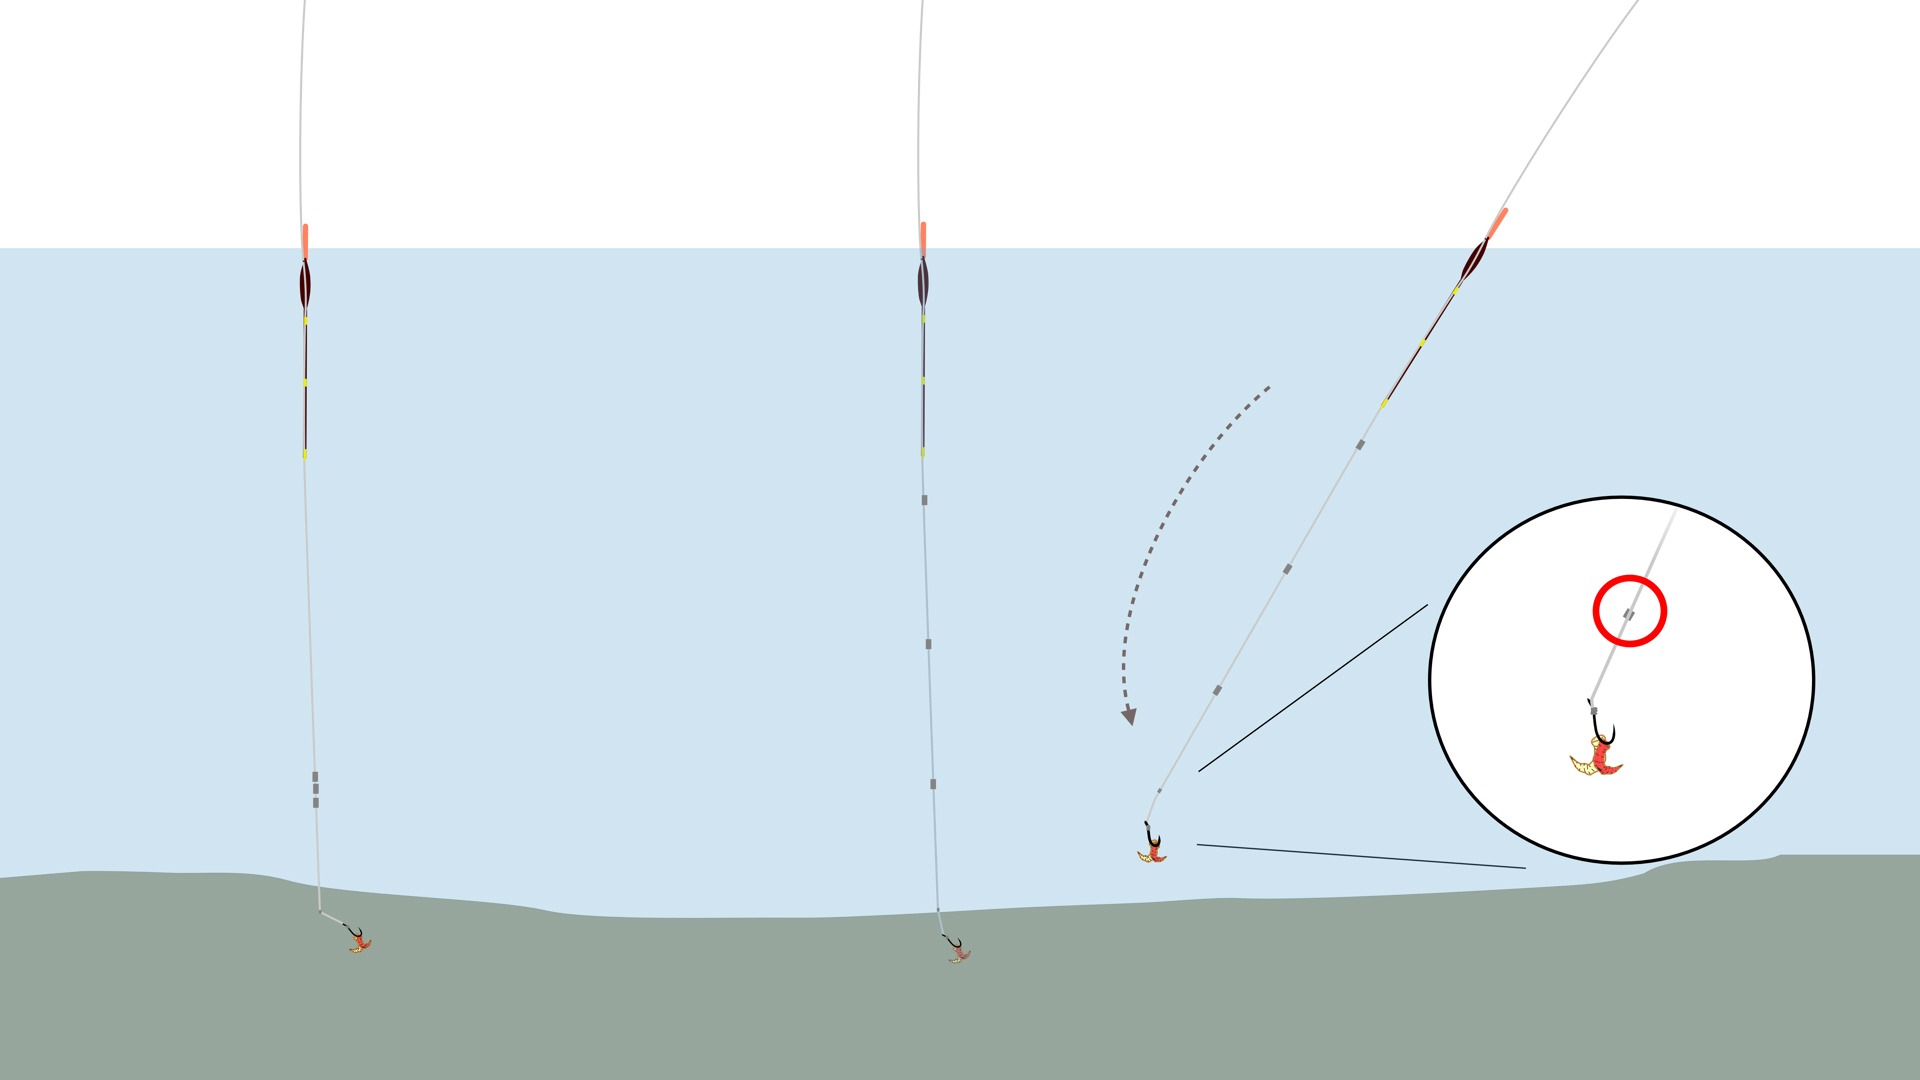
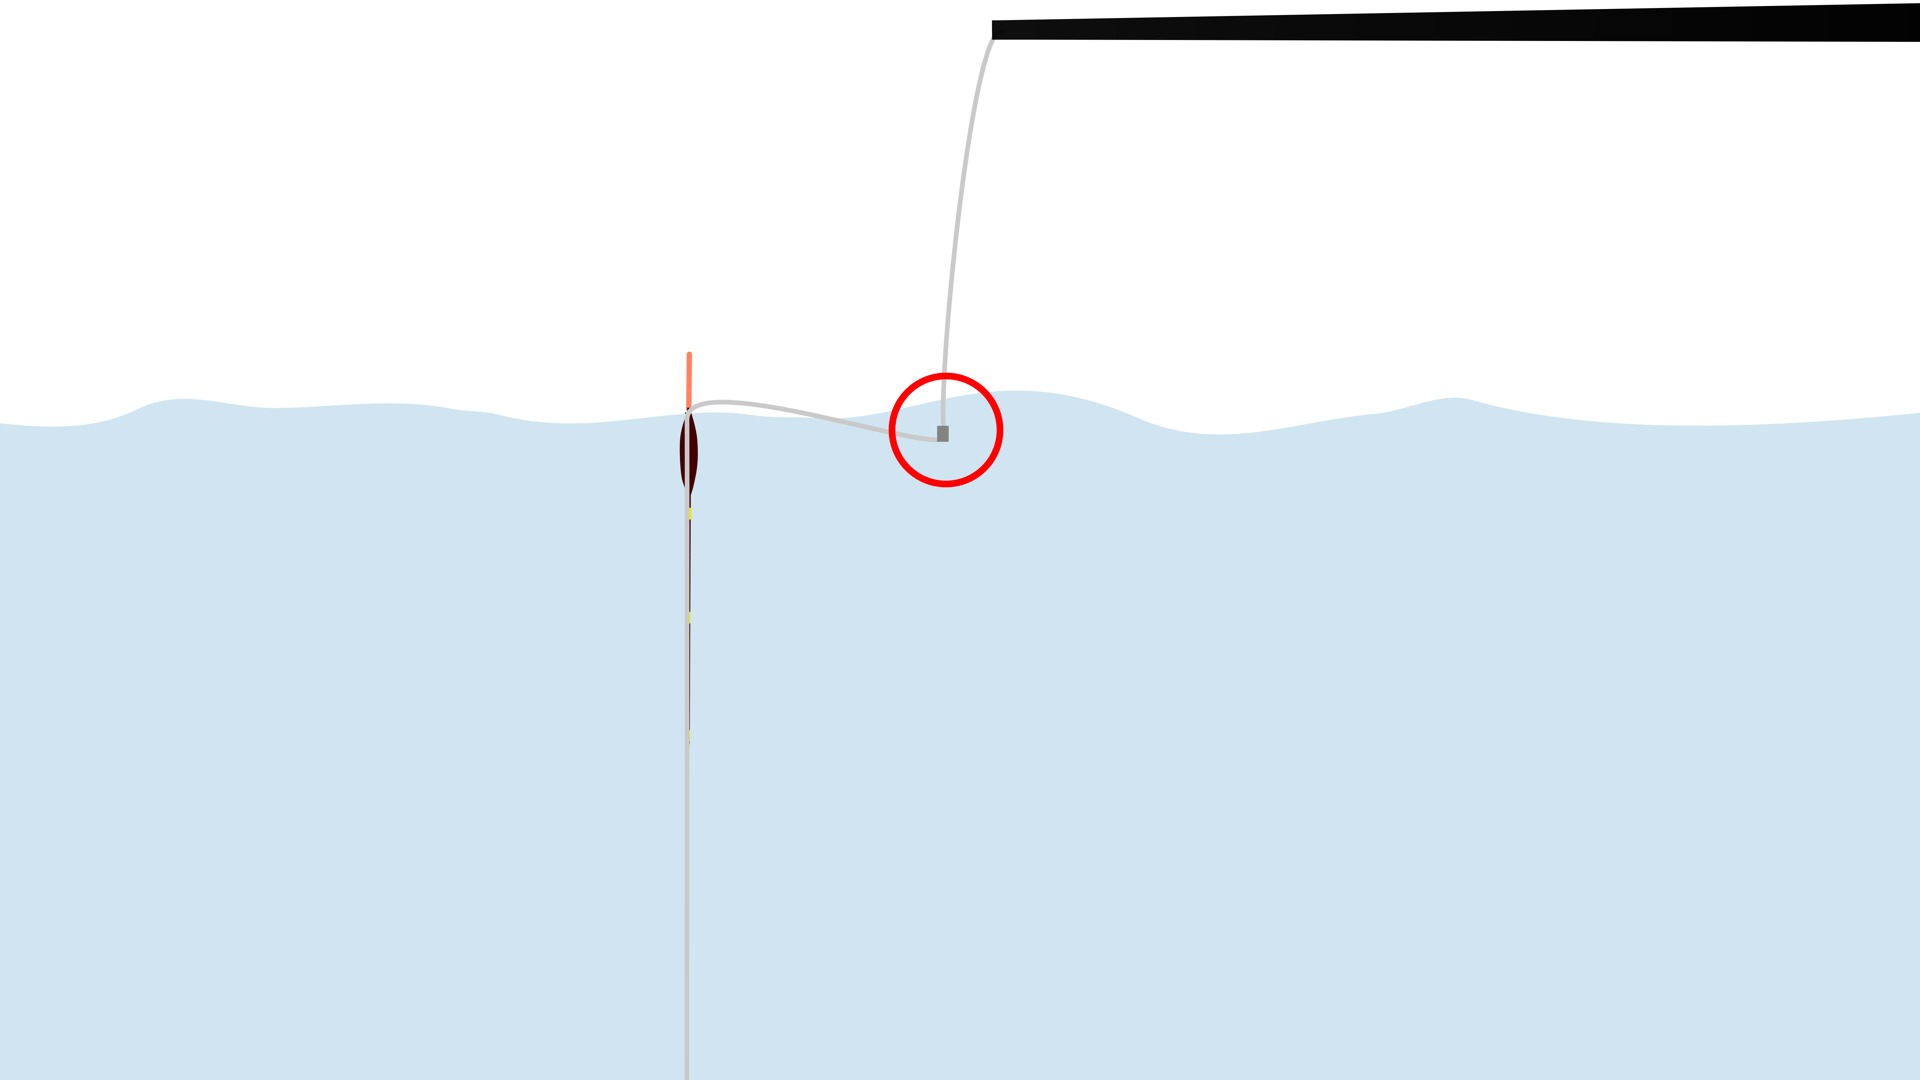
Shot Bulked towards the hook for getting the bait down quickly (left) versus evenly-spaced shot (centre) for fishing on the drop. Notice the importance of the "tell tale shot" circled in red to maximise bite sensitivity by ensuring contact between the float and the bait - particularly while it is sinking when fishing on the drop (right)
Importance of the Tell-Tale Shot
The reason the tell-tale is circled in red in the above diagram (as well as earning its own sub-heading) is that it is one of those tiny details that can make a massive difference to your results. The longer the distance between your last shot and your hook, the more freedom your hook has to be pulled around by a fish without it showing any sign of movement on the float. Now, in certain - very specialised situations - you may want to almost "freeline" your hook-bait to fish on the drop. However, more than nine times out of ten, using that little tell-tale will really up your catch rate by creating that light tension that anglers call "contact" to your float.
In a similar way, using a slightly larger tell-tale to sit on the bottom (while tight to your float) is something found in many different forms of float fishing. This can almost act as a mini bolt-rig (whereby the slight tug of the shot starts to pull the hook-point home; causing the fish to bolt and create a very positive bite)
Pole Fishing Baits (Hook)
Hook baits can vary in size, form and how they are attached. Some baits can be attached directly to the hook, e.g. maggots, casters, expander pellets, corn, bread. Others can be attached by a hair rig, pellet, boilie, luncheon meat, prawn - you have a wide choice of offerings to make to a broad range of fish species (just make sure to match your elastic to the fish in the venue you're fishing!).
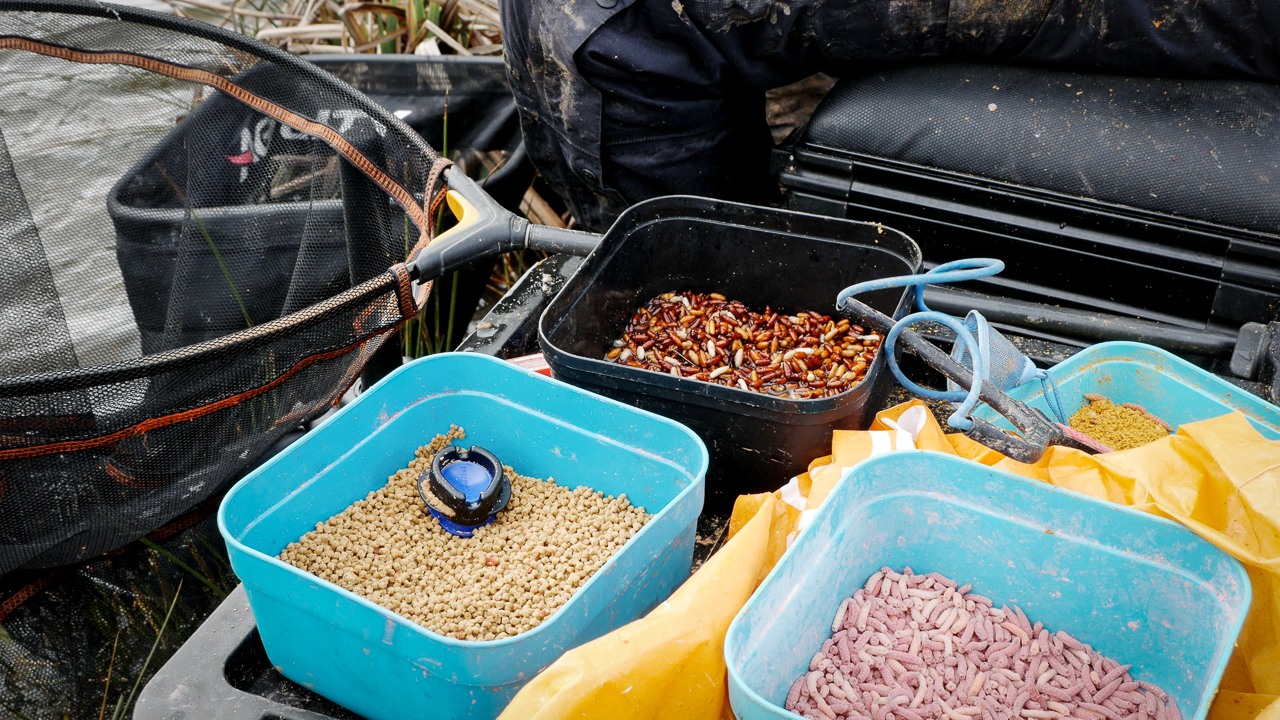
All of the match-anglers typical bait offerings are common to use on the pole - as well as a selection of bigger baits from the specimen angler's bag of tricks!
Setting the Hook when Pole Fishing
It seems obvious to say, but all that bite sensitivity still means you need to do something to set the hook when you see a bite. For fishing short range (on either a short whip or a hand-fed pole line consisting of the top two sections plus, say, two further sections) - an upward hook-set motion might give you the best contact.
However, when fishing at longer range, you will get a quicker (and more efficient) response using a sideways hook-set motion - since it's not easy for your wrist to lever what might be 16-m of pole directly upwards with any kind of speed or control!
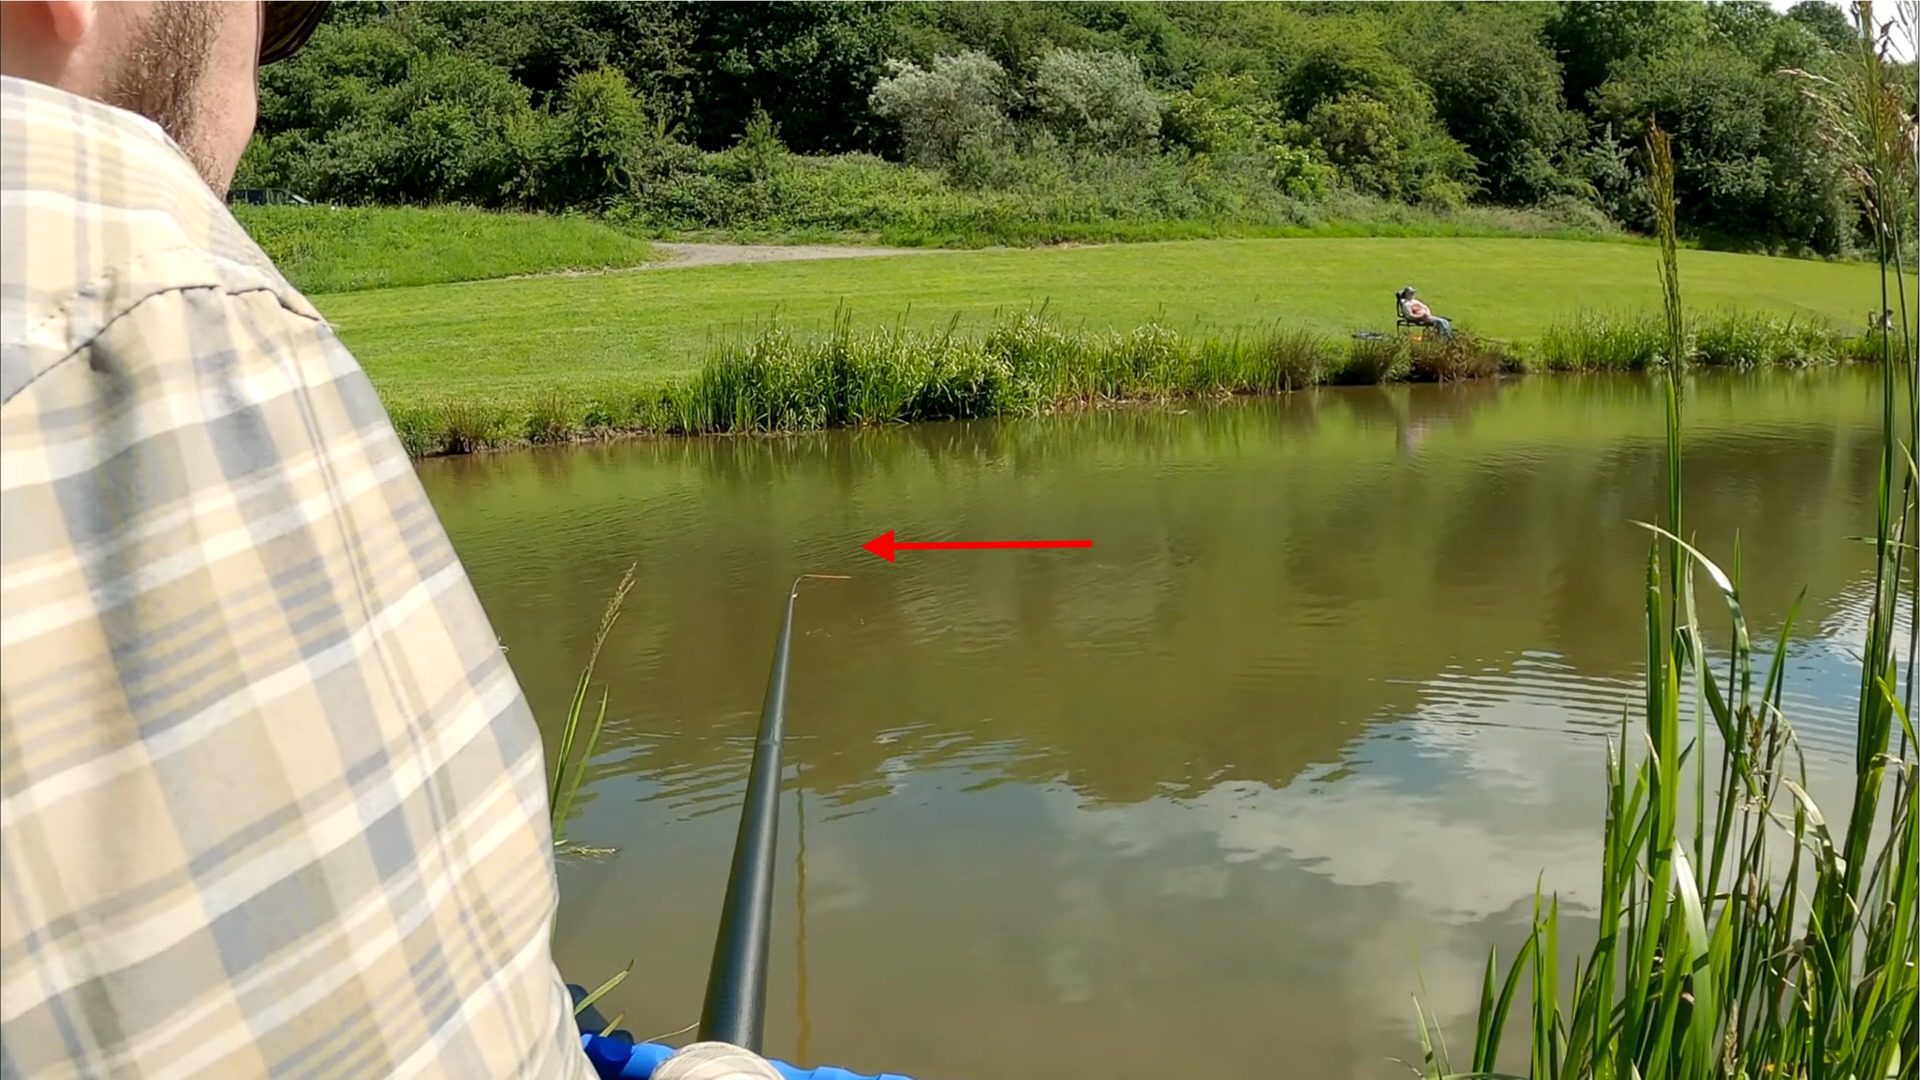
John using a sideways hook-set for fast bites while fishing high up in the water
Feeding Methods and Tactics
How, where and when to introduce loose feed to attract fish and keep them in front of you is a key component of pole fishing. As a very generalised guideline - the colder the weather and the lower the fish population; the smaller amount of feed you should introduce. The opposites also hold true; so warmer weather with plentiful fish populations will need you to introduce more food to keep them interested.
The range of baits to introduce as attractant feed is extremely wide. Almost always you'll want to incorporate some free offerings of whatever is on your hook - so that is not a bad place to start. Beyond that, having a look at the descriptions and recommended use of feed mixes in your tackle shop is a good way to match your feed to your target venues and species.
When feeding, another good general rule is to avoid dumping bait in with big gaps of time in between each feed. Feeding a bit less, but much more frequently is usually the best bet. In the coldest weather, this might only be one or two maggots at a time though!
Hand/Catapult Feeding: Good for Fishing Fast and Close-in
For short-range fishing, and where speed is important (and bites are coming thick and fast) it is possible to hand-feed or catapult in loose feed with sufficient accuracy to make fishing productive. Beyond a certain range though and you lose one of the major potential benefits of pole fishing (accuracy of fishing and feeding).
Pole Pot Feeding: Ultimate Accuracy for Pole Fishing
This is where some of the most significant accuracy benefits to pole fishing can be achieved. The sensitivity to bites is extremely high (compared with rod and reel methods - including quiver-tip approaches like method feeder fishing). As shown in the video above, taking care not to bash out the contents while shipping the pot out into position is important. For certain baits, a quick dip in the water will help to hold them inside the pot until needed (again demonstrated well in the video).
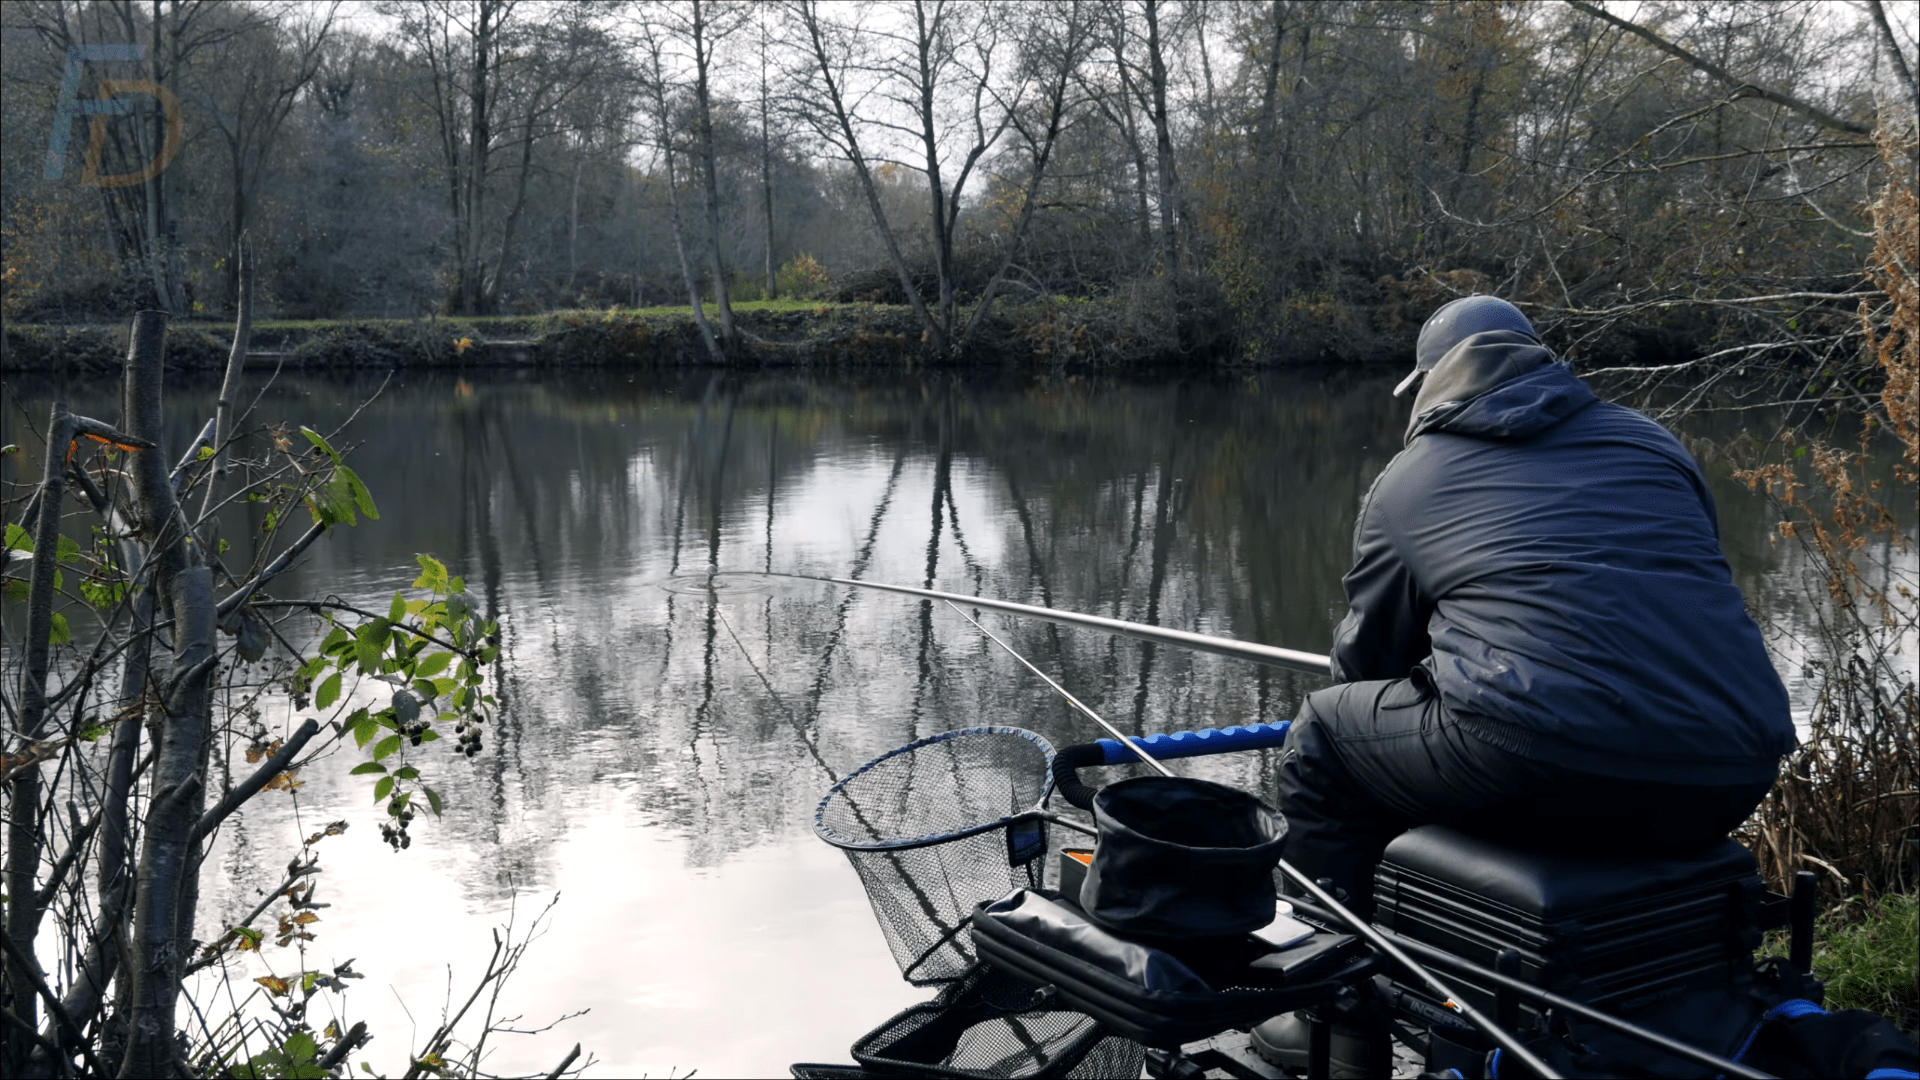
Introducing feed with a pole pot - pinpoint precision
Coping with Windy Conditions While Pole Fishing
There are some useful tactics which can allow you to maintain the benefits of pole fishing during windy conditions. However, it should be noted that it is extremely easy to break a pole when the wind gets particularly strong. Never fish a long pole at full length in a strong wind. For safety, keep the working length down to under 7-m (and shorter than that in a strong wind).
Going larger with the float (and choosing a wire-stem, short/round body design) can give you much more stability in the water and allow the surface chop to pass by with less effect on your float and rig.
Also, plumbing up to a little deeper (say one to three inches deeper than the normal "down to the stem" option) allows your bait to anchor a little better without being dragged out of your swim.
Introducing a "back-shot" (see diagram below) is also a great way to combat surface chop on the water during windy conditions. In combination with a back-shot, make sure you have a long enough length of line between the tip of your pole and your float to account for the wind bouncing that pole up and down. Somewhere in the region of 14 to 24 inches might be about right. If you only have 9 inches of line, with the angle created by a back-shot, you simply can't stop the pole tip yanking your float this way and that while you're fishing.
Looking After your Pole
Cleanliness is an important factor of pole care. It is easy for grit to collect on a pole joint, especially if the pole is laid to rest on the ground. Particles of grit must be removed immediately upon detection and pole joints should be cleaned by flushing with water after fishing. The thin-walled carbon composite sections are easily degraded by dirt ingress.
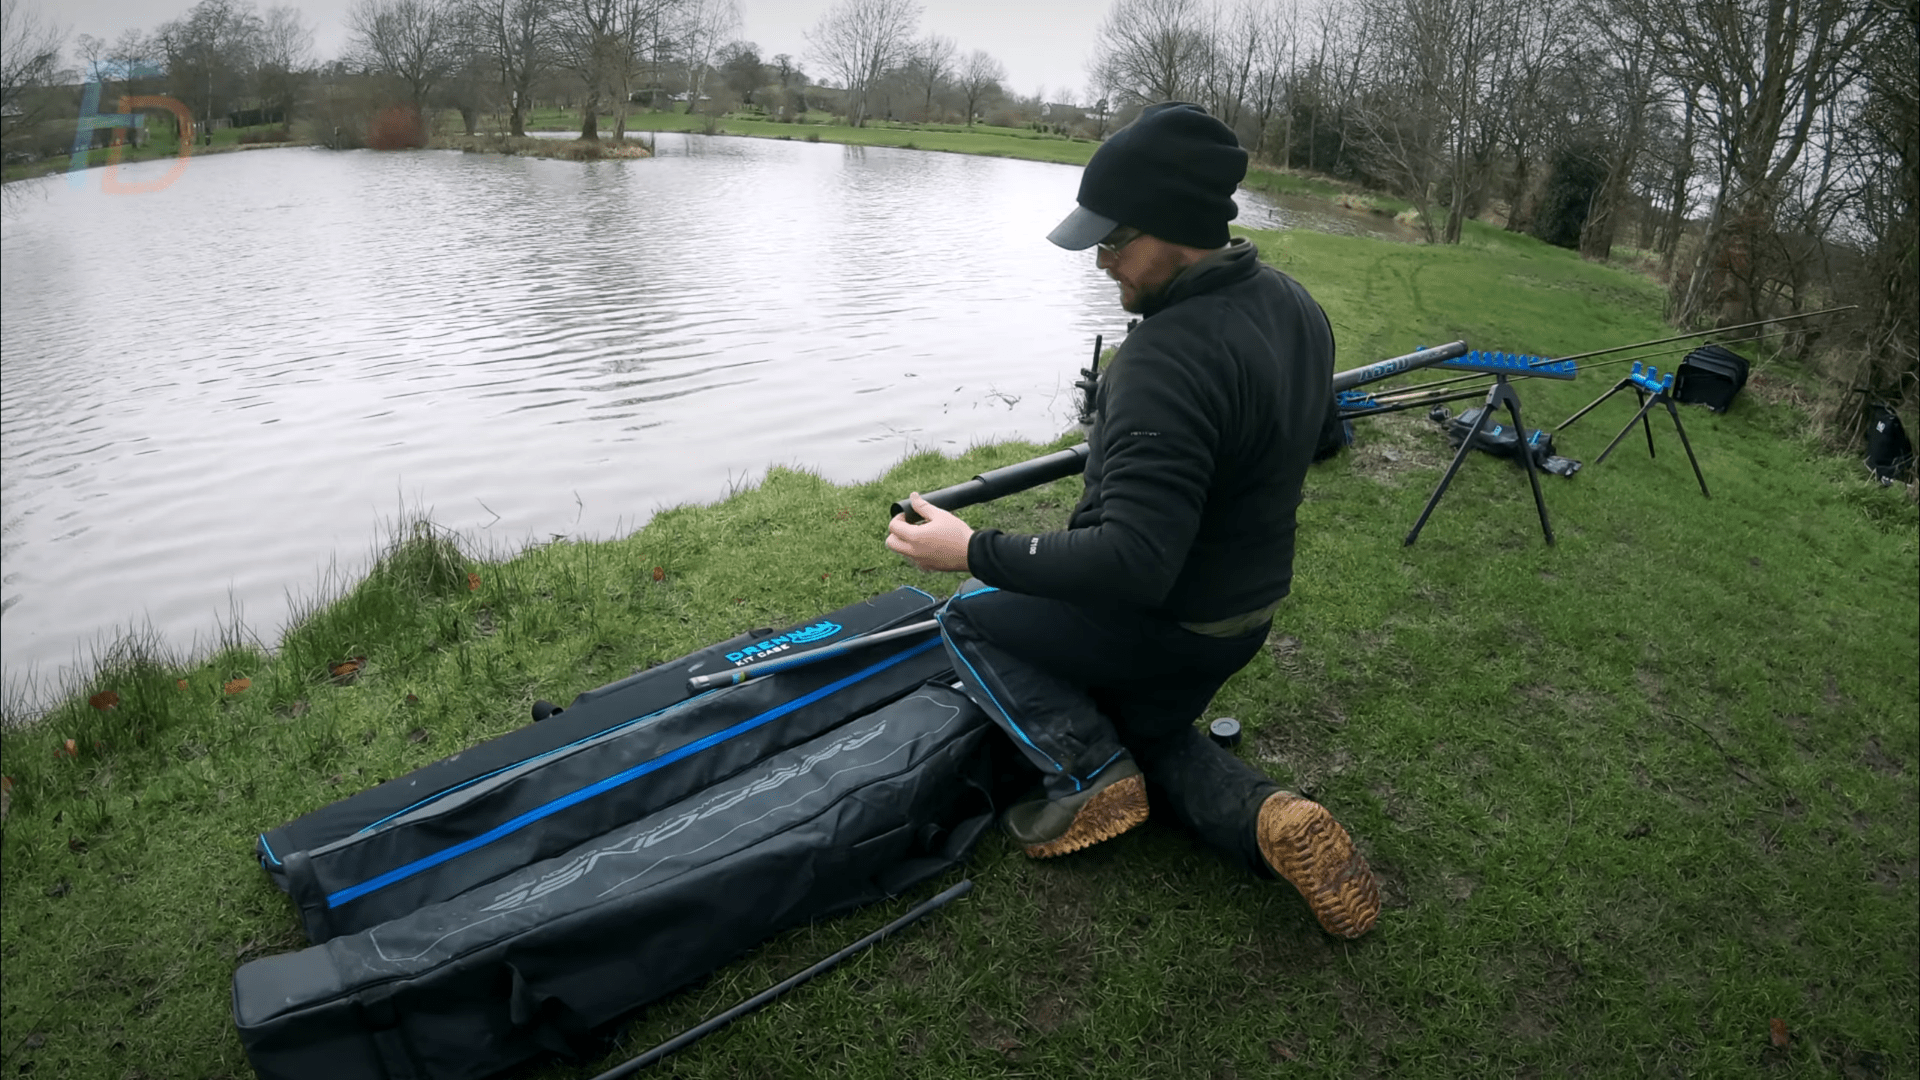
In wet weather, the additional lubrication provided by rain can lead to a pole section being “over inserted” to its neighbour. Usually, this becomes a problem when the angler tries to separate the two pole sections. The key to separating pole sections that are stuck is shown in the following video. It cannot be stressed enough that the areas adjacent to the joint should NOT be gripped tightly or squeezed as a method to separate pole sections which are “stuck”.
When the pole is not going to be used in the near future it is good practice to wash the pole sections and ensure they are dry before storage. This should greatly extend the working life of your pole - and is an important way of avoiding unexpected breakages while in use.
Pole Fishing Round-up
While there can be entire books written on the intricacies of high-level pole fishing, what we've covered in this article actually includes a lot of the simple details that actually lead to far better than average results. There is so much to be said for doing the fundamentals correctly - and these are areas where so many anglers fall down.
At the same time, we also wanted to give anglers who were moving into pole fishing from another discipline enough of the "first-steps" guidance to give everyone access to the successful pole fishing club!
No doubt we'll add to this article over time so please feel free to give your feedback in the comments.
Paul, John and Gary

I really enjoyed all your information i will be trying this out through the season.Thankyou.
Thank you for posting your kind comment Charles and I’m really glad you found some stuff to add to your own fishing experiments,
Paul
Fantastic Paul would you send me the PDFs please
[…] Pole Fishing: Progressing from Absolute Beginner to Advanced Angler […]
Can’t wait to get started
Go for it Andy 🙂
Here’s to a netful of fish on the pole next time out for you.
Paul